Category: Uncategorized

Linux Time Machine with netatalk (AFP)

I have an old mac mini that I want to back up, and of course I want to use Apple’s fancy Time Machine backup. Thing is, it’s old, from early 2009 and the newest OS X it can run is 10.11.6 El Capitan. Apparently, older versions of OS X can’t backup to Samba, which is what I use for serving files.

netatalk

Newer OS X can actually backup using Samba for Time Machine but older ones can only use Apple File Protocol (AFP). There is a project to run a AFP daemon on linux: http://netatalk.sourceforge.net/

In Debian 10 you can do the typical apt install netatalk, systemctl enable –now netatalk.

Config file: /etc/netatalk/afp.conf

;
; Netatalk 3.x configuration file
;

[Global]
mimic model = TimeCapsule
zeroconf name = fileserverafp
log file = /var/log/netatalk
log level = default:debug

[FS Backup]
mimic model = TimeCapsule
path = /storage/bu/timemachinebackup
time machine = yes
force user = rushworx
force group = rushworx
guest account = rushworx
valid users = rushworx

Surely I do not need all of this stuff but it works, and I don't use it for anything else so why fiddle with it. 

time machine

The missing piece of this puzzle is Bonjour / Avahi. I had issues with it but it turns out if you don’t have it all you have to do is mount the share once first, then it becomes available under Time Machine settings.

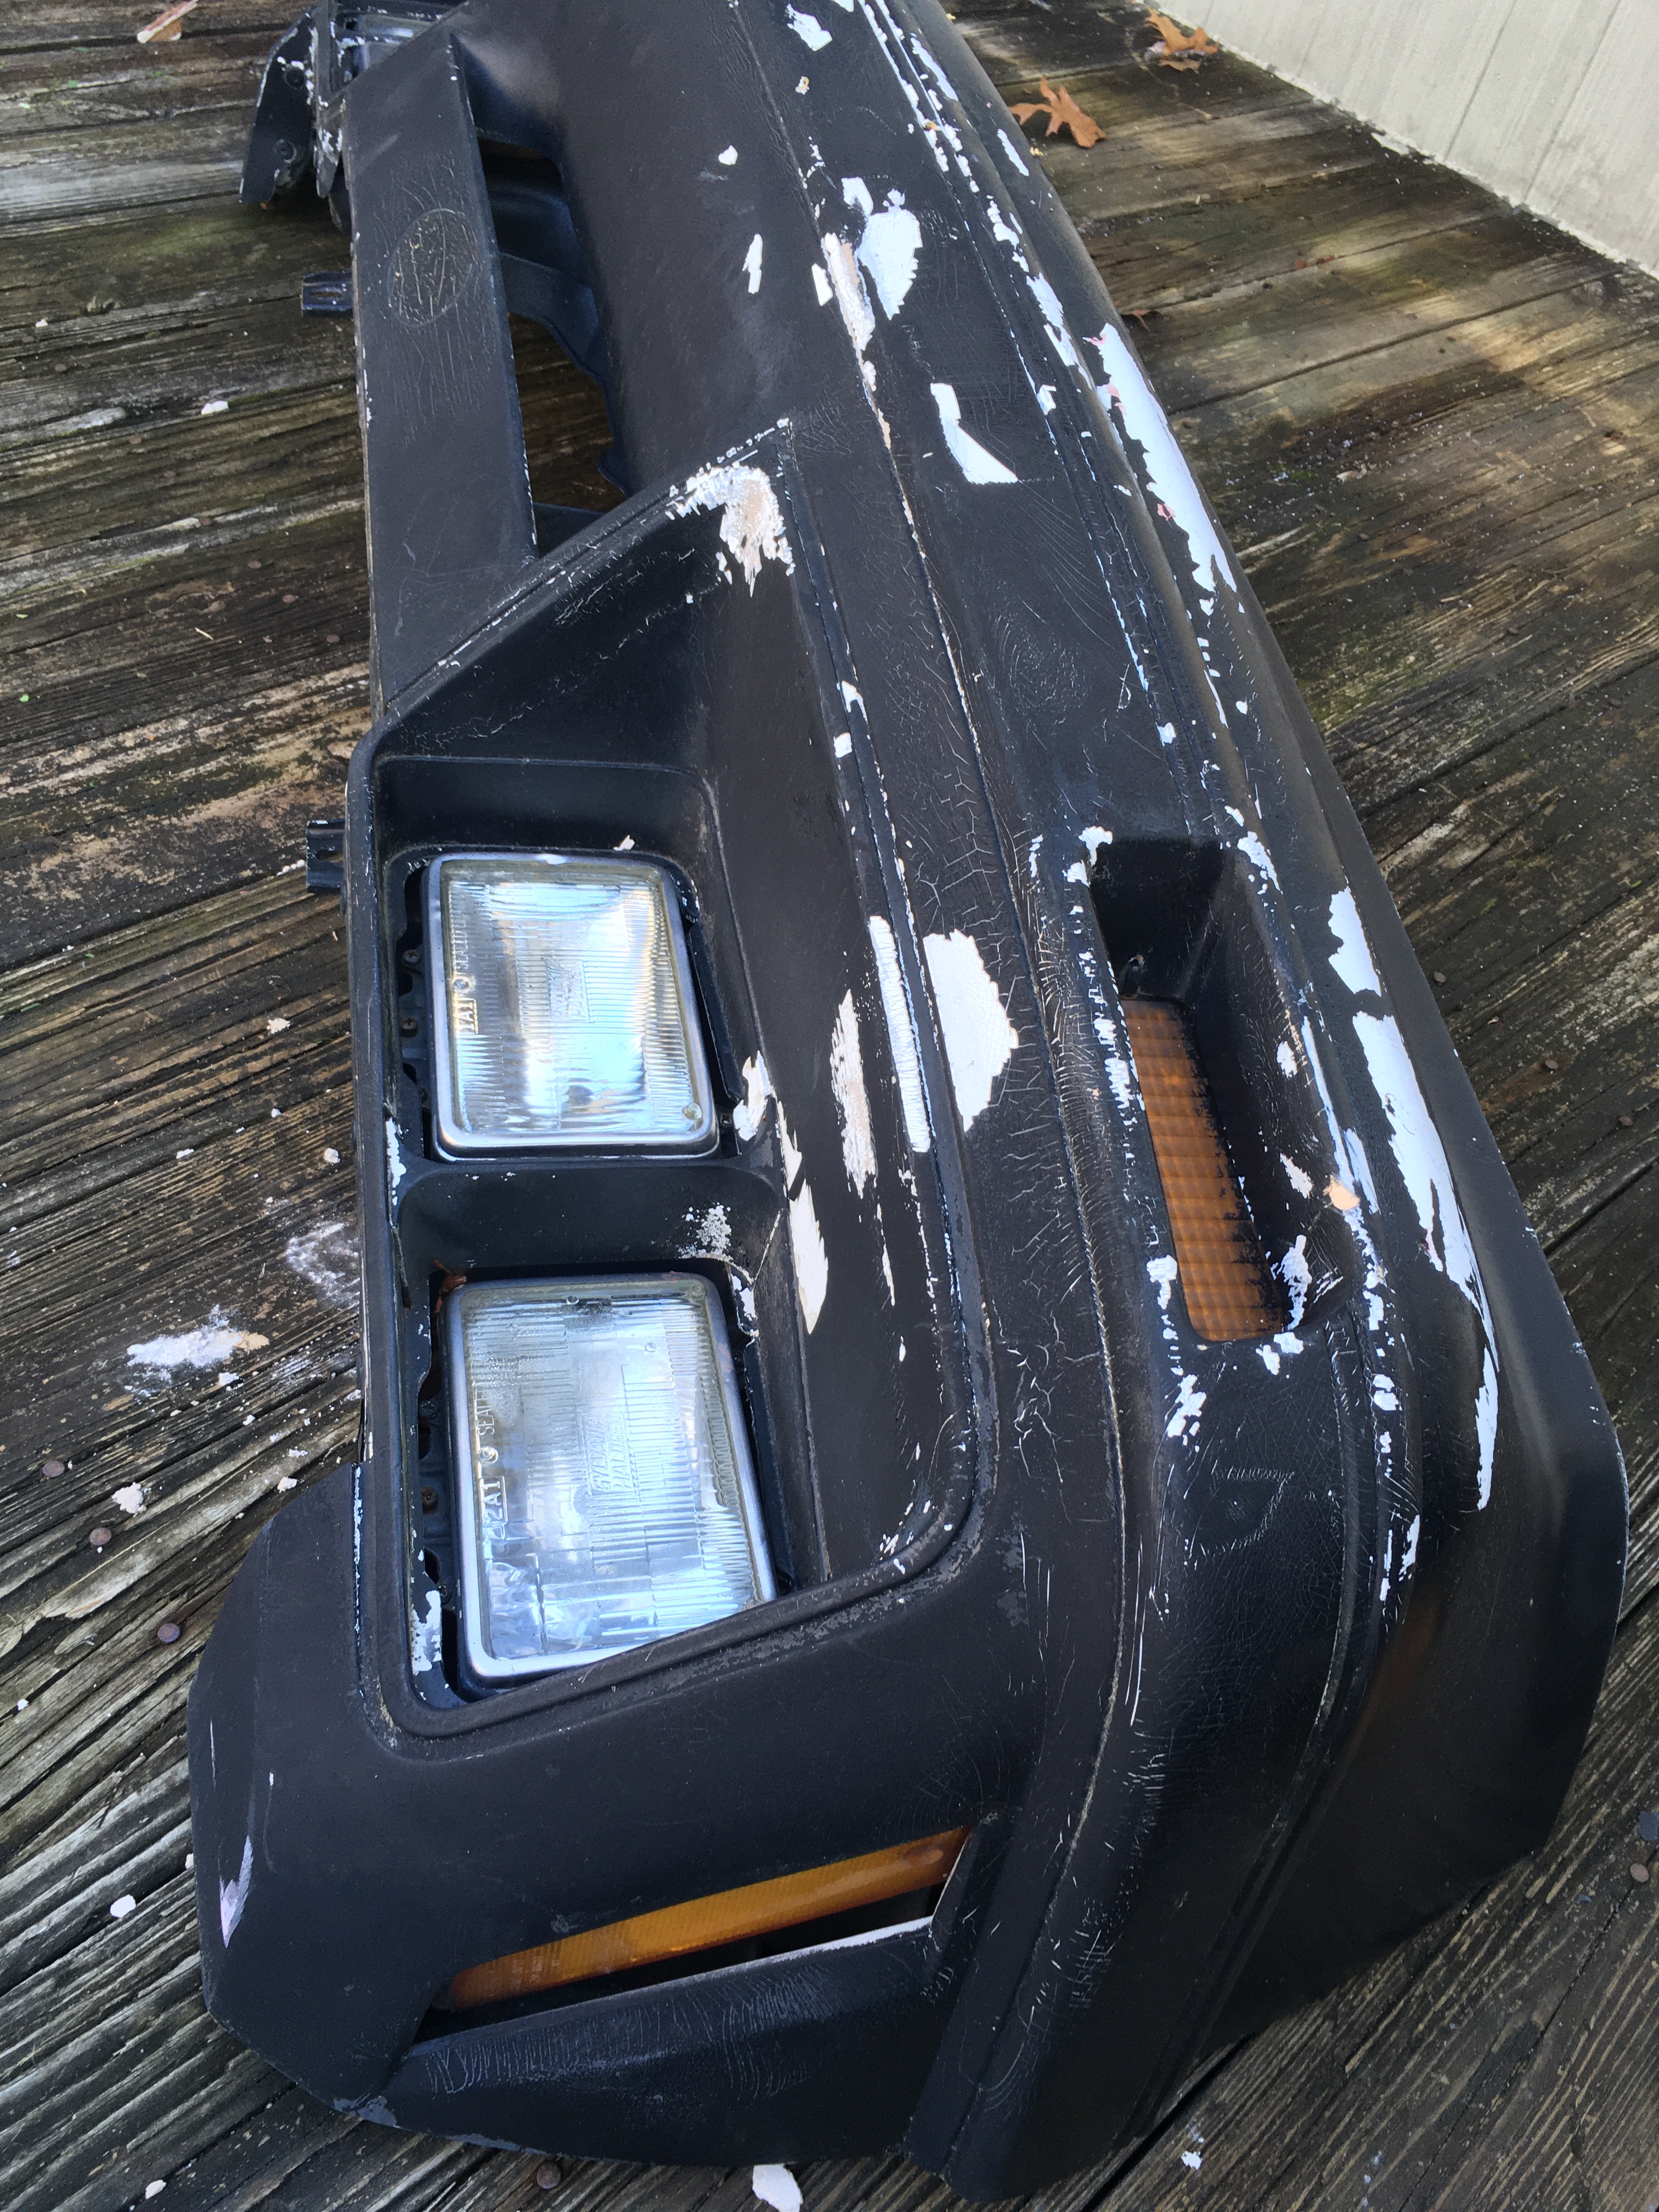
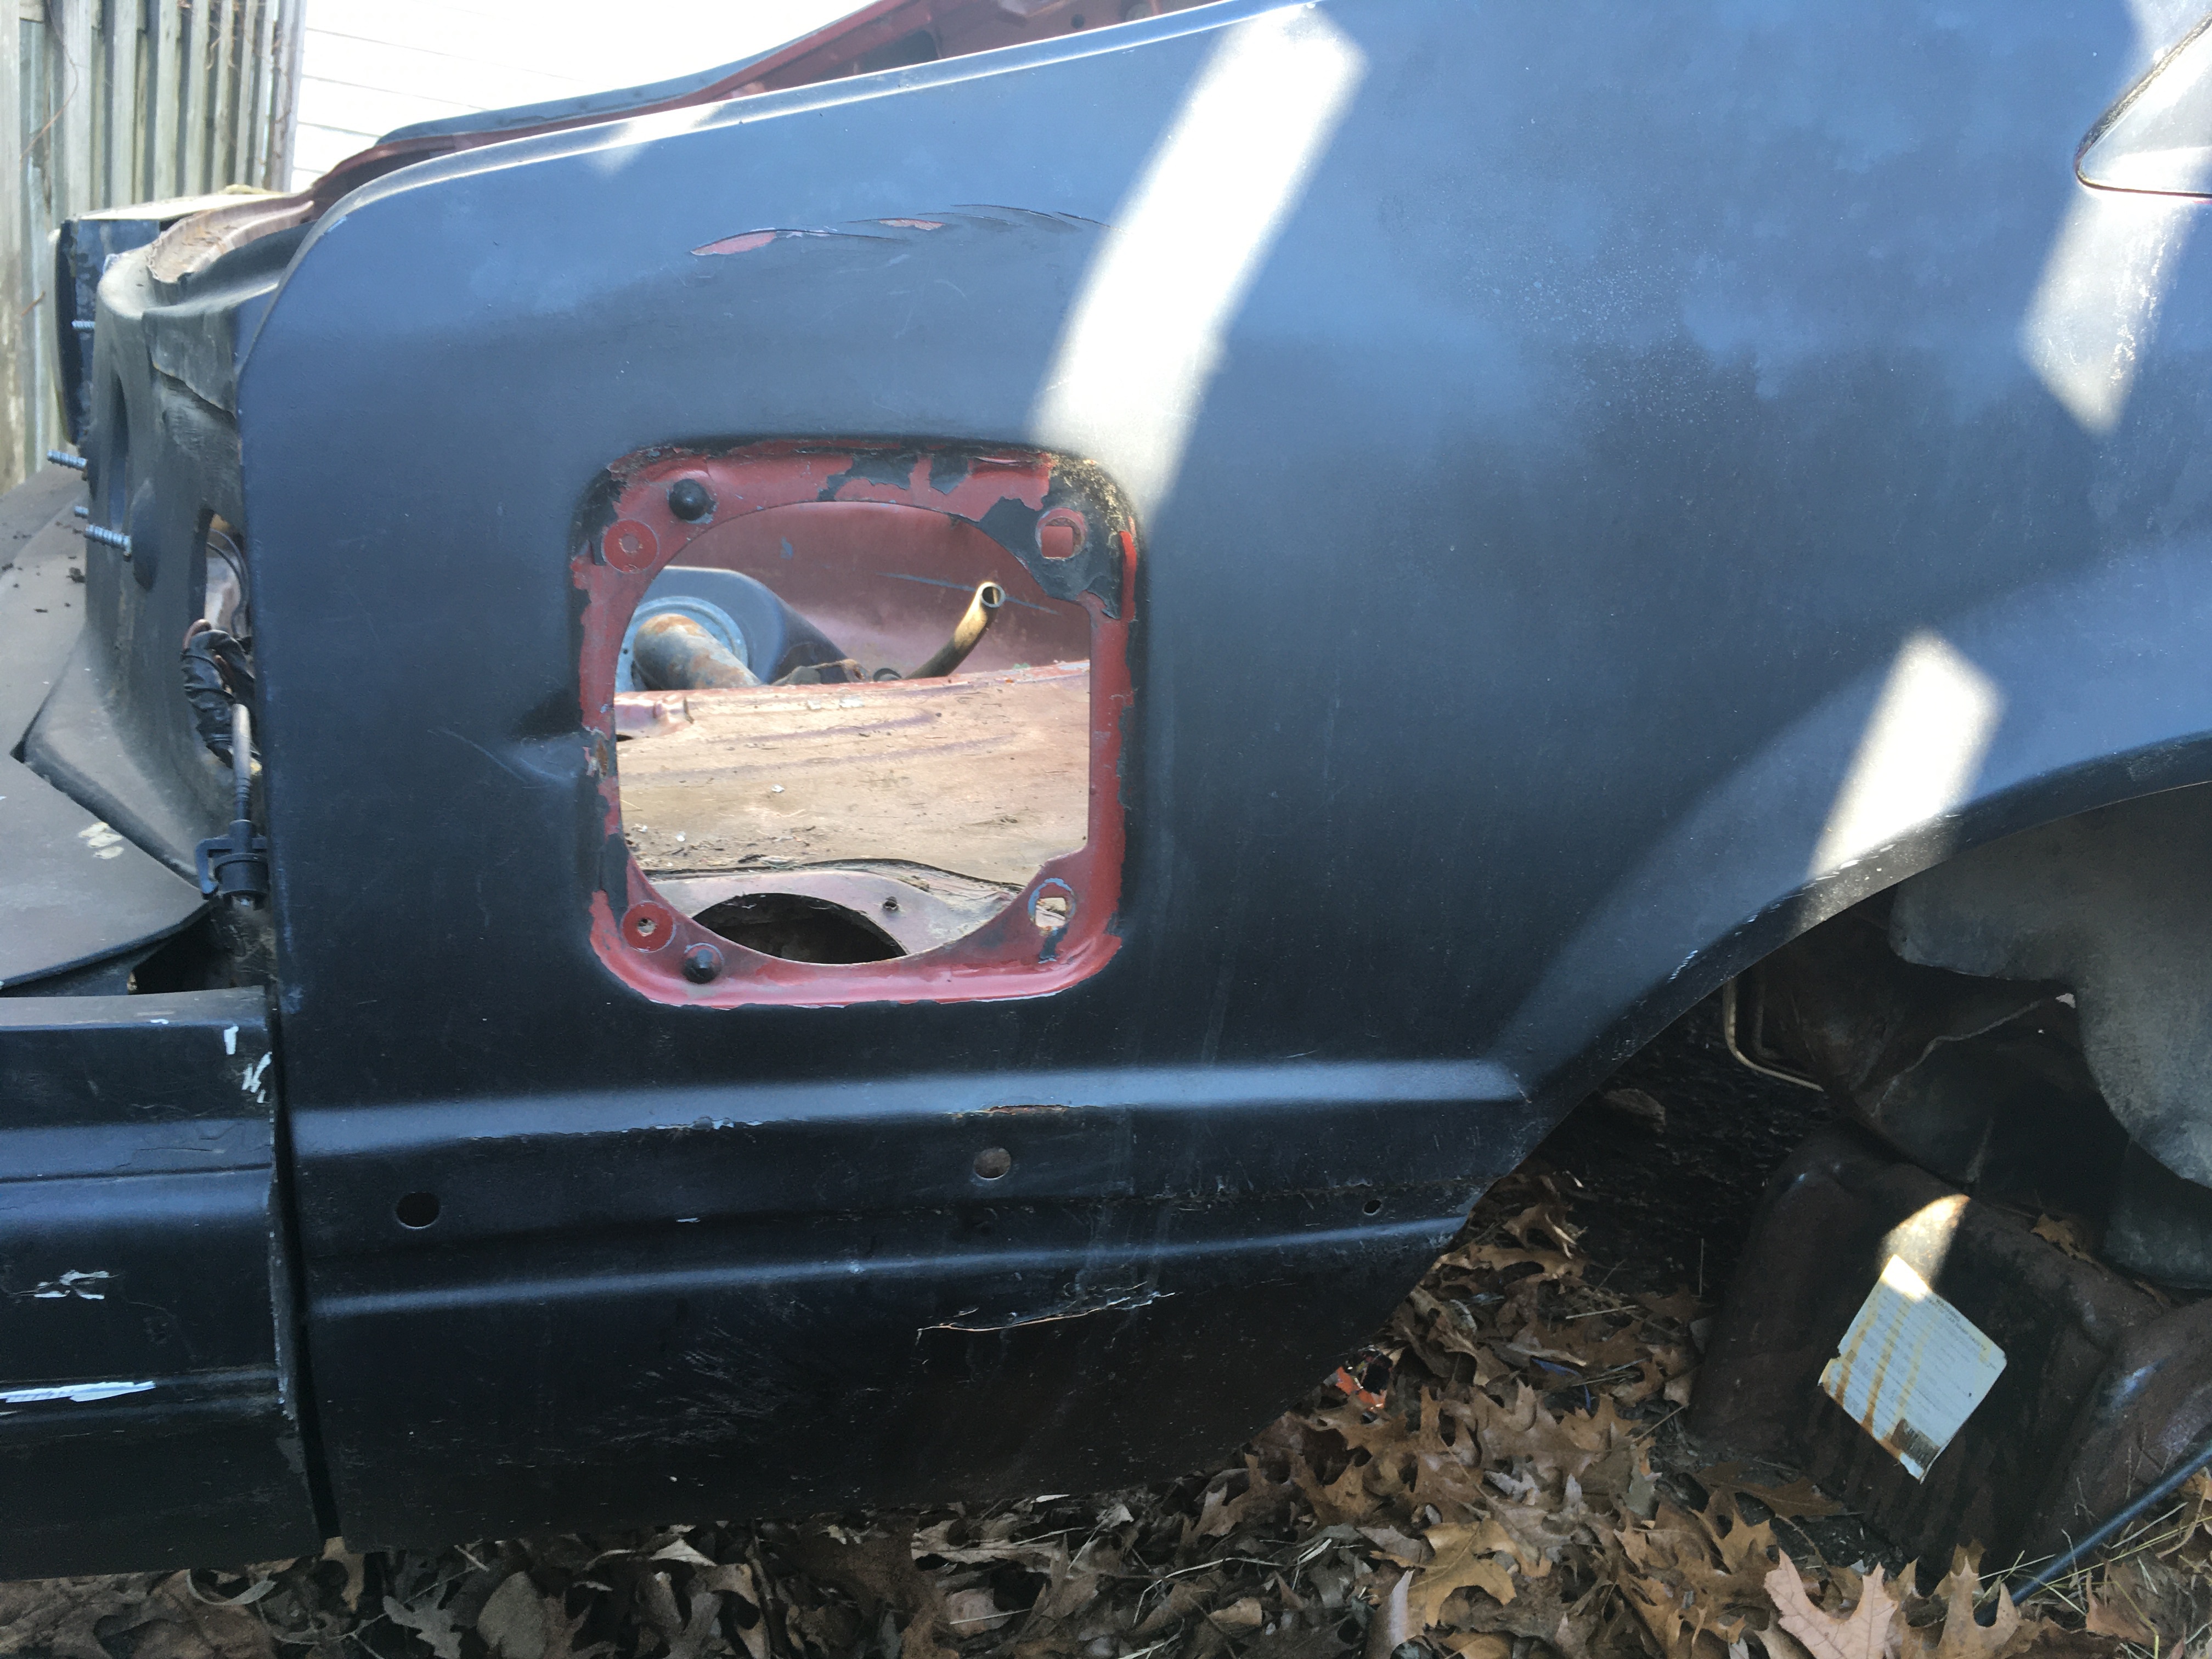
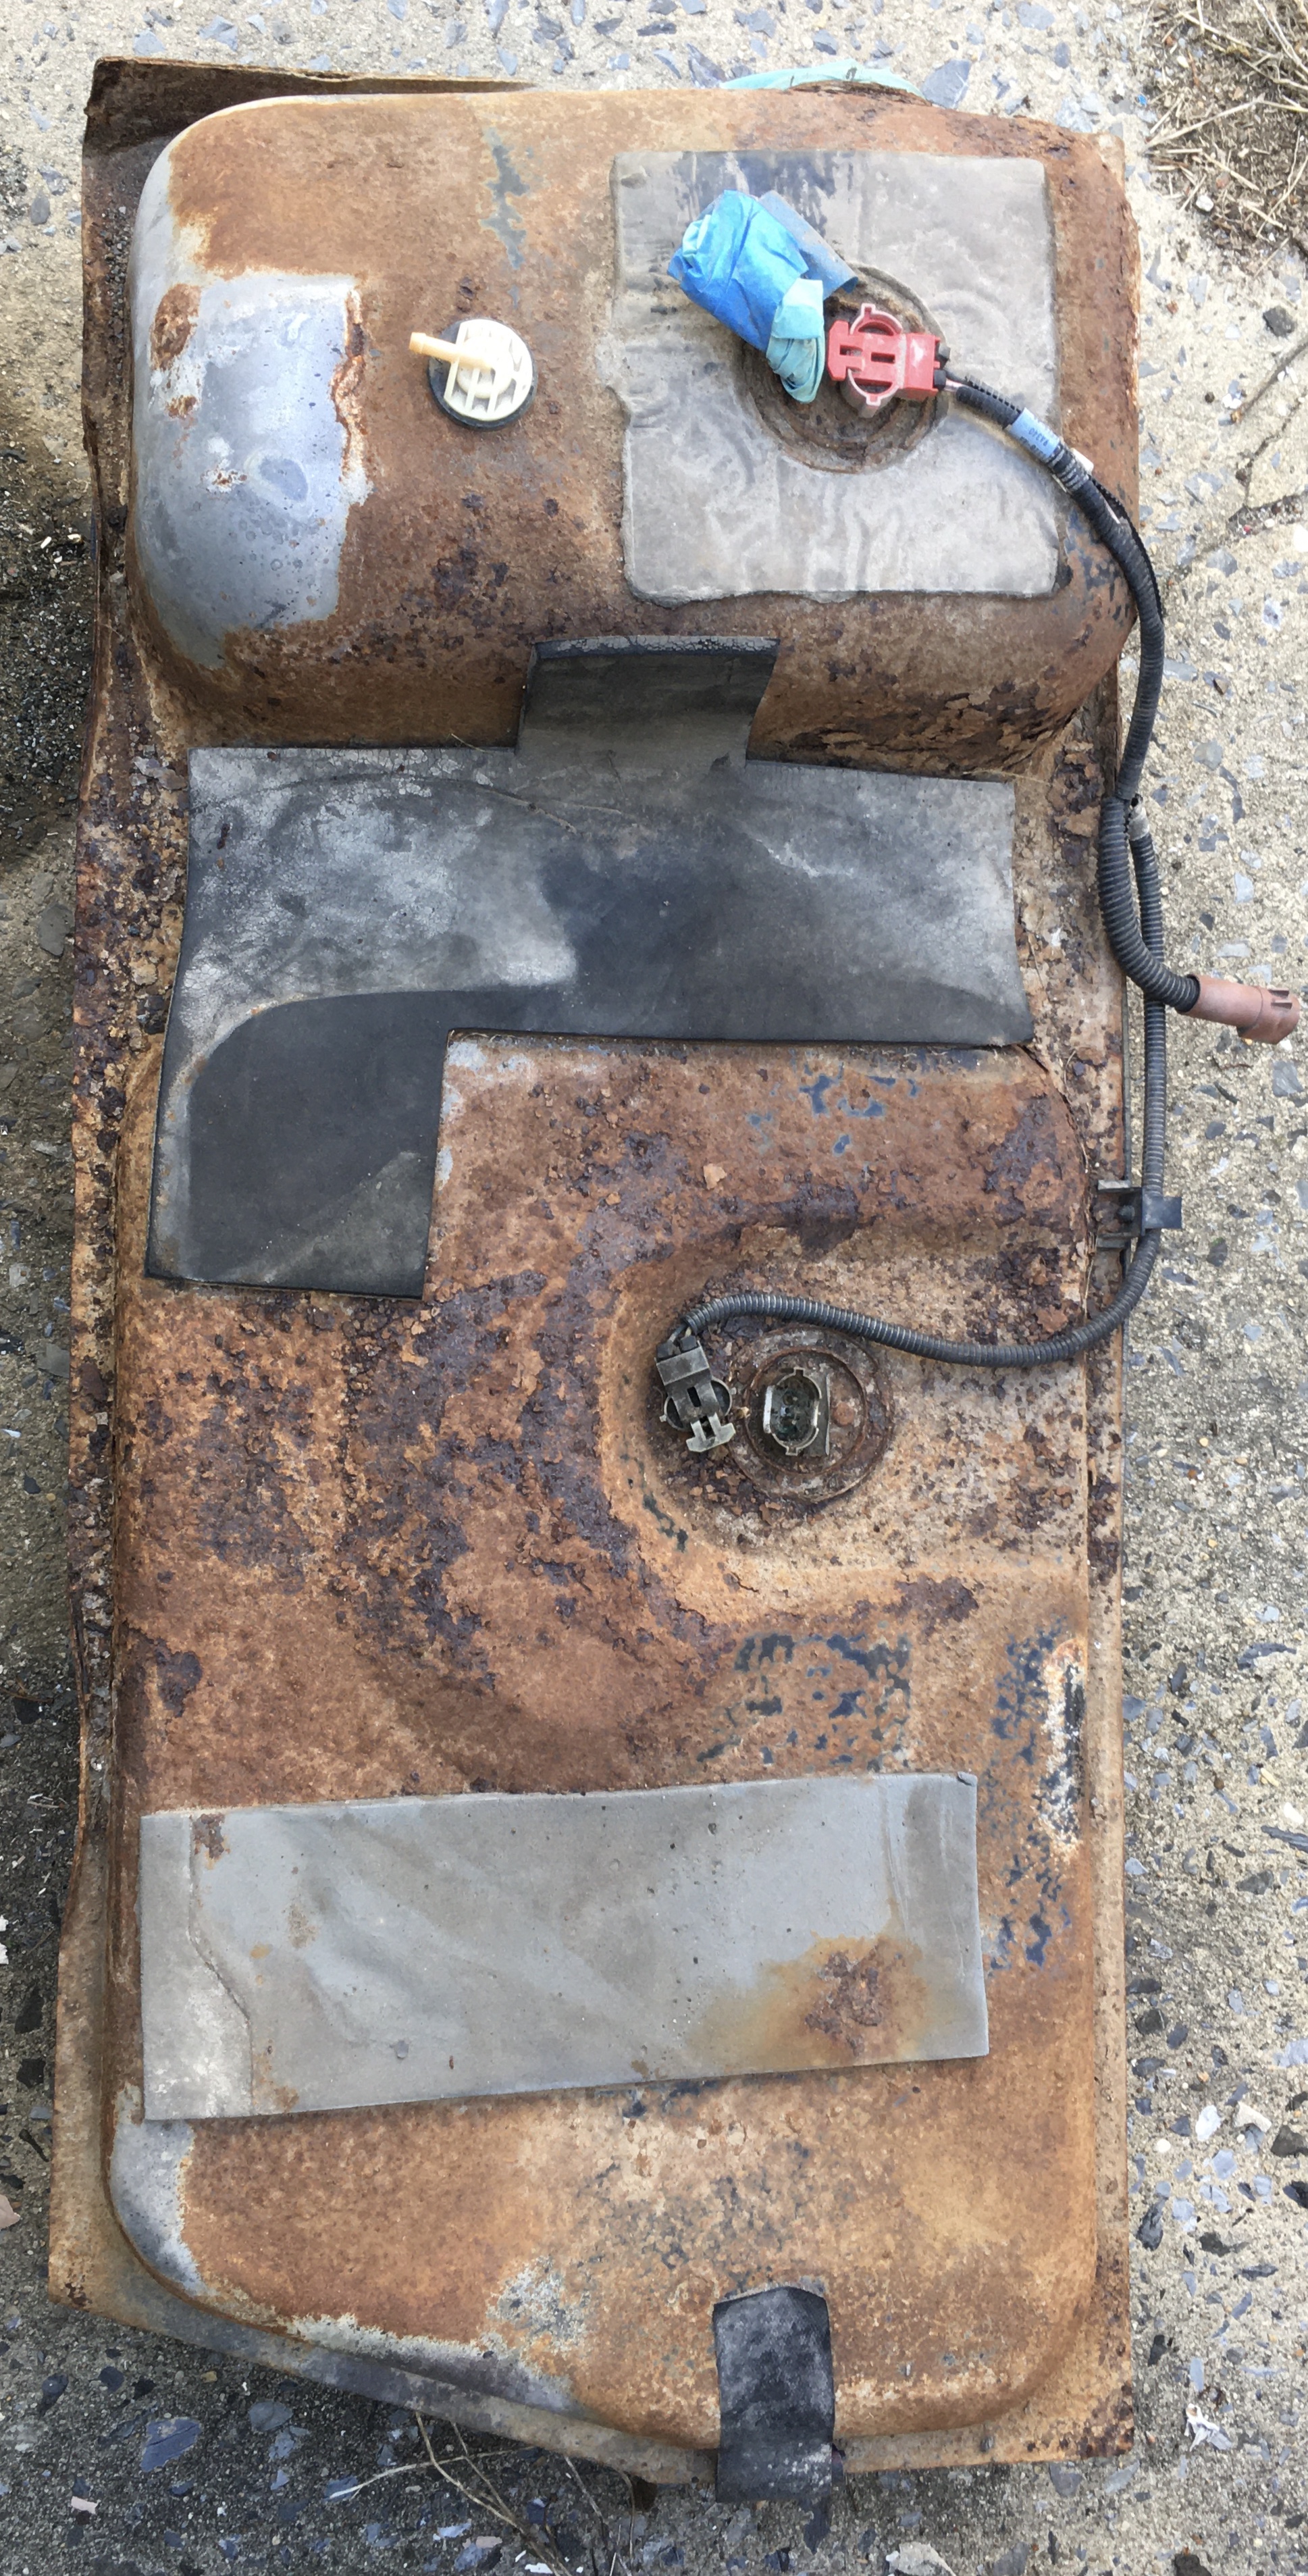
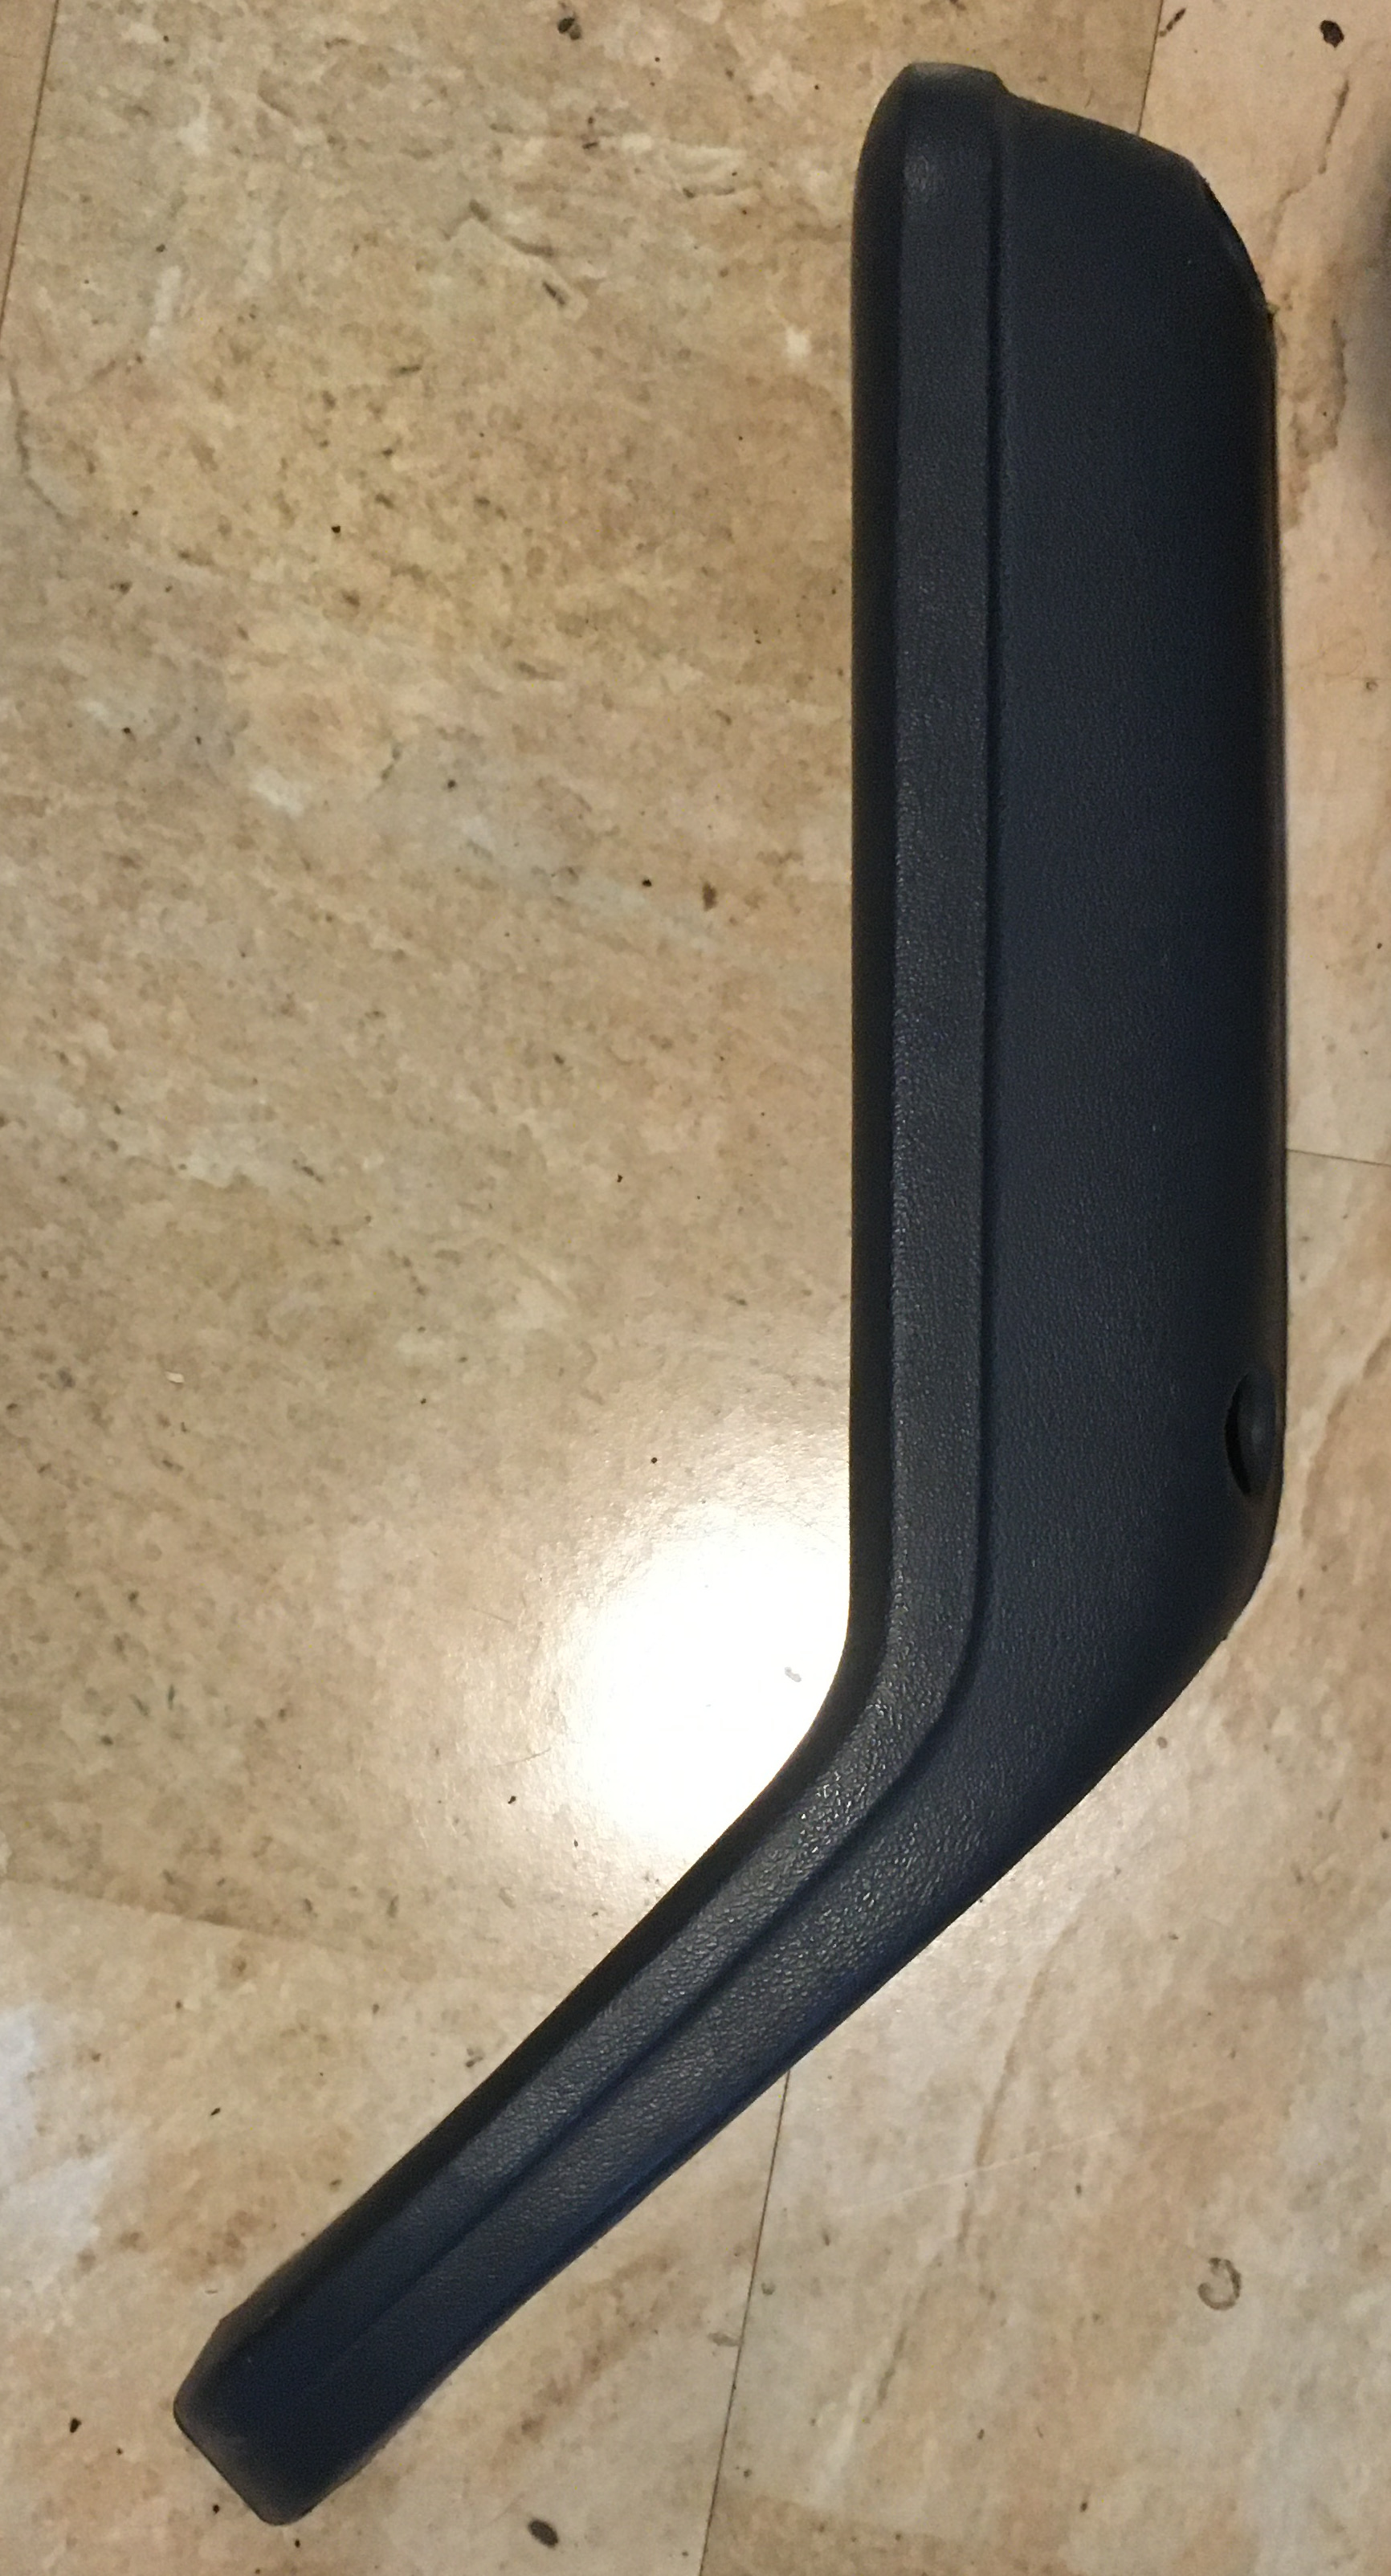
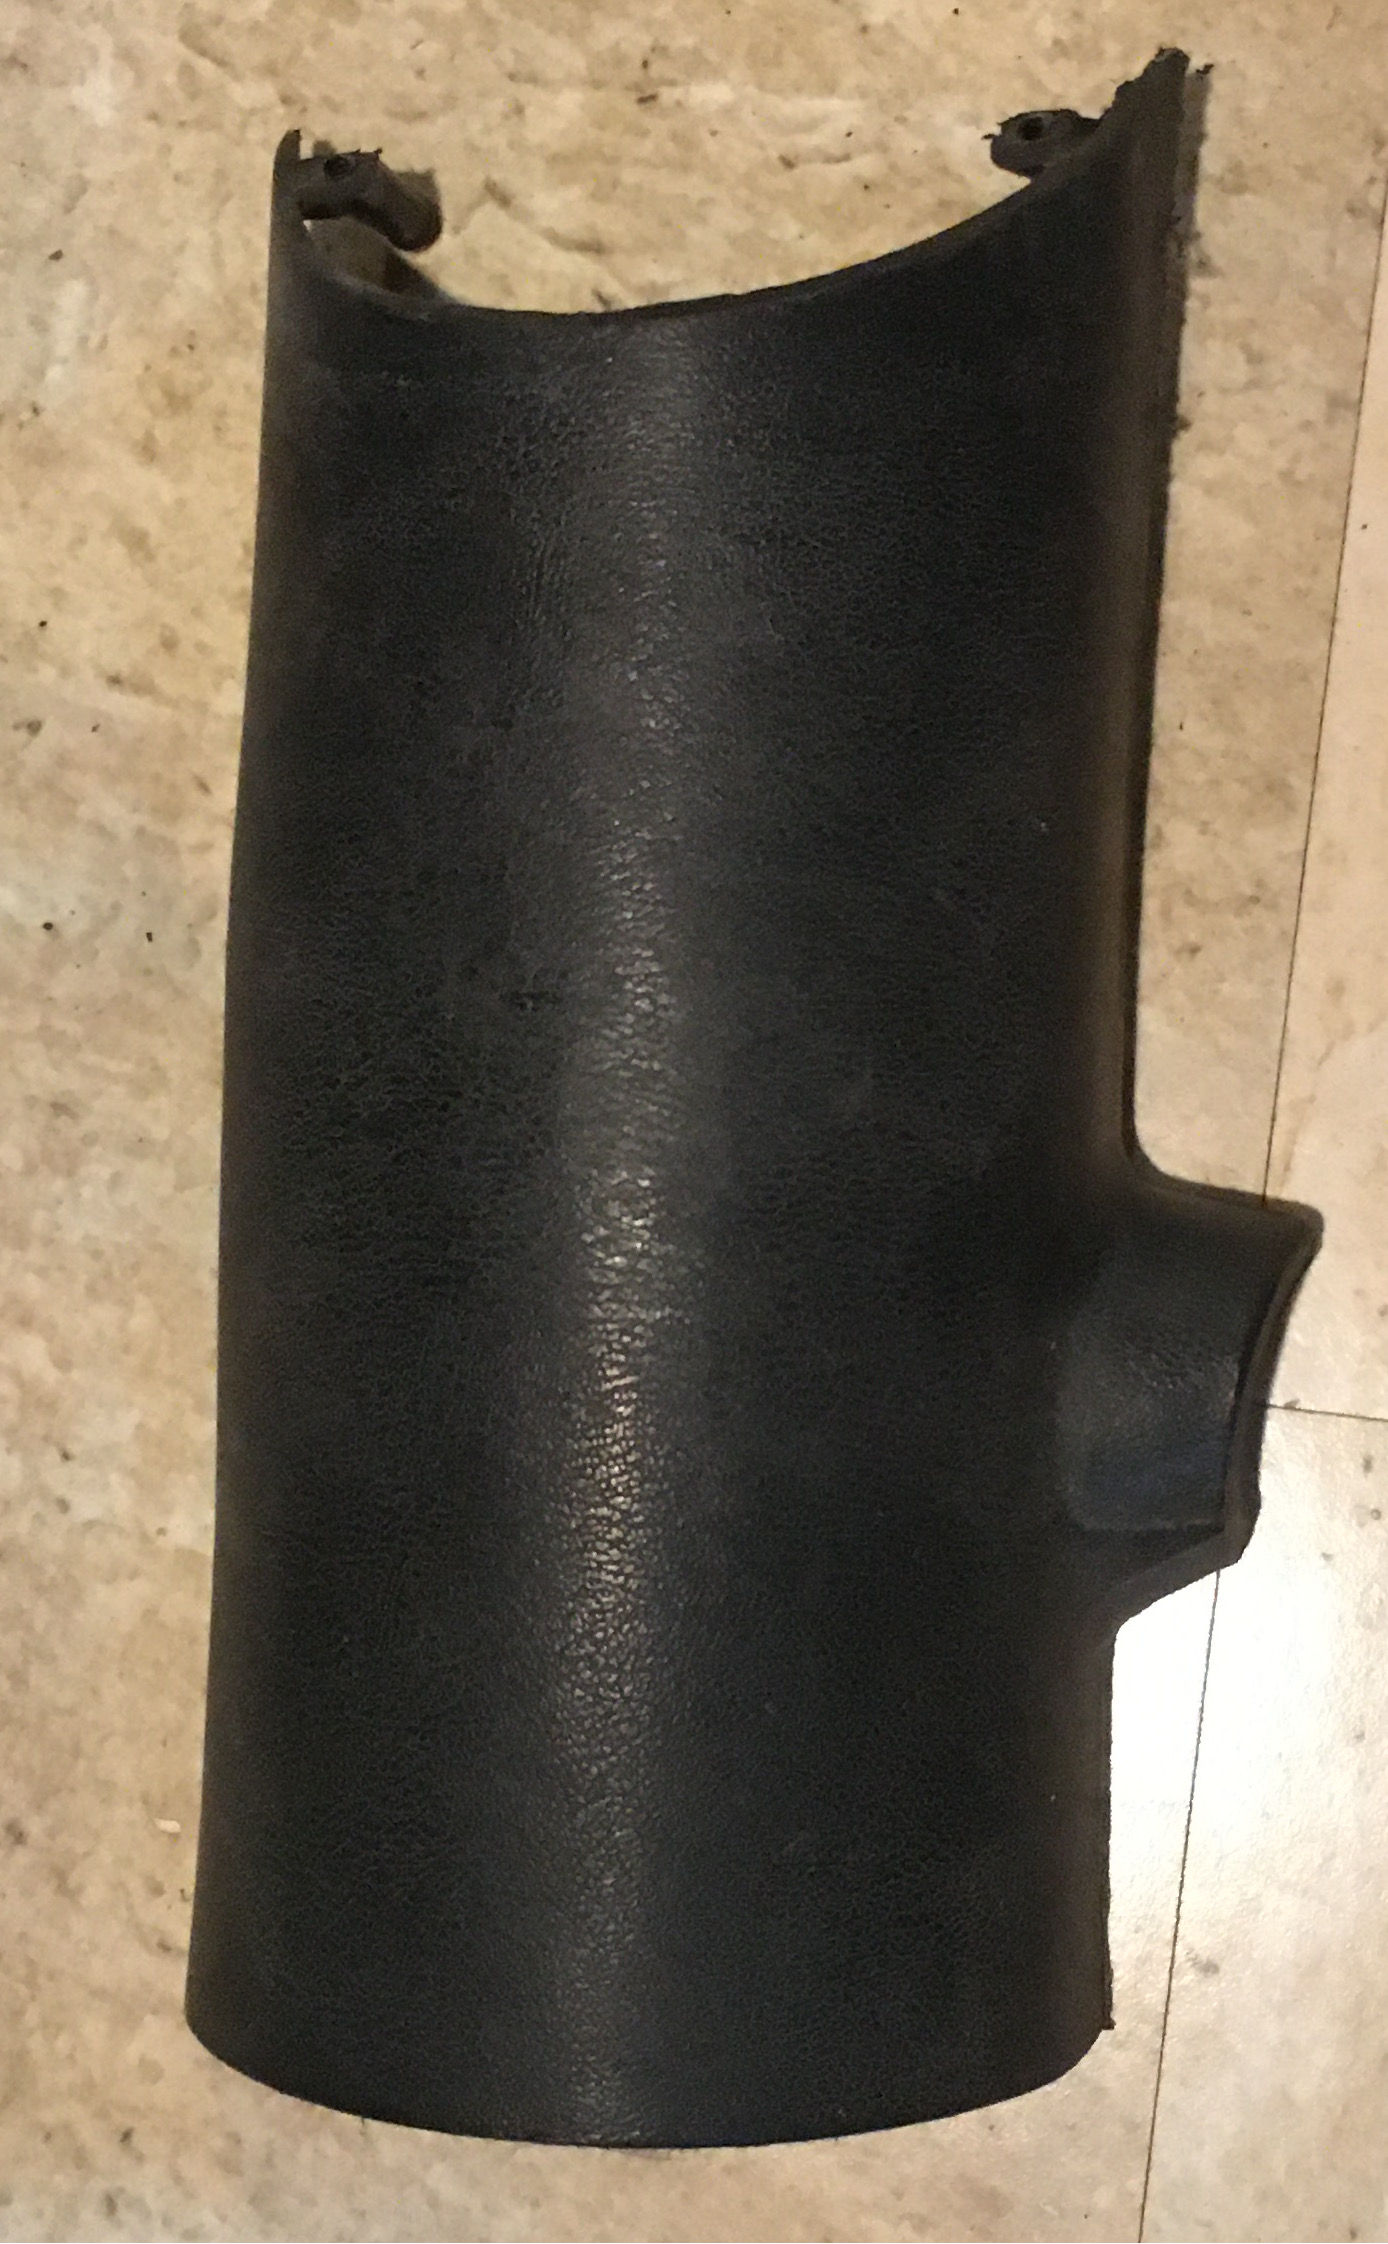
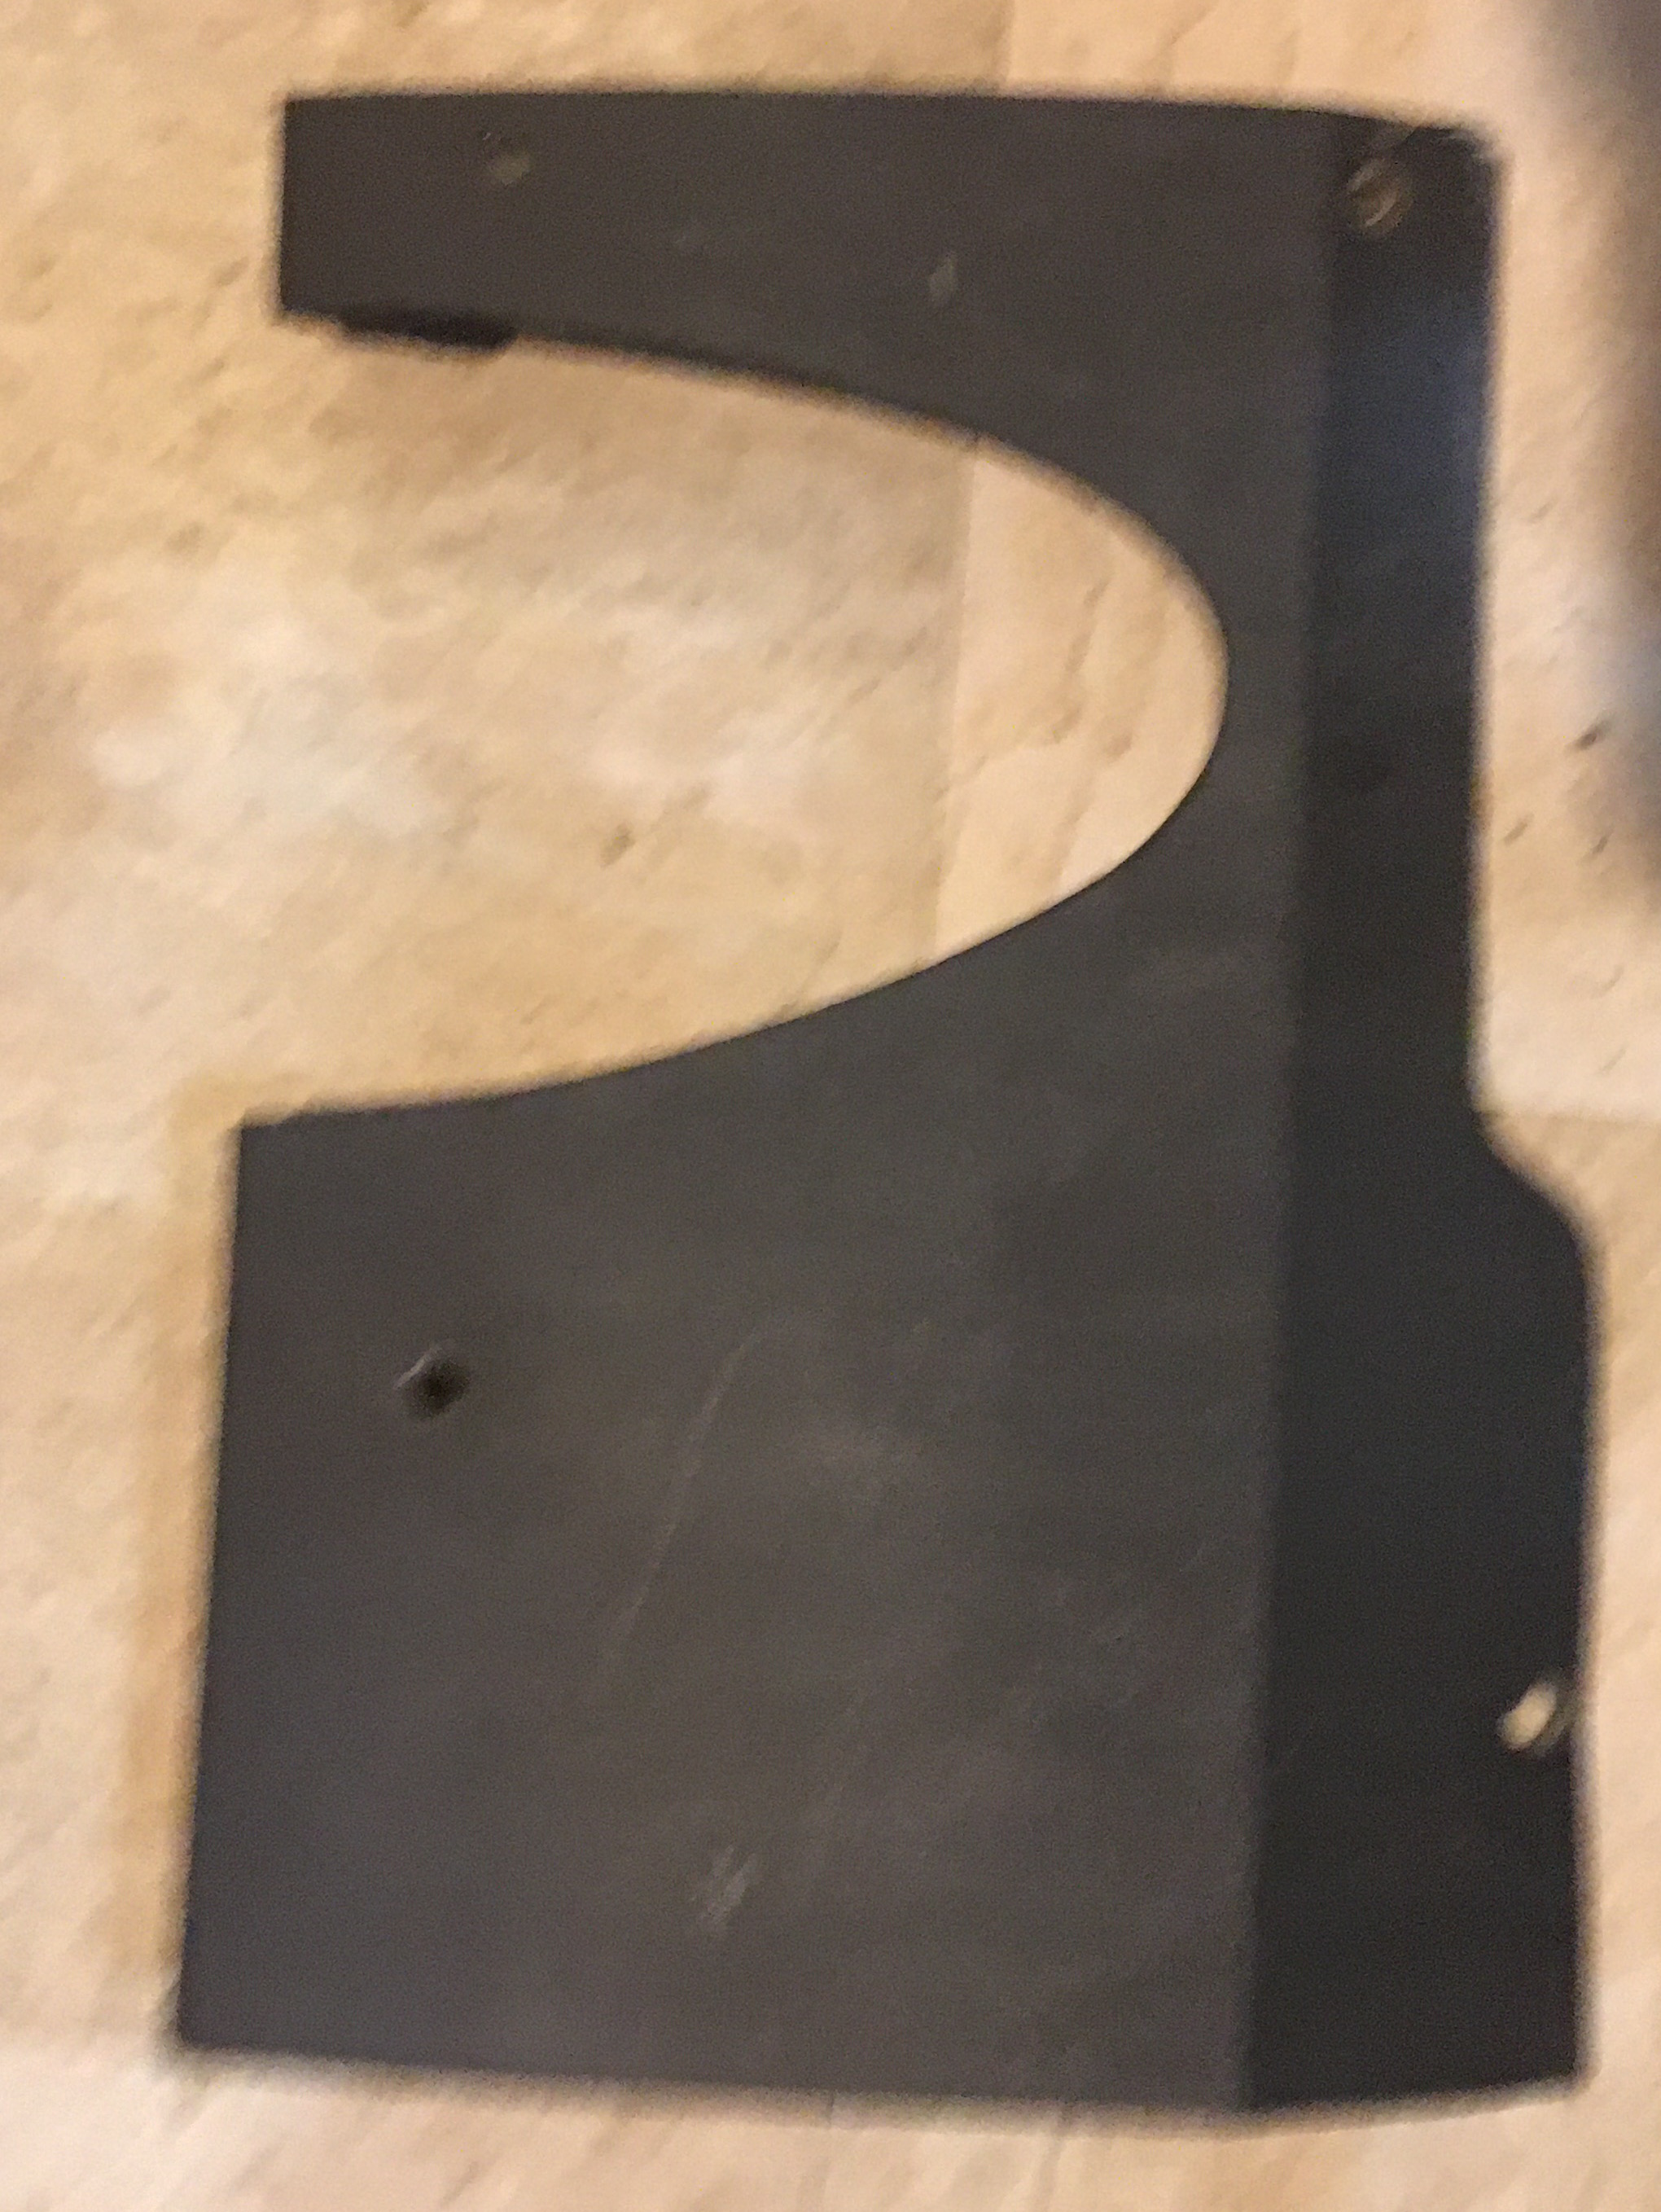
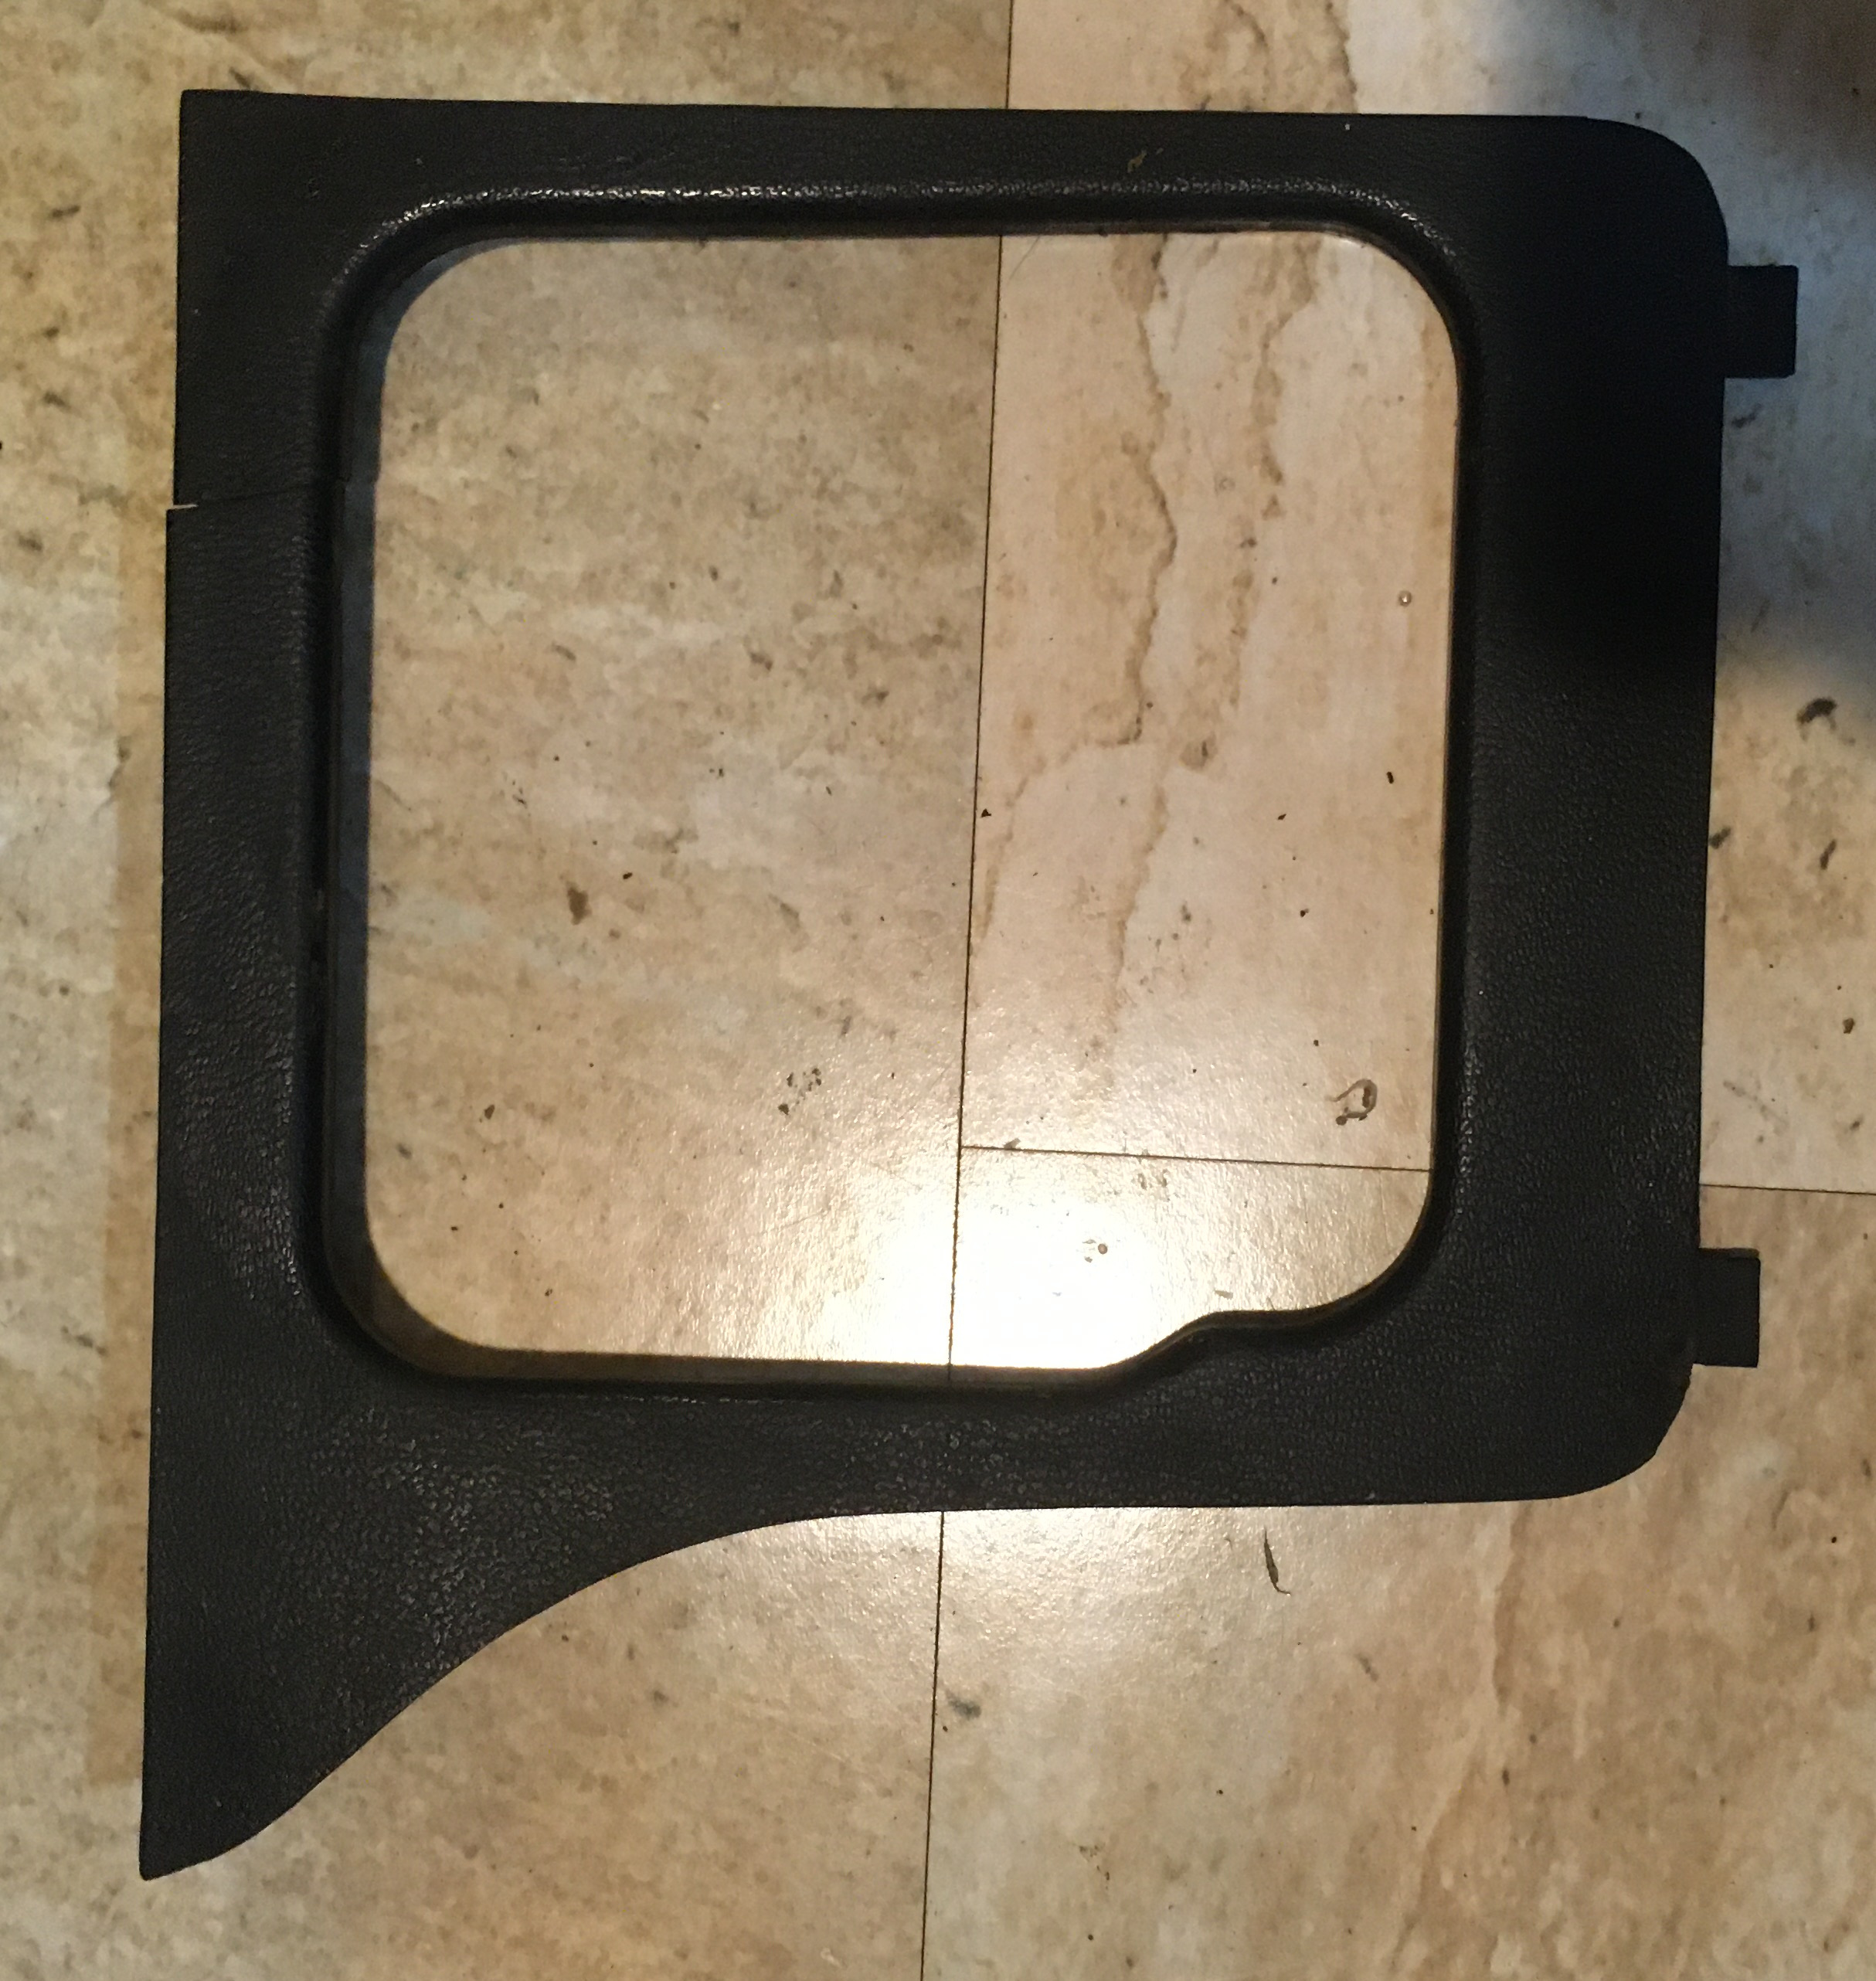
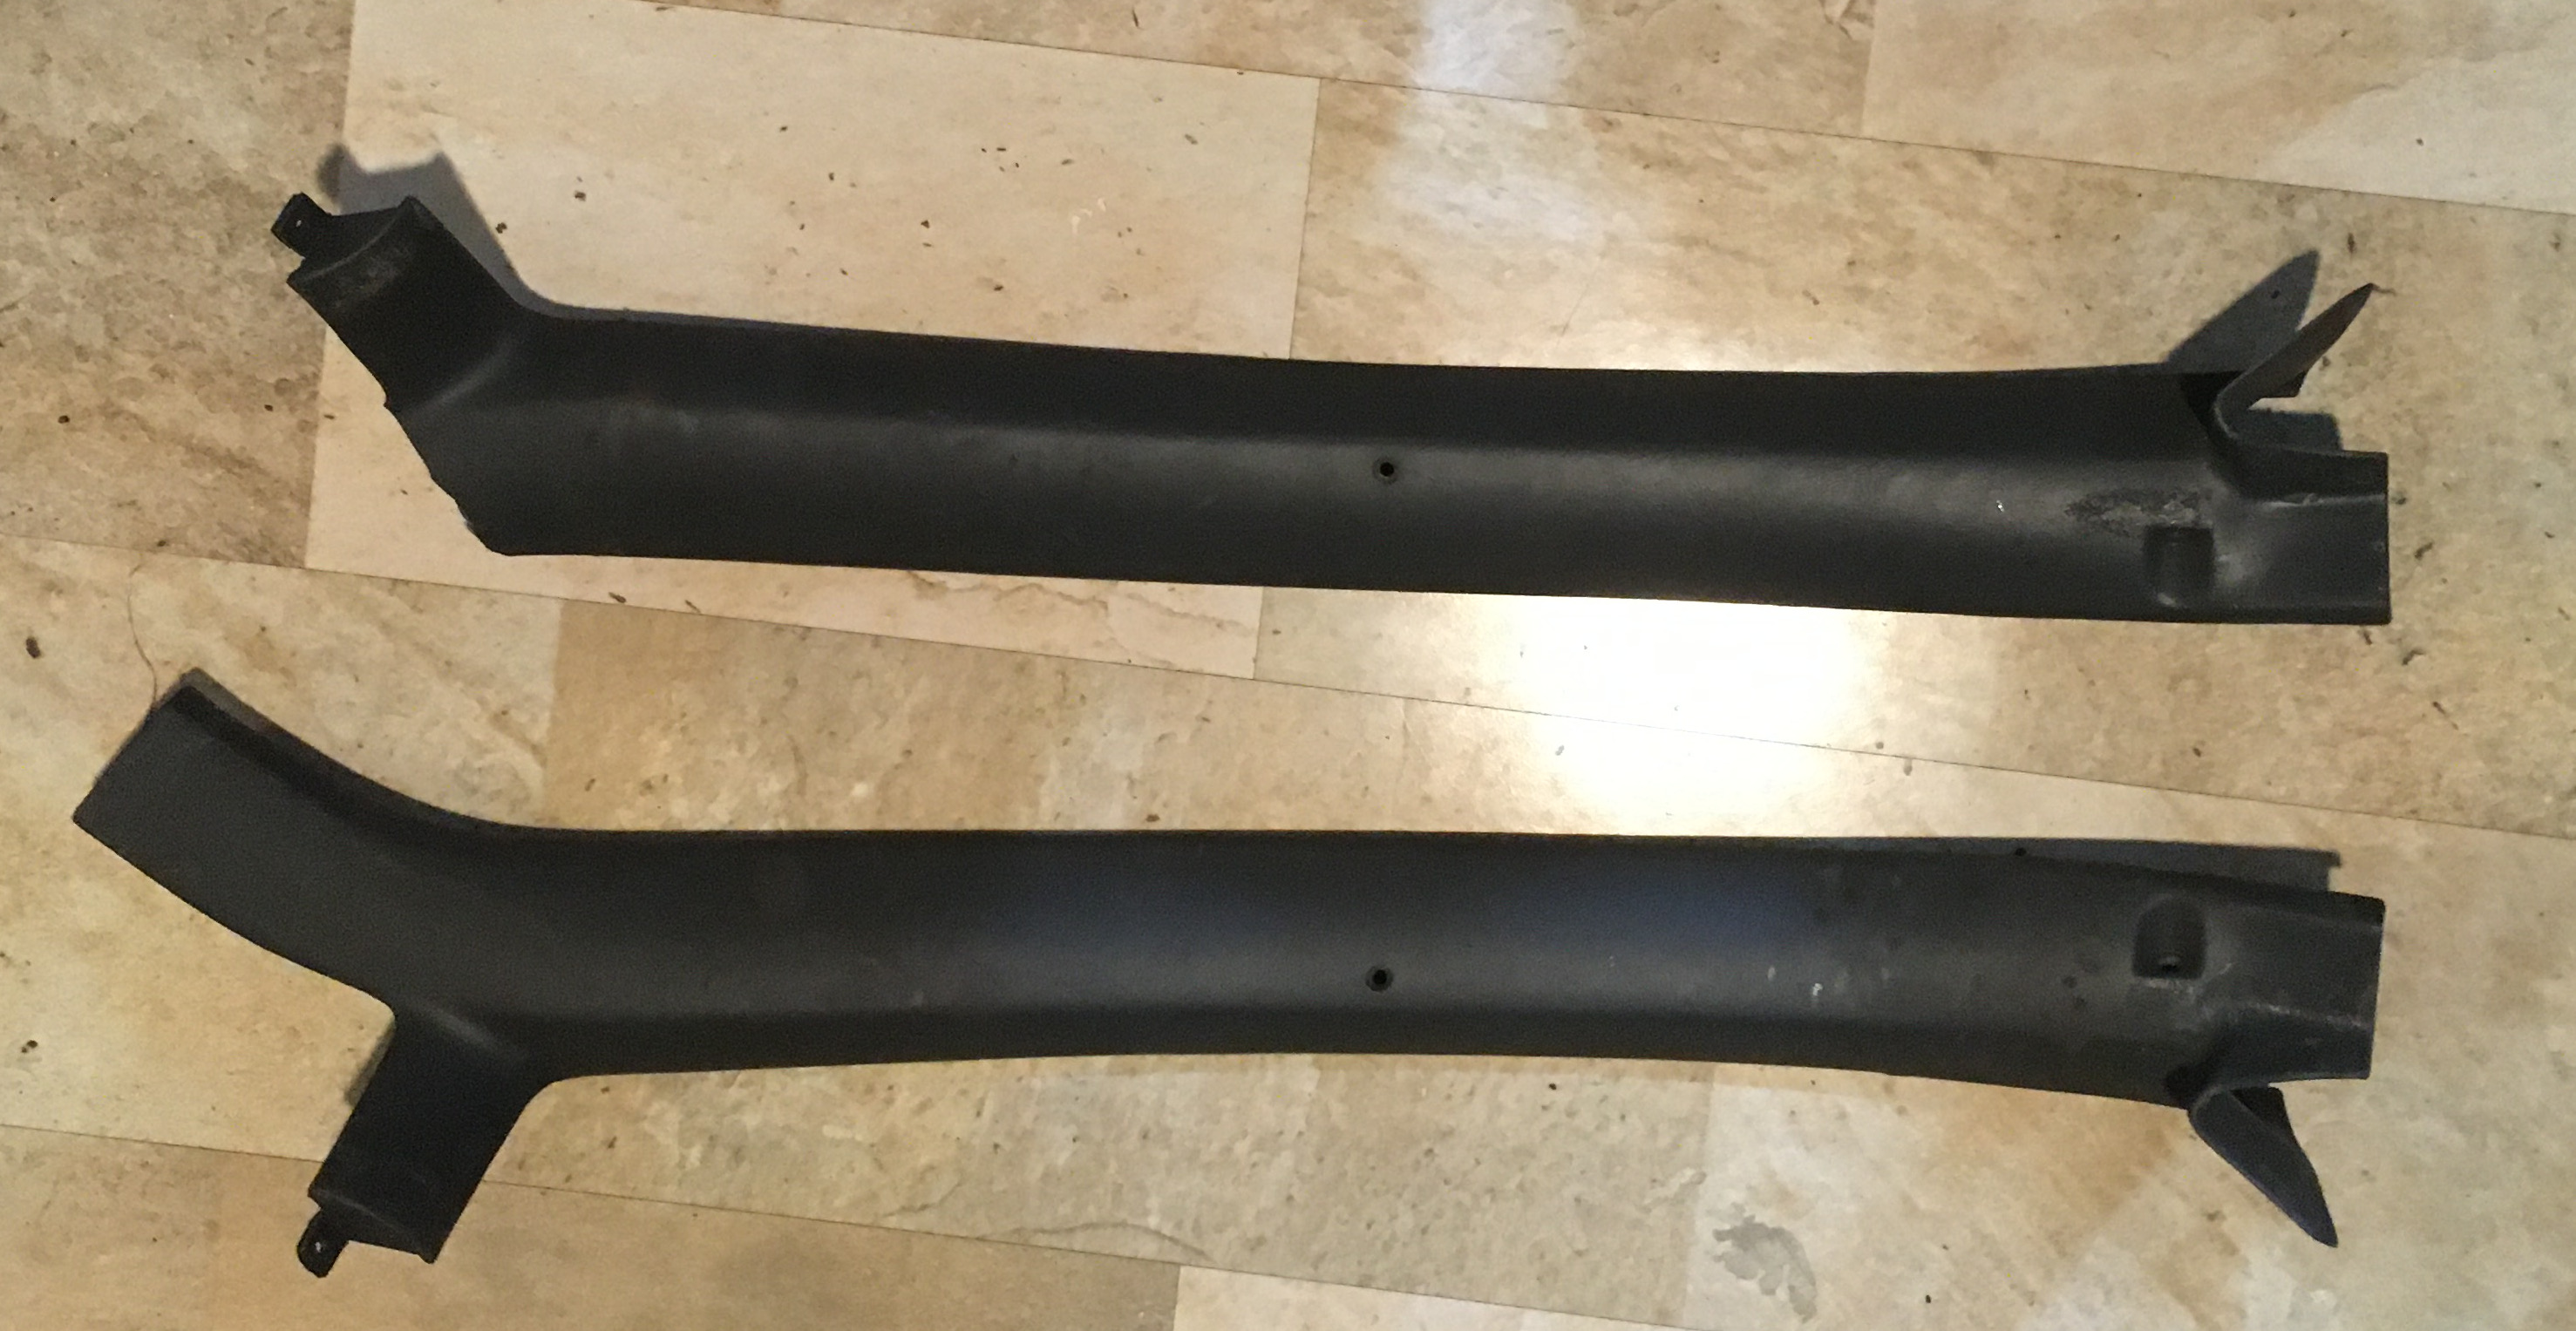
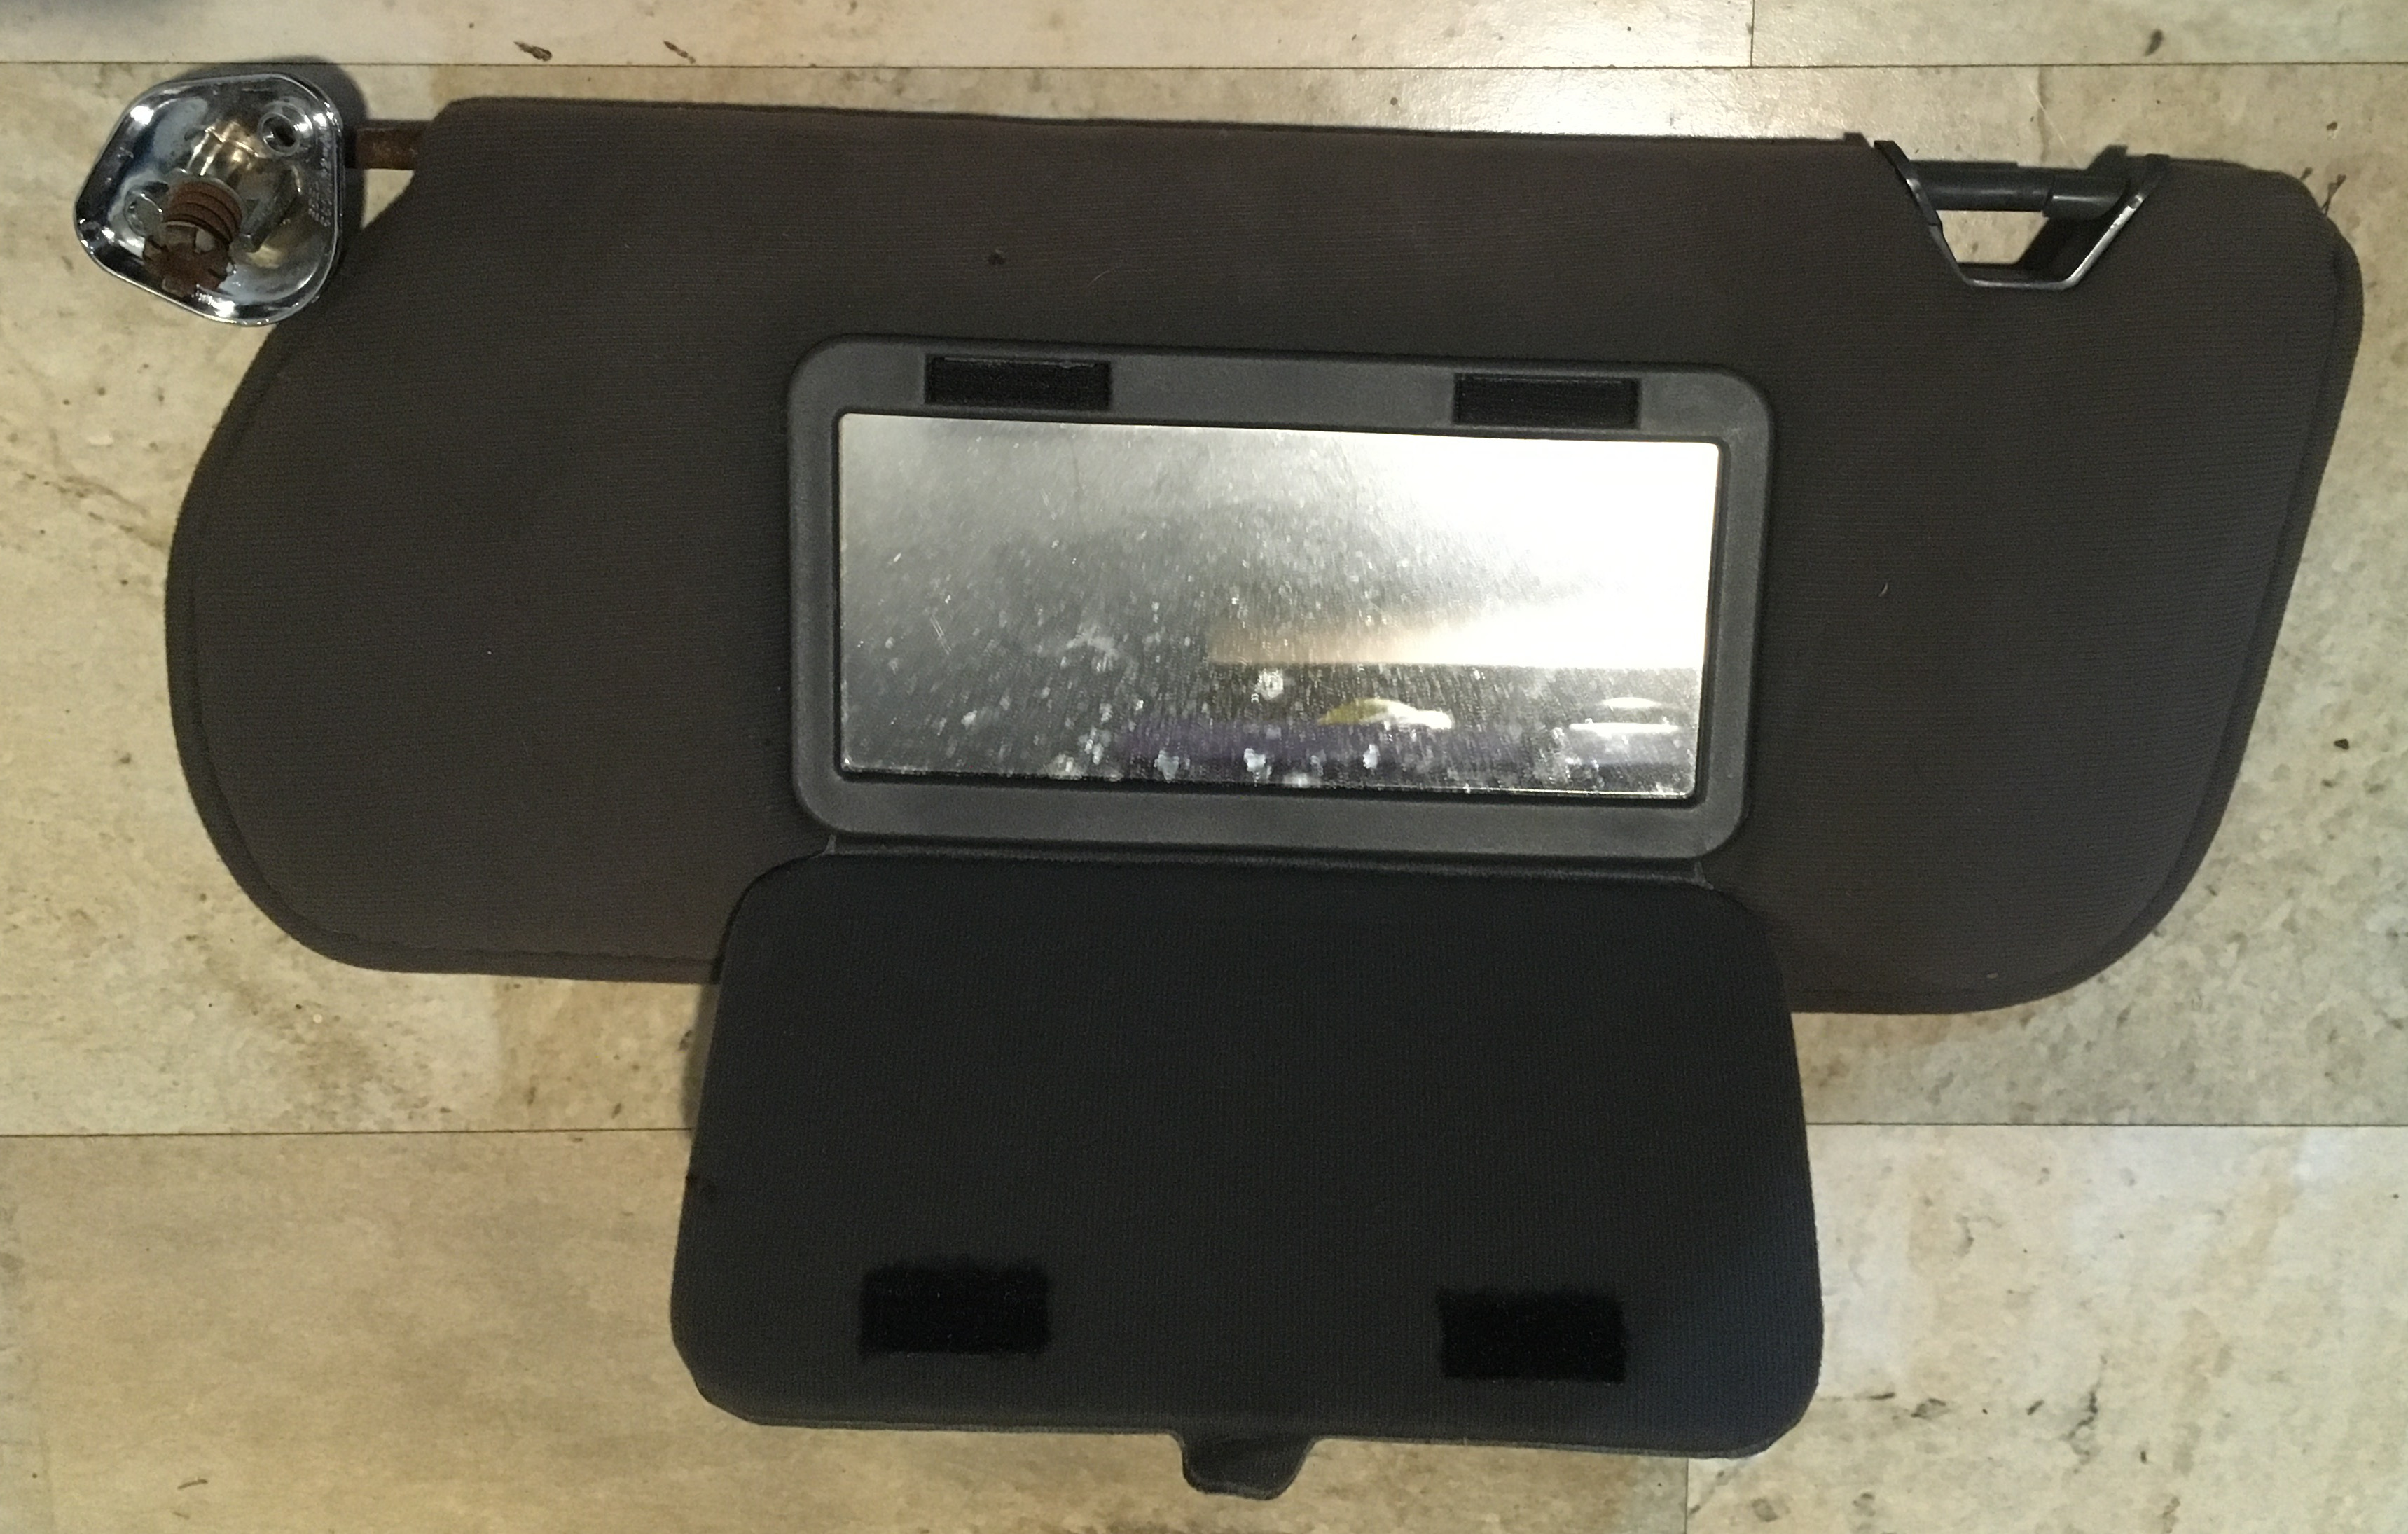
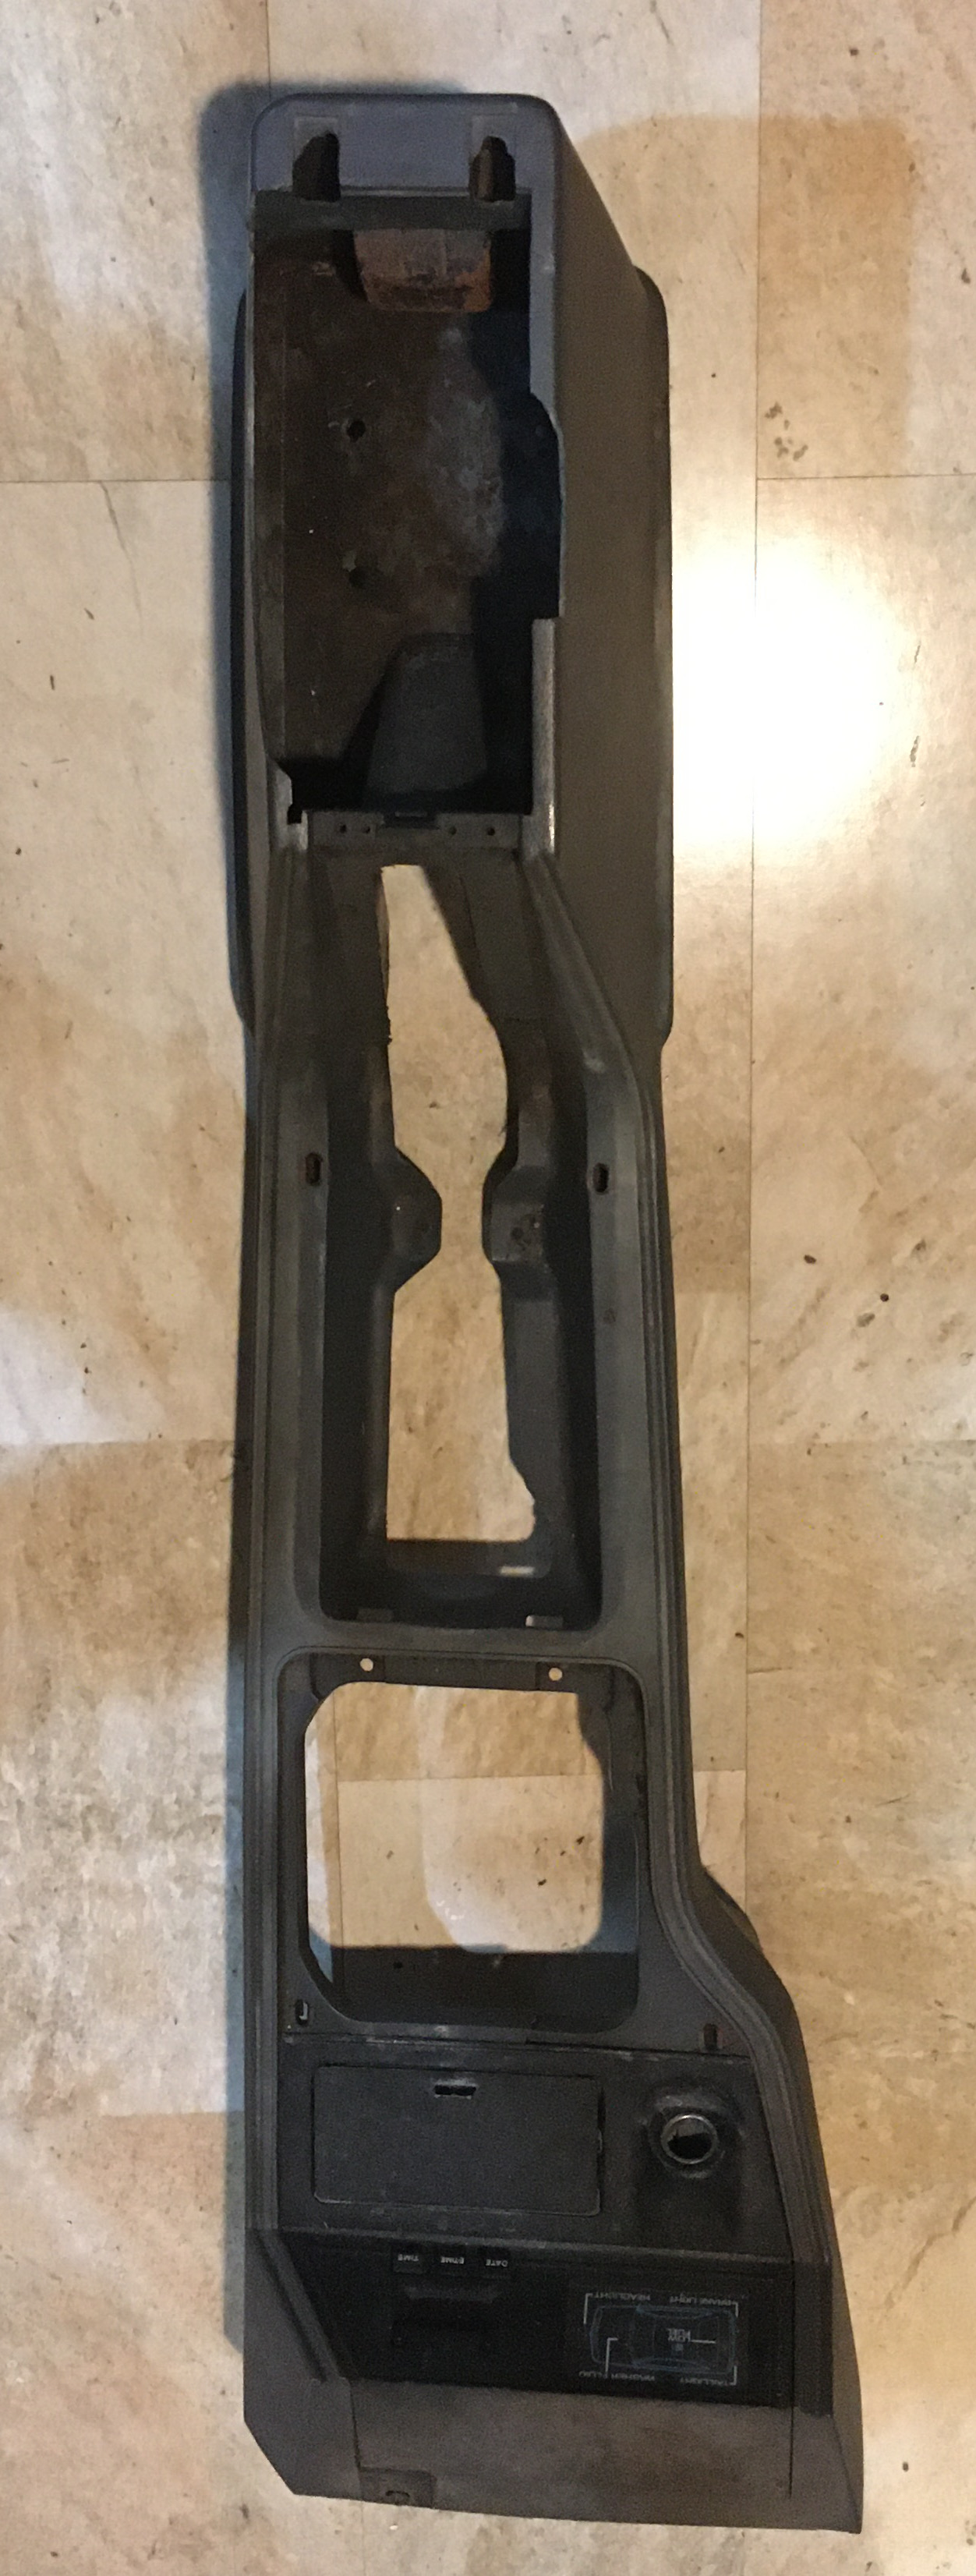
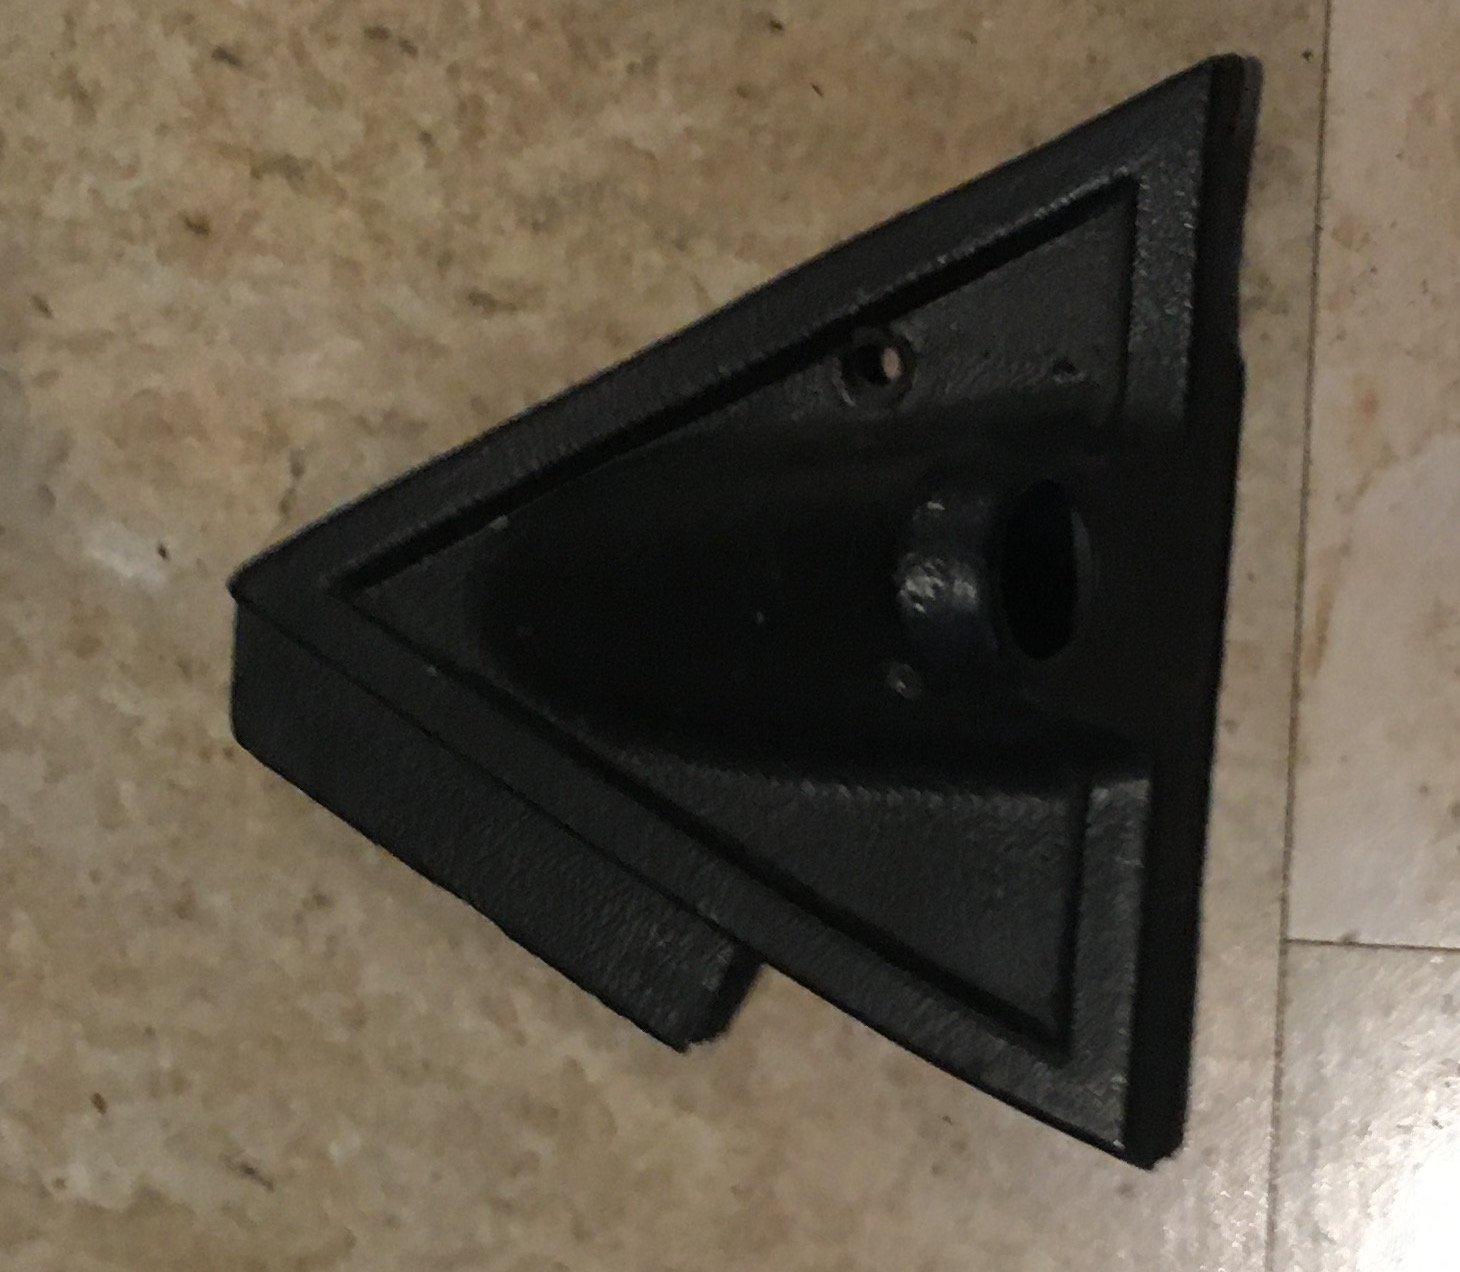
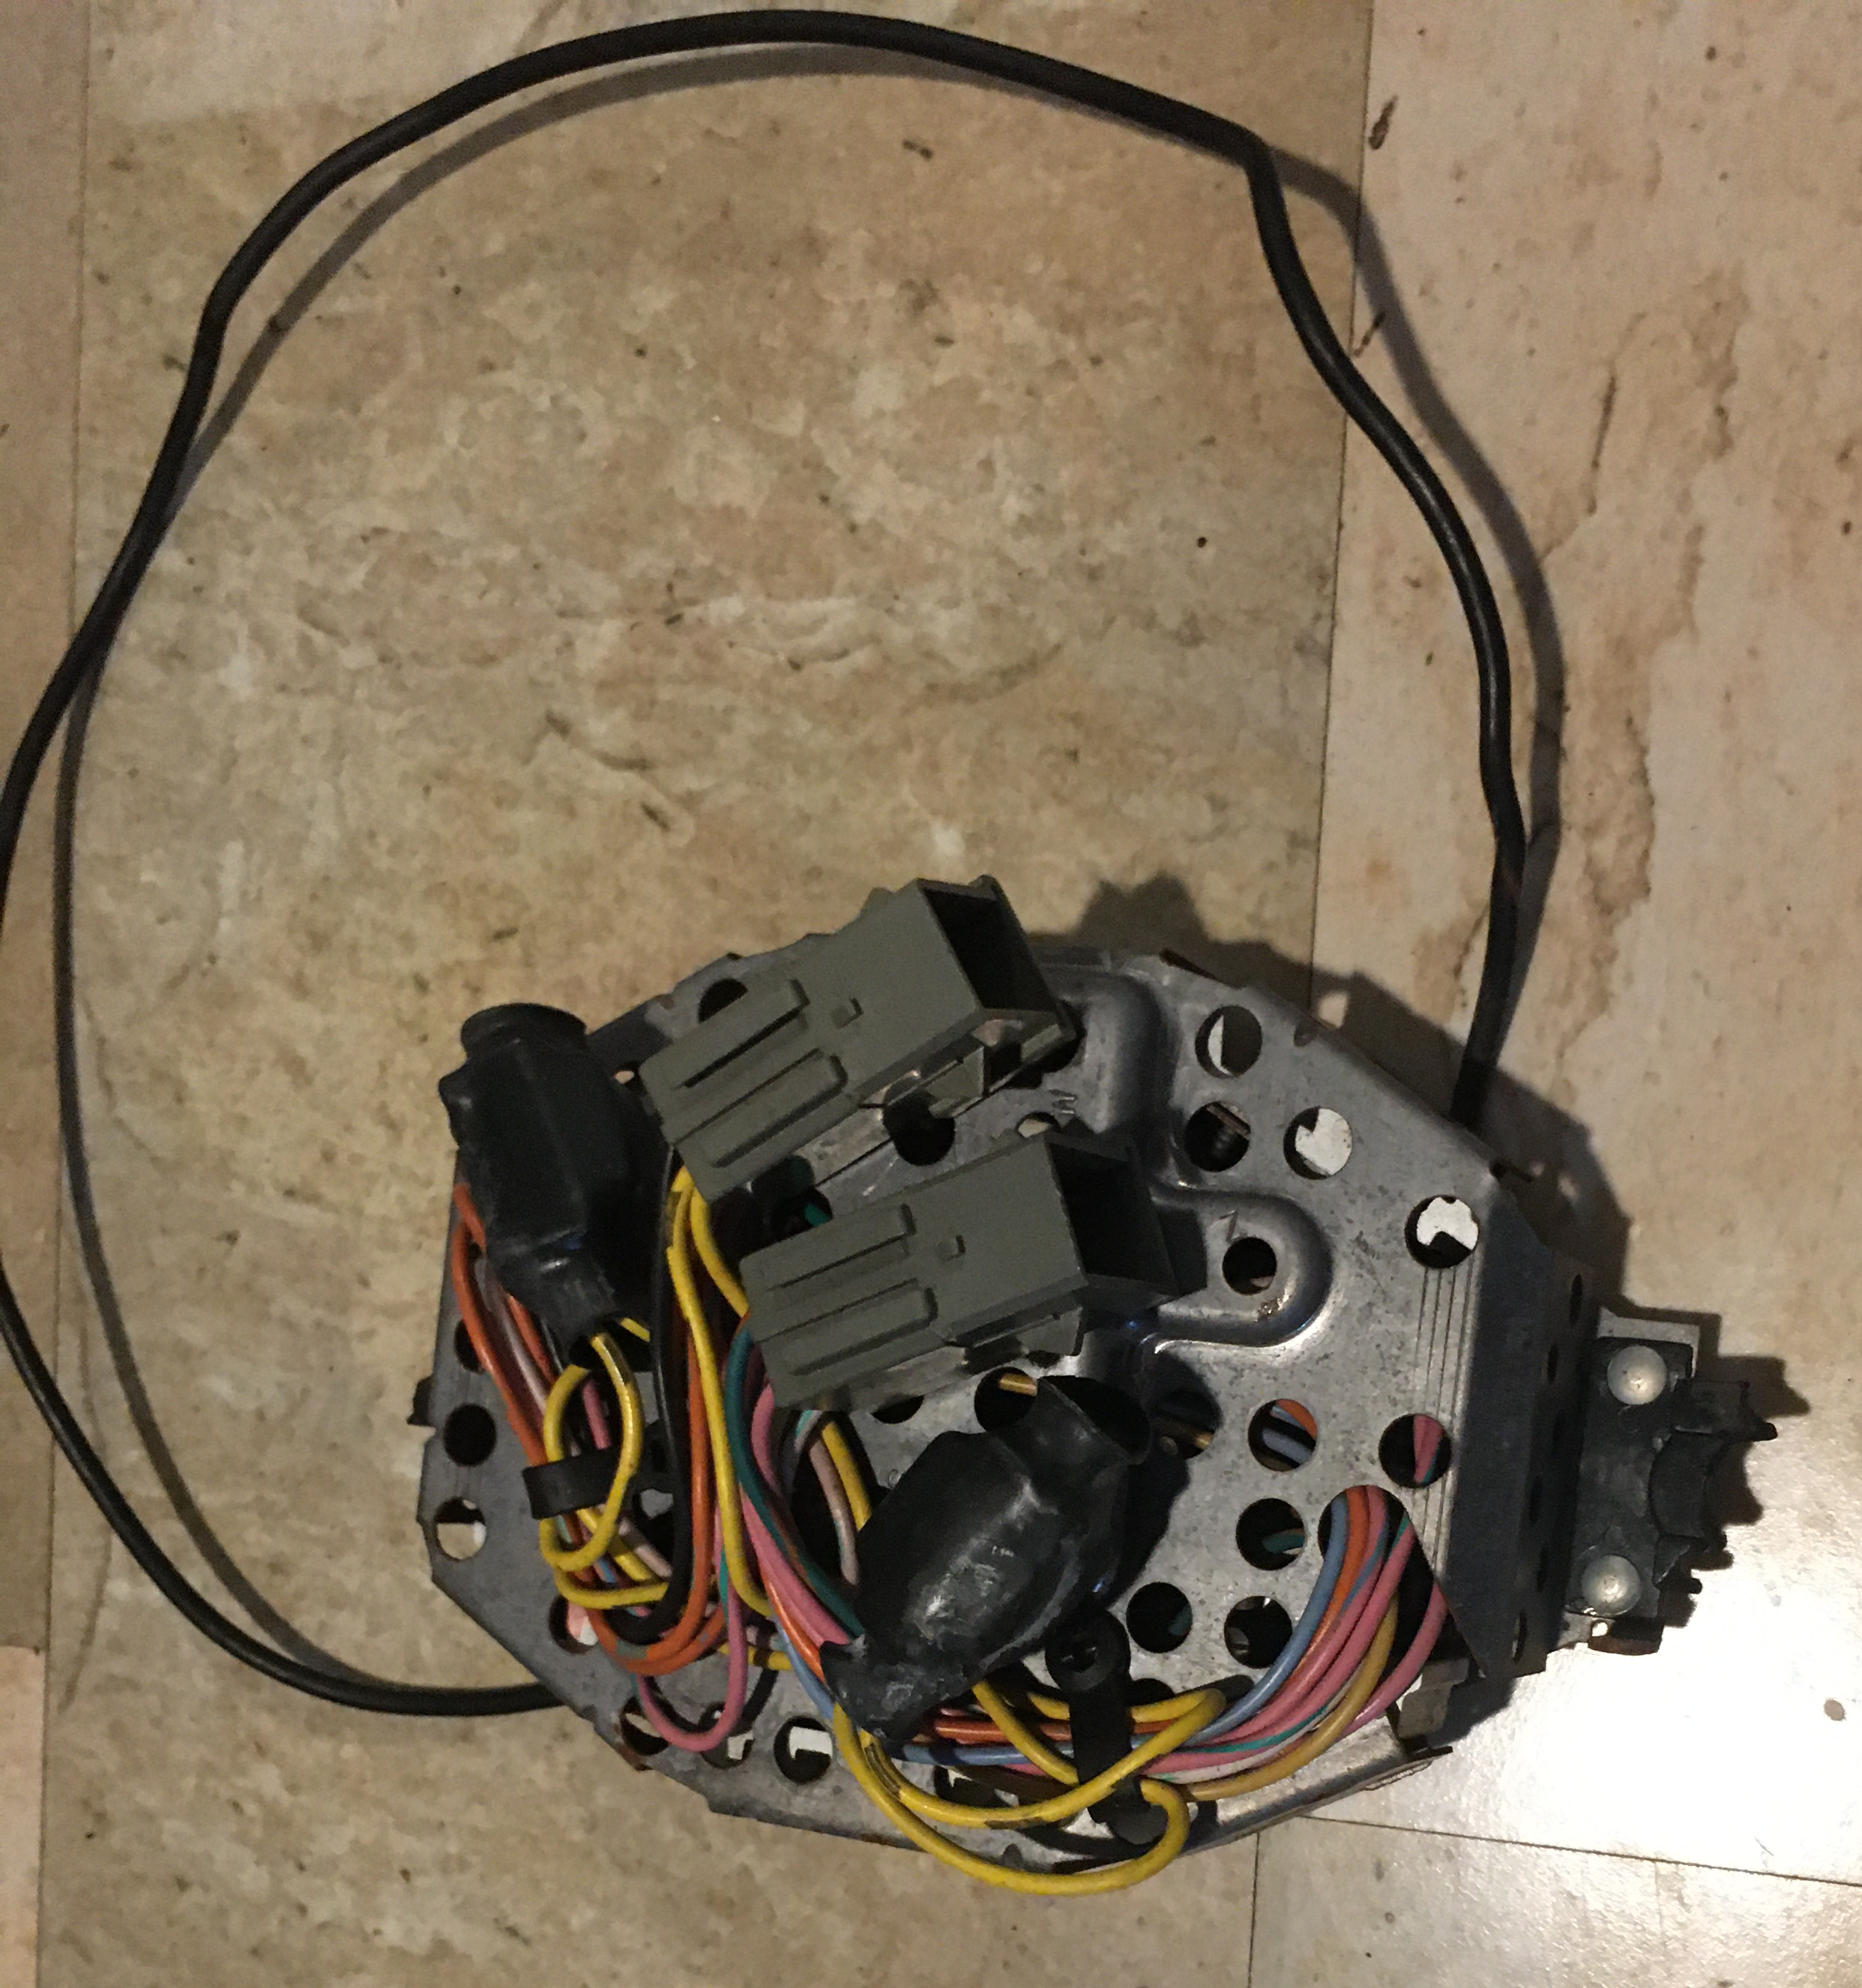
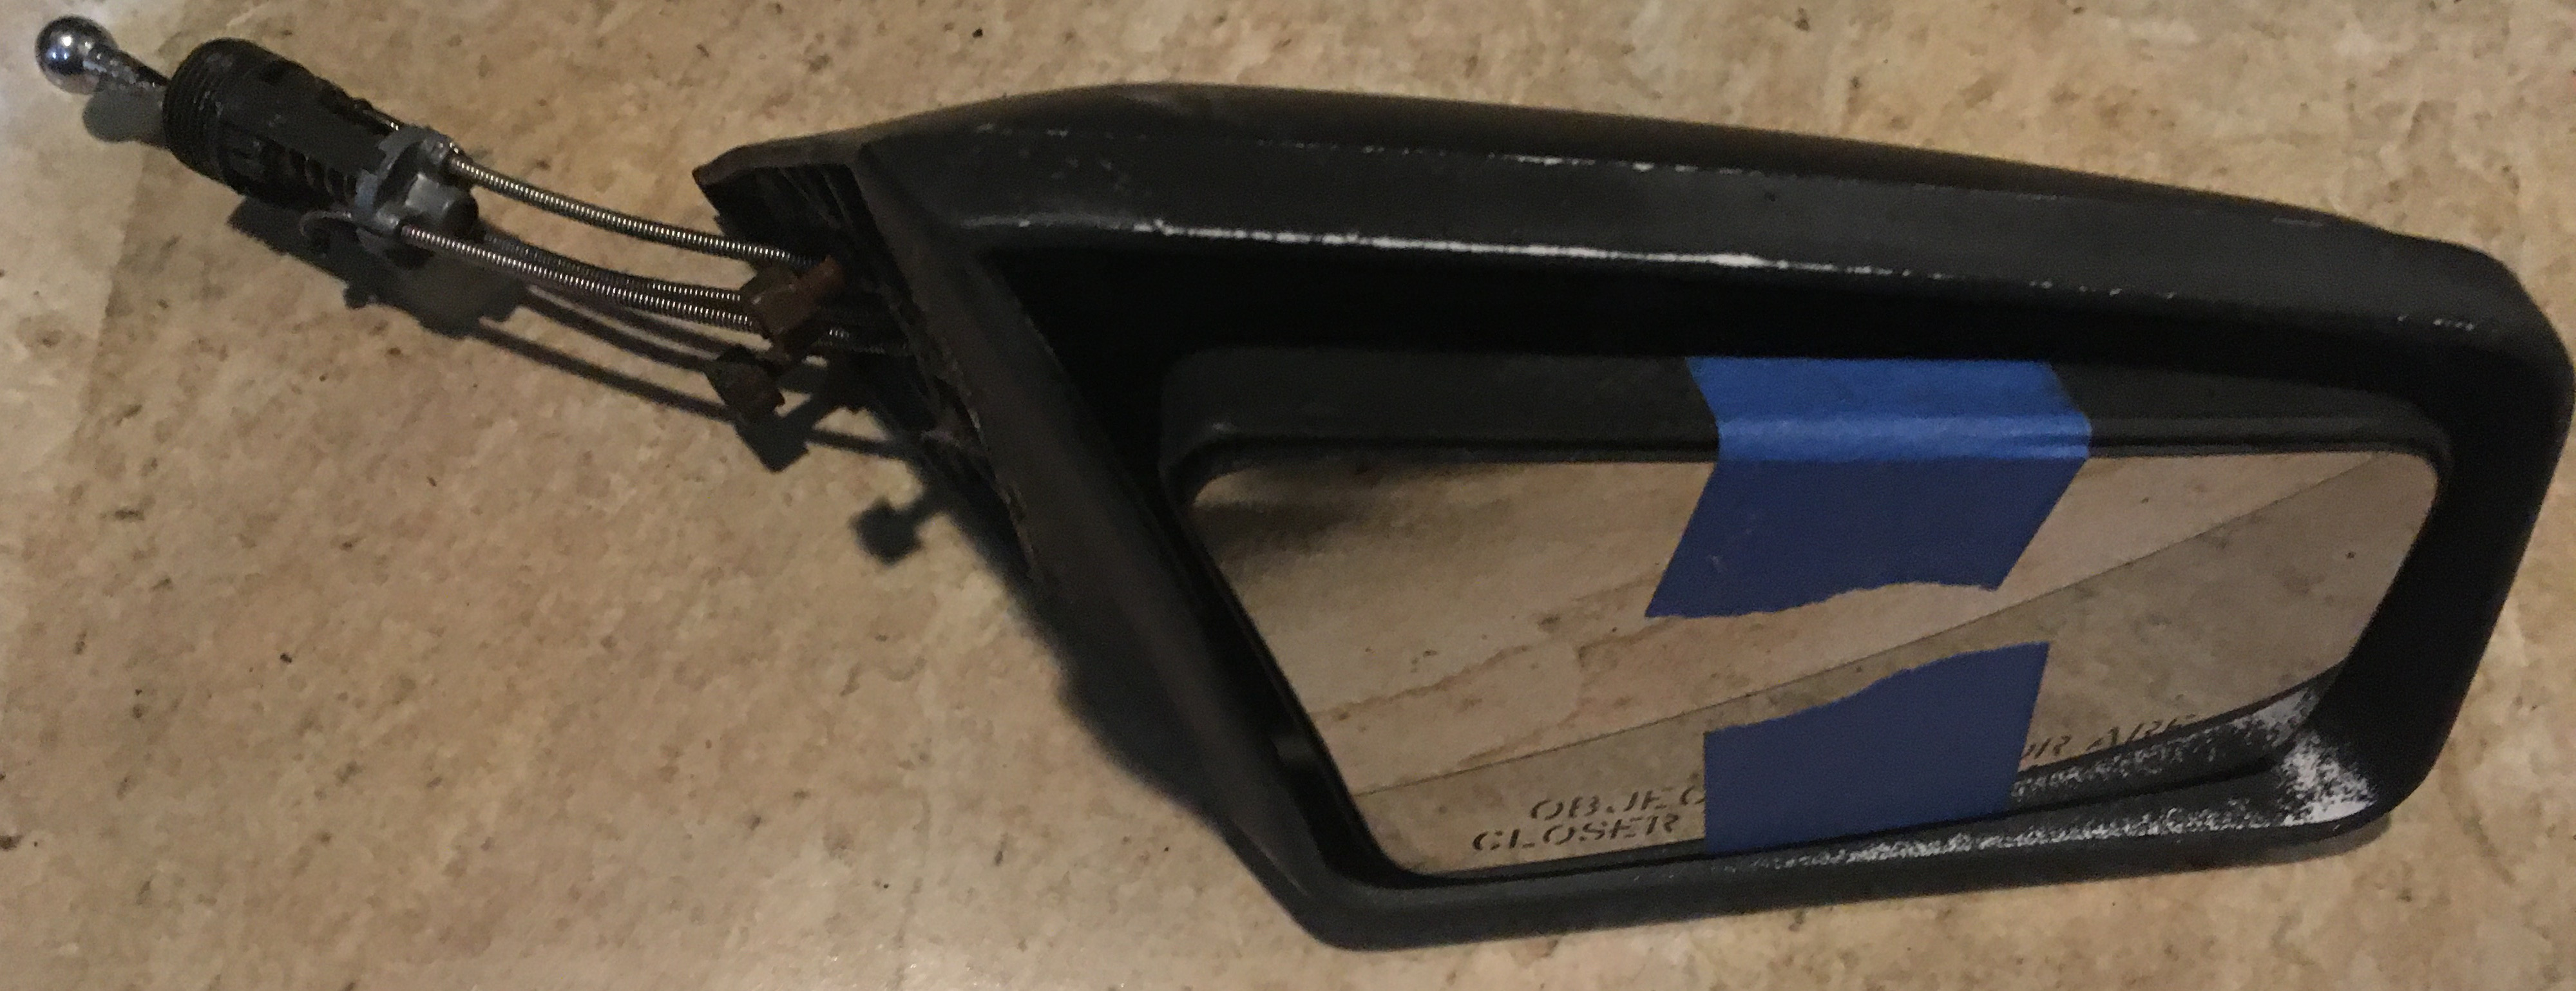
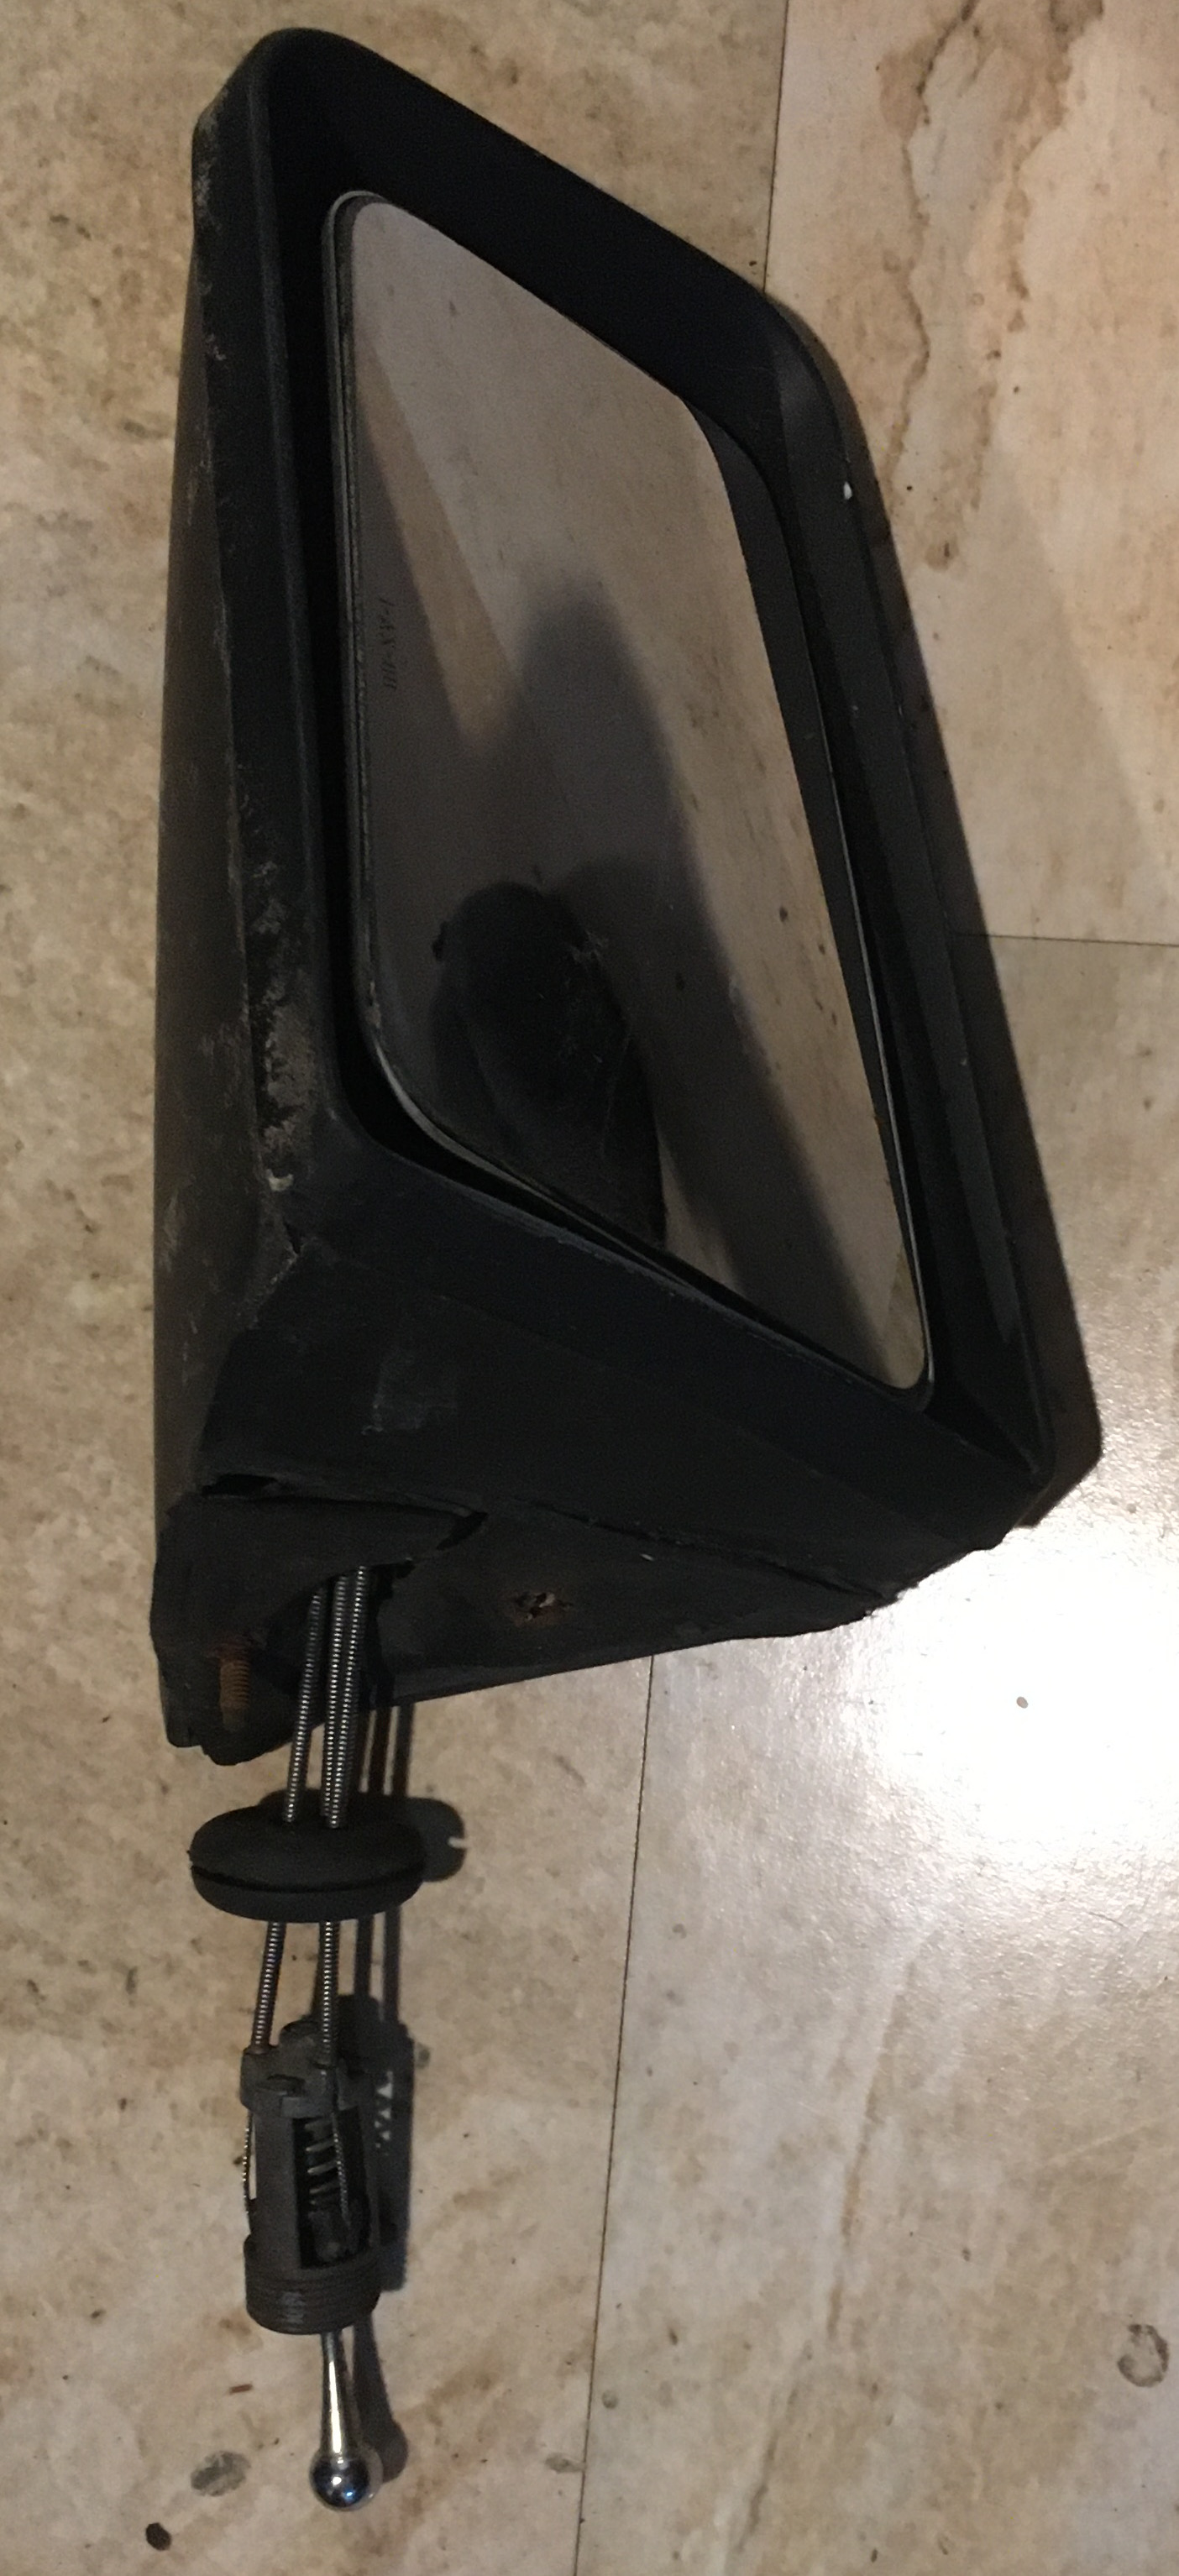
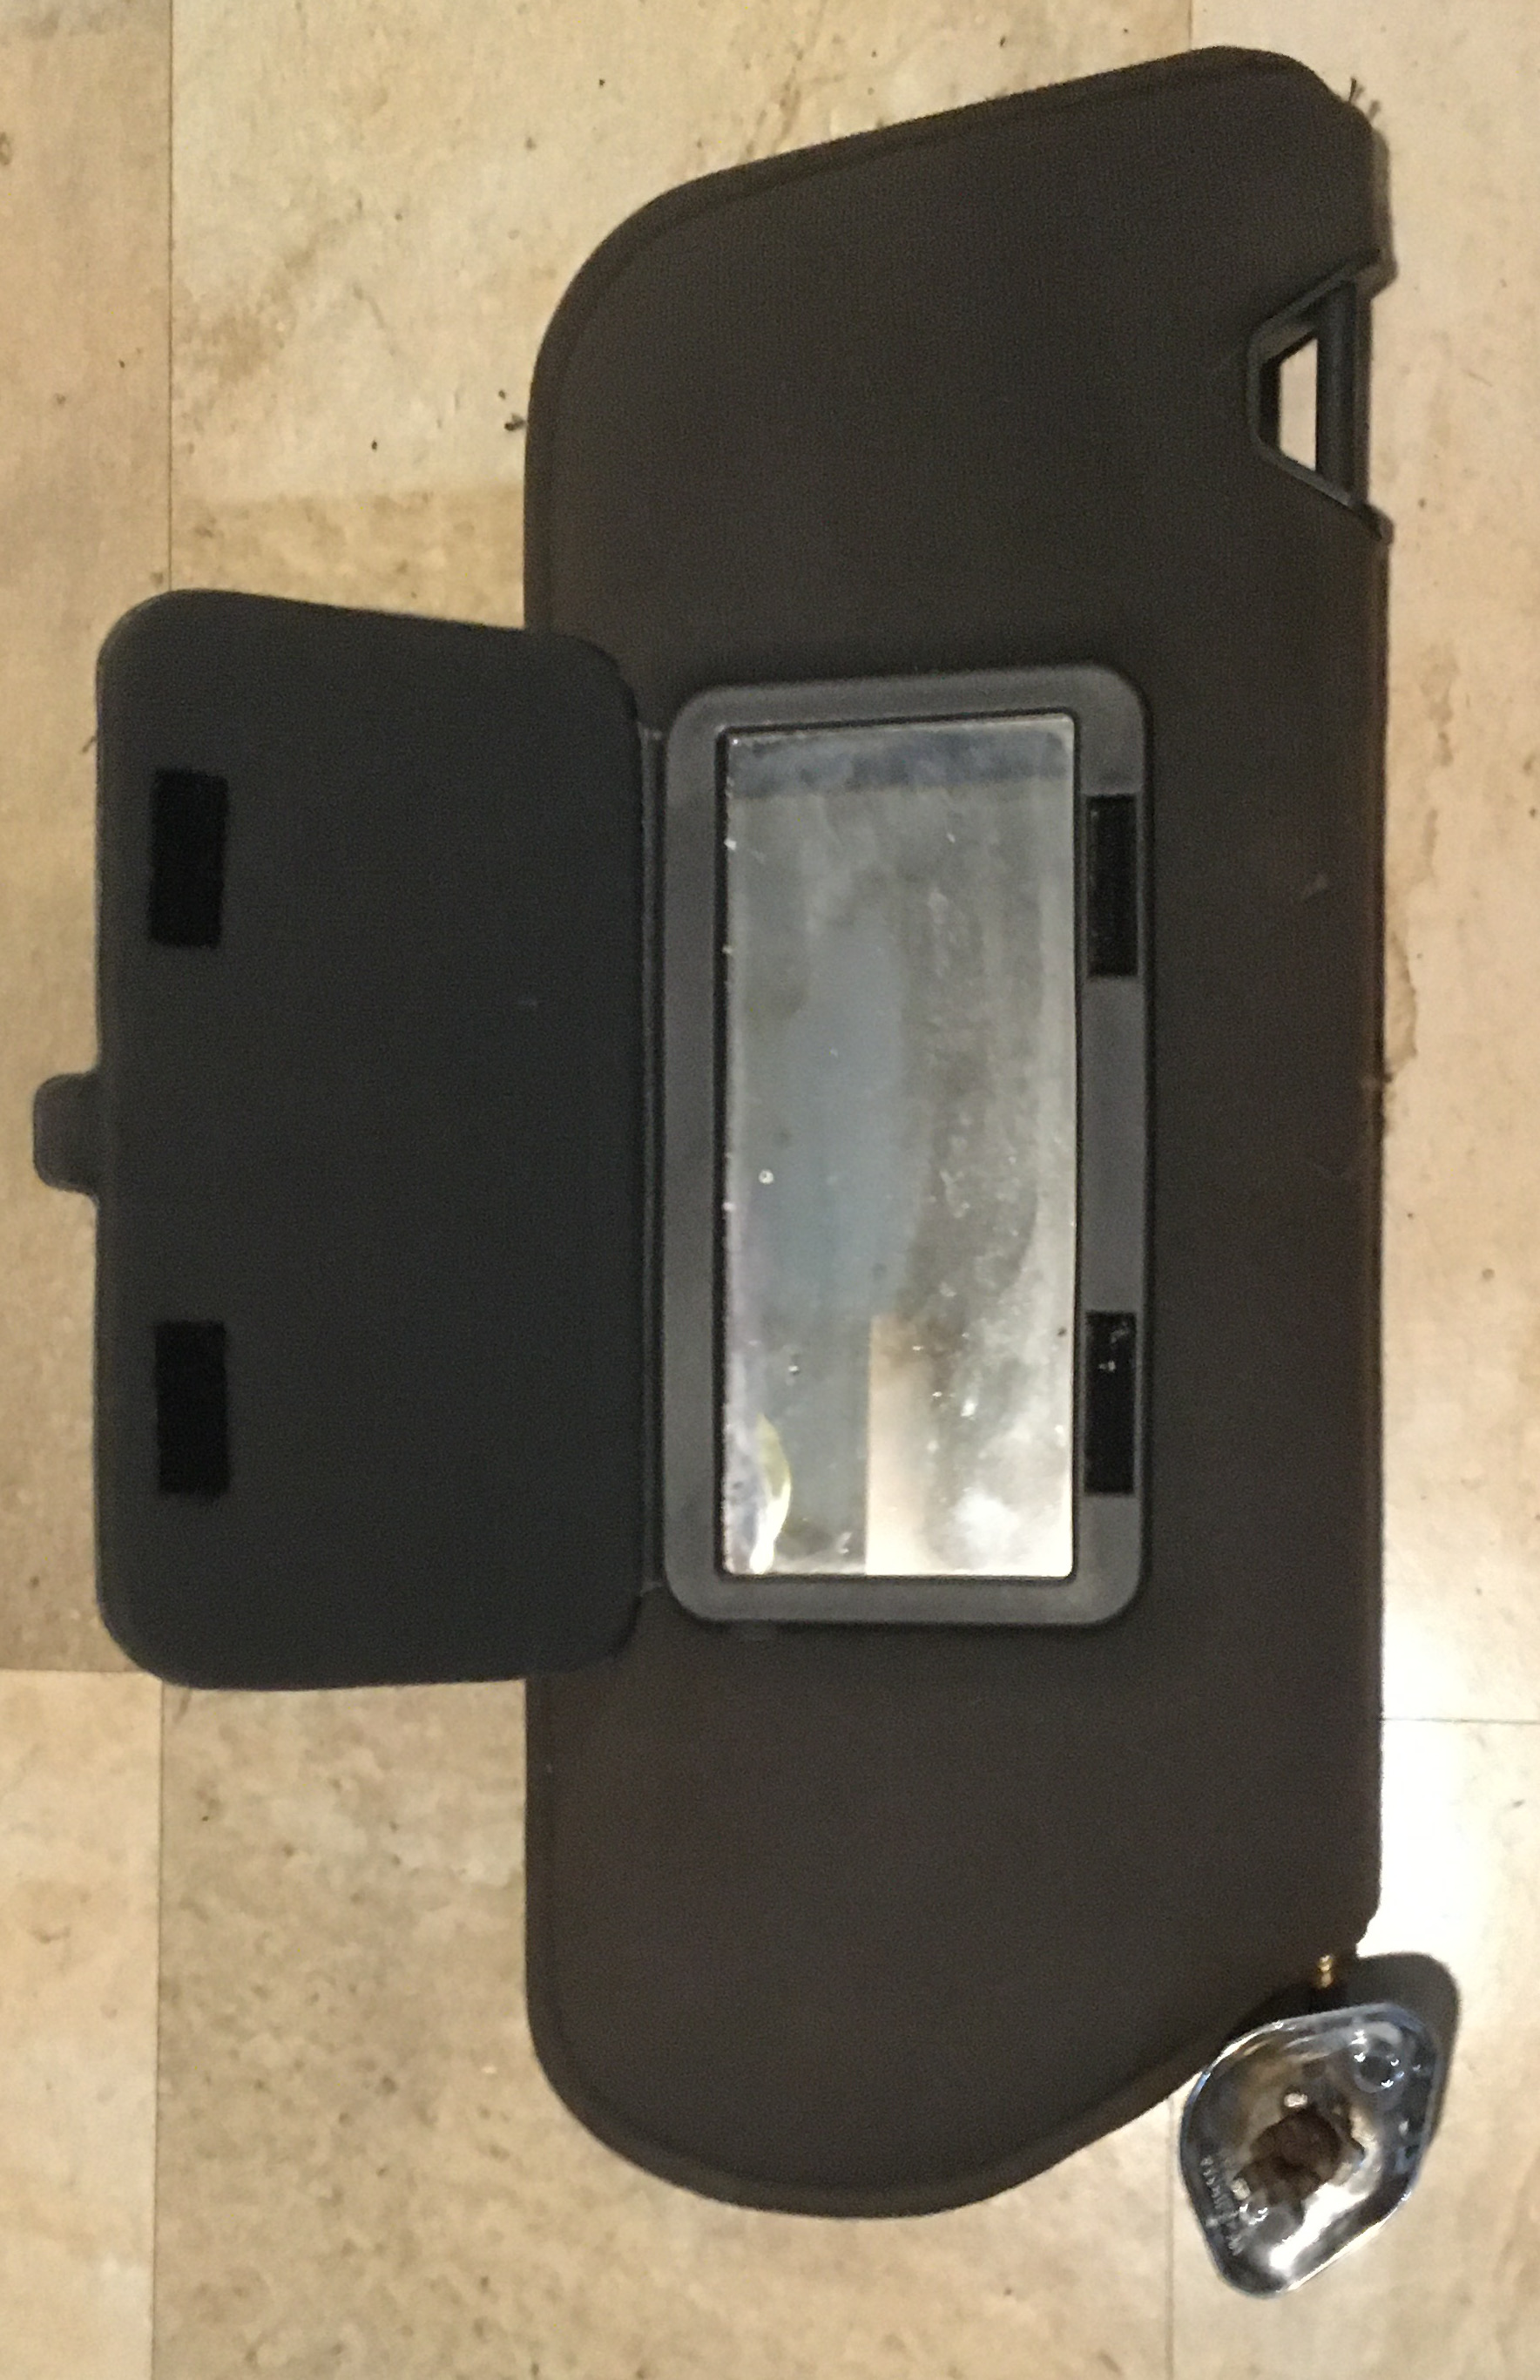
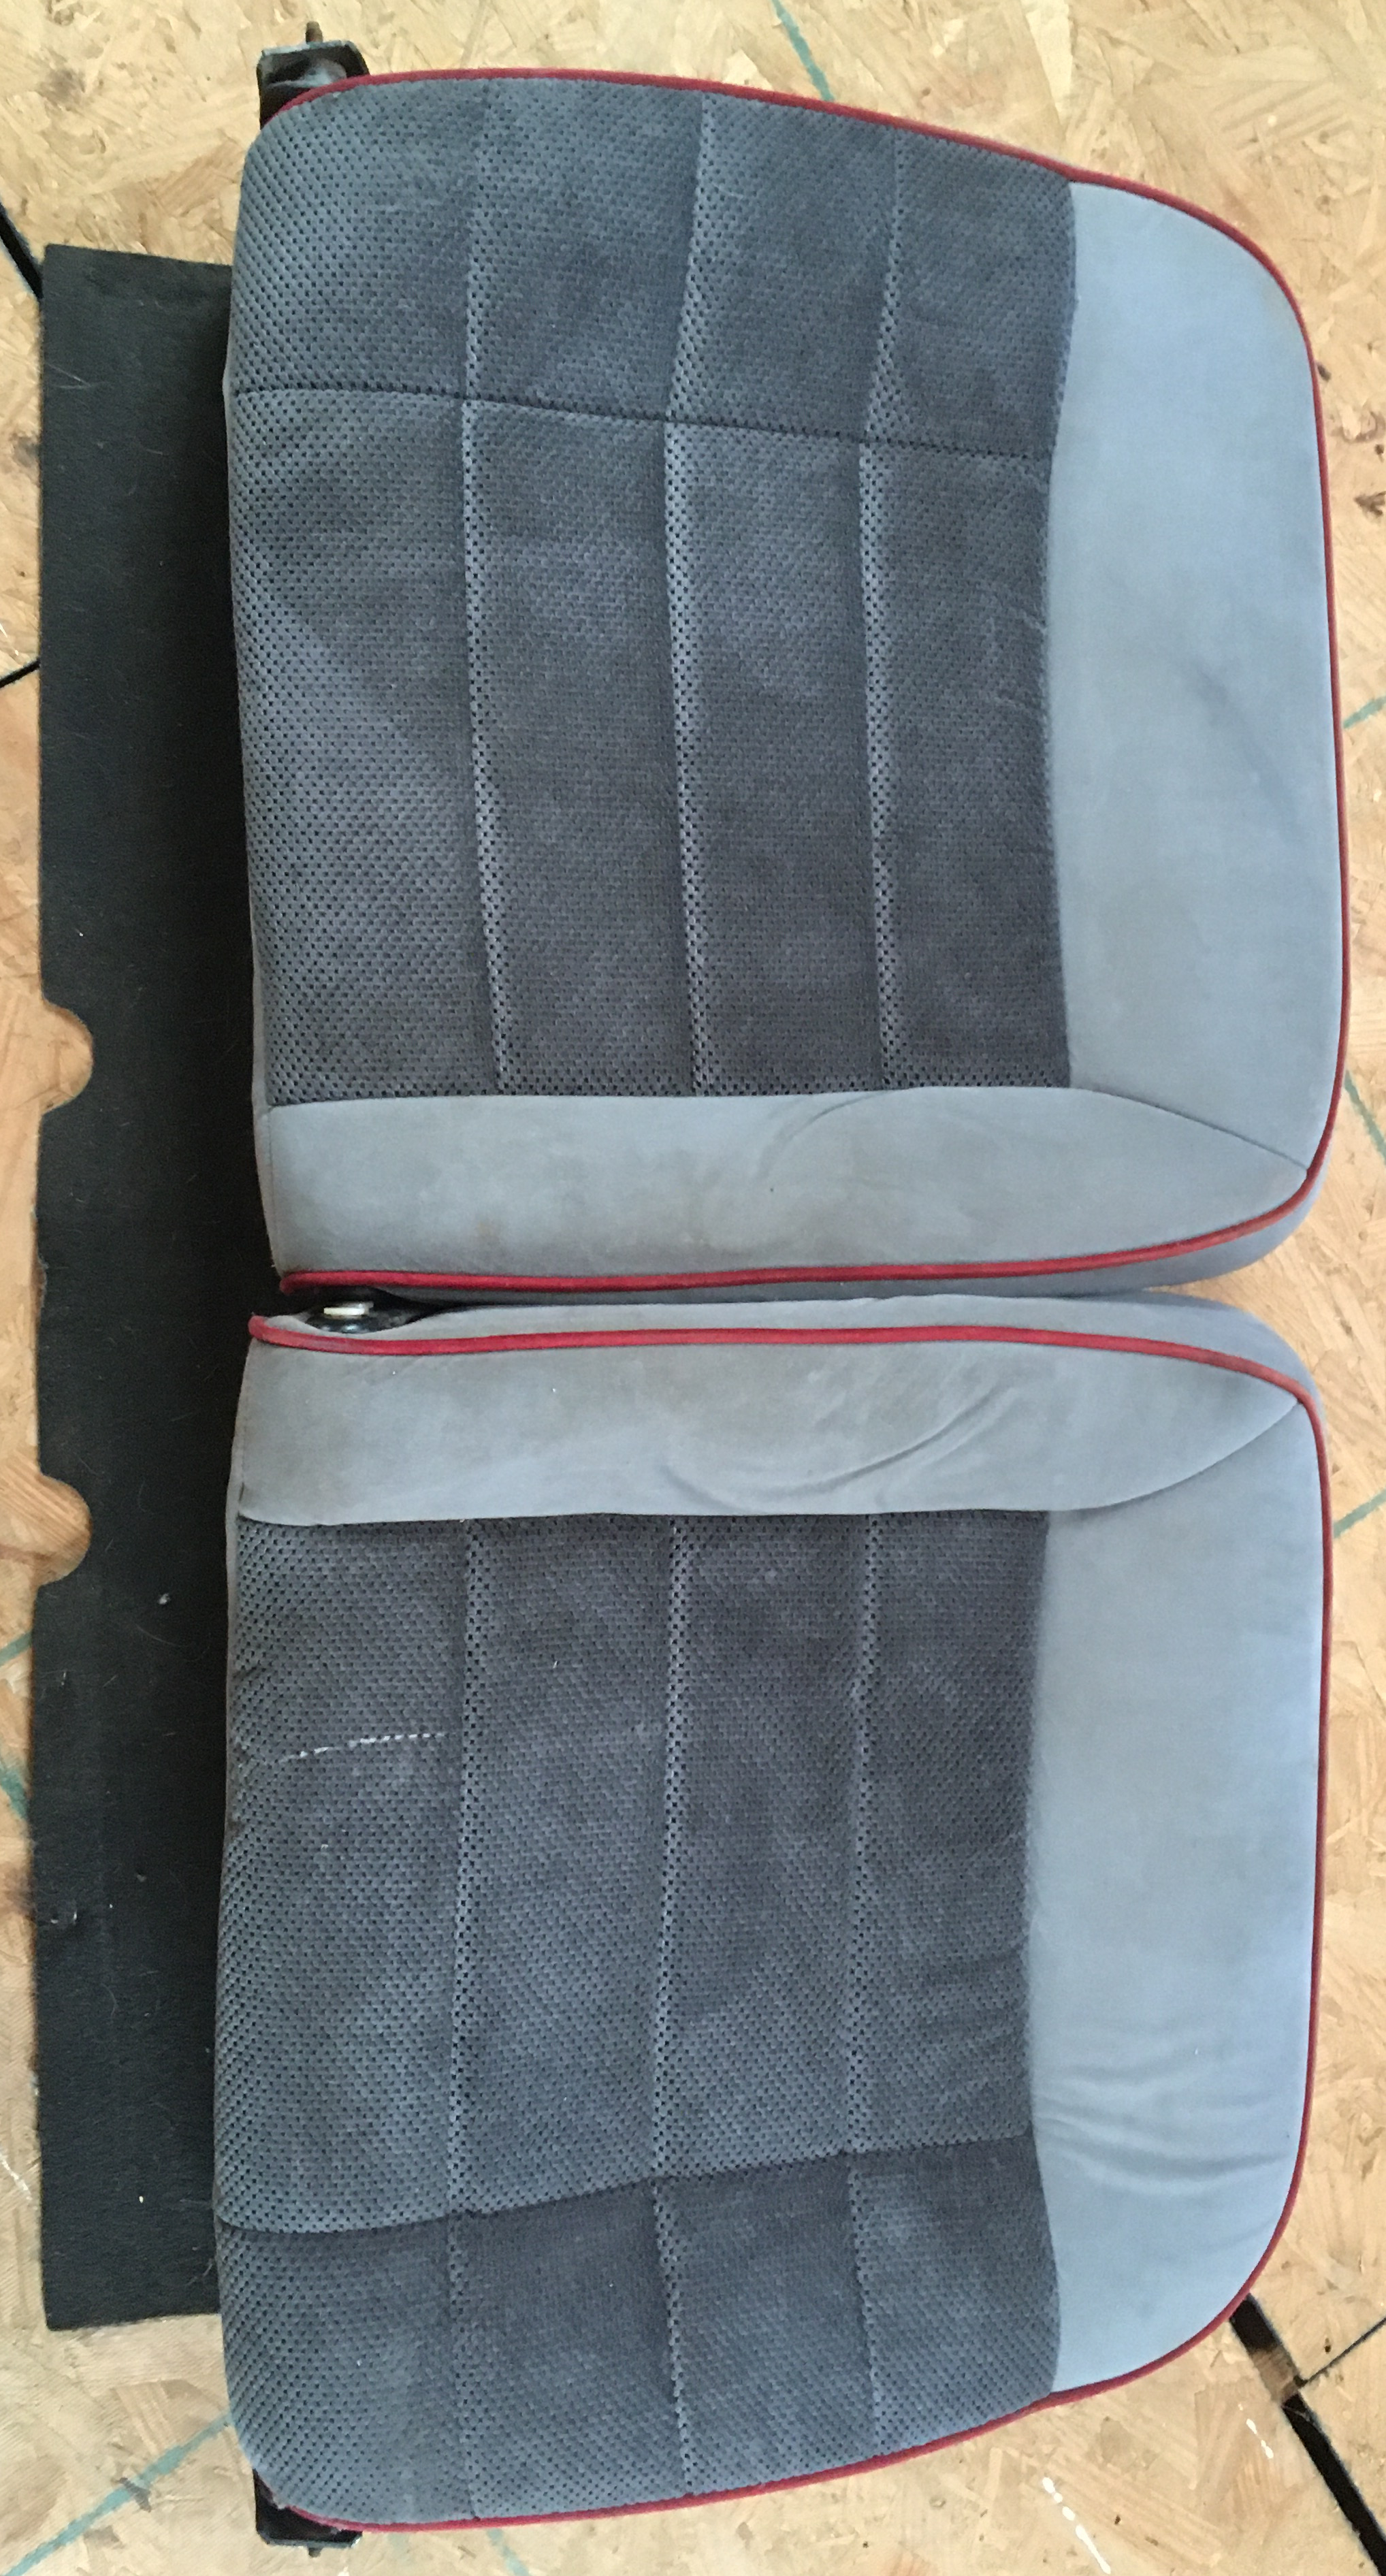
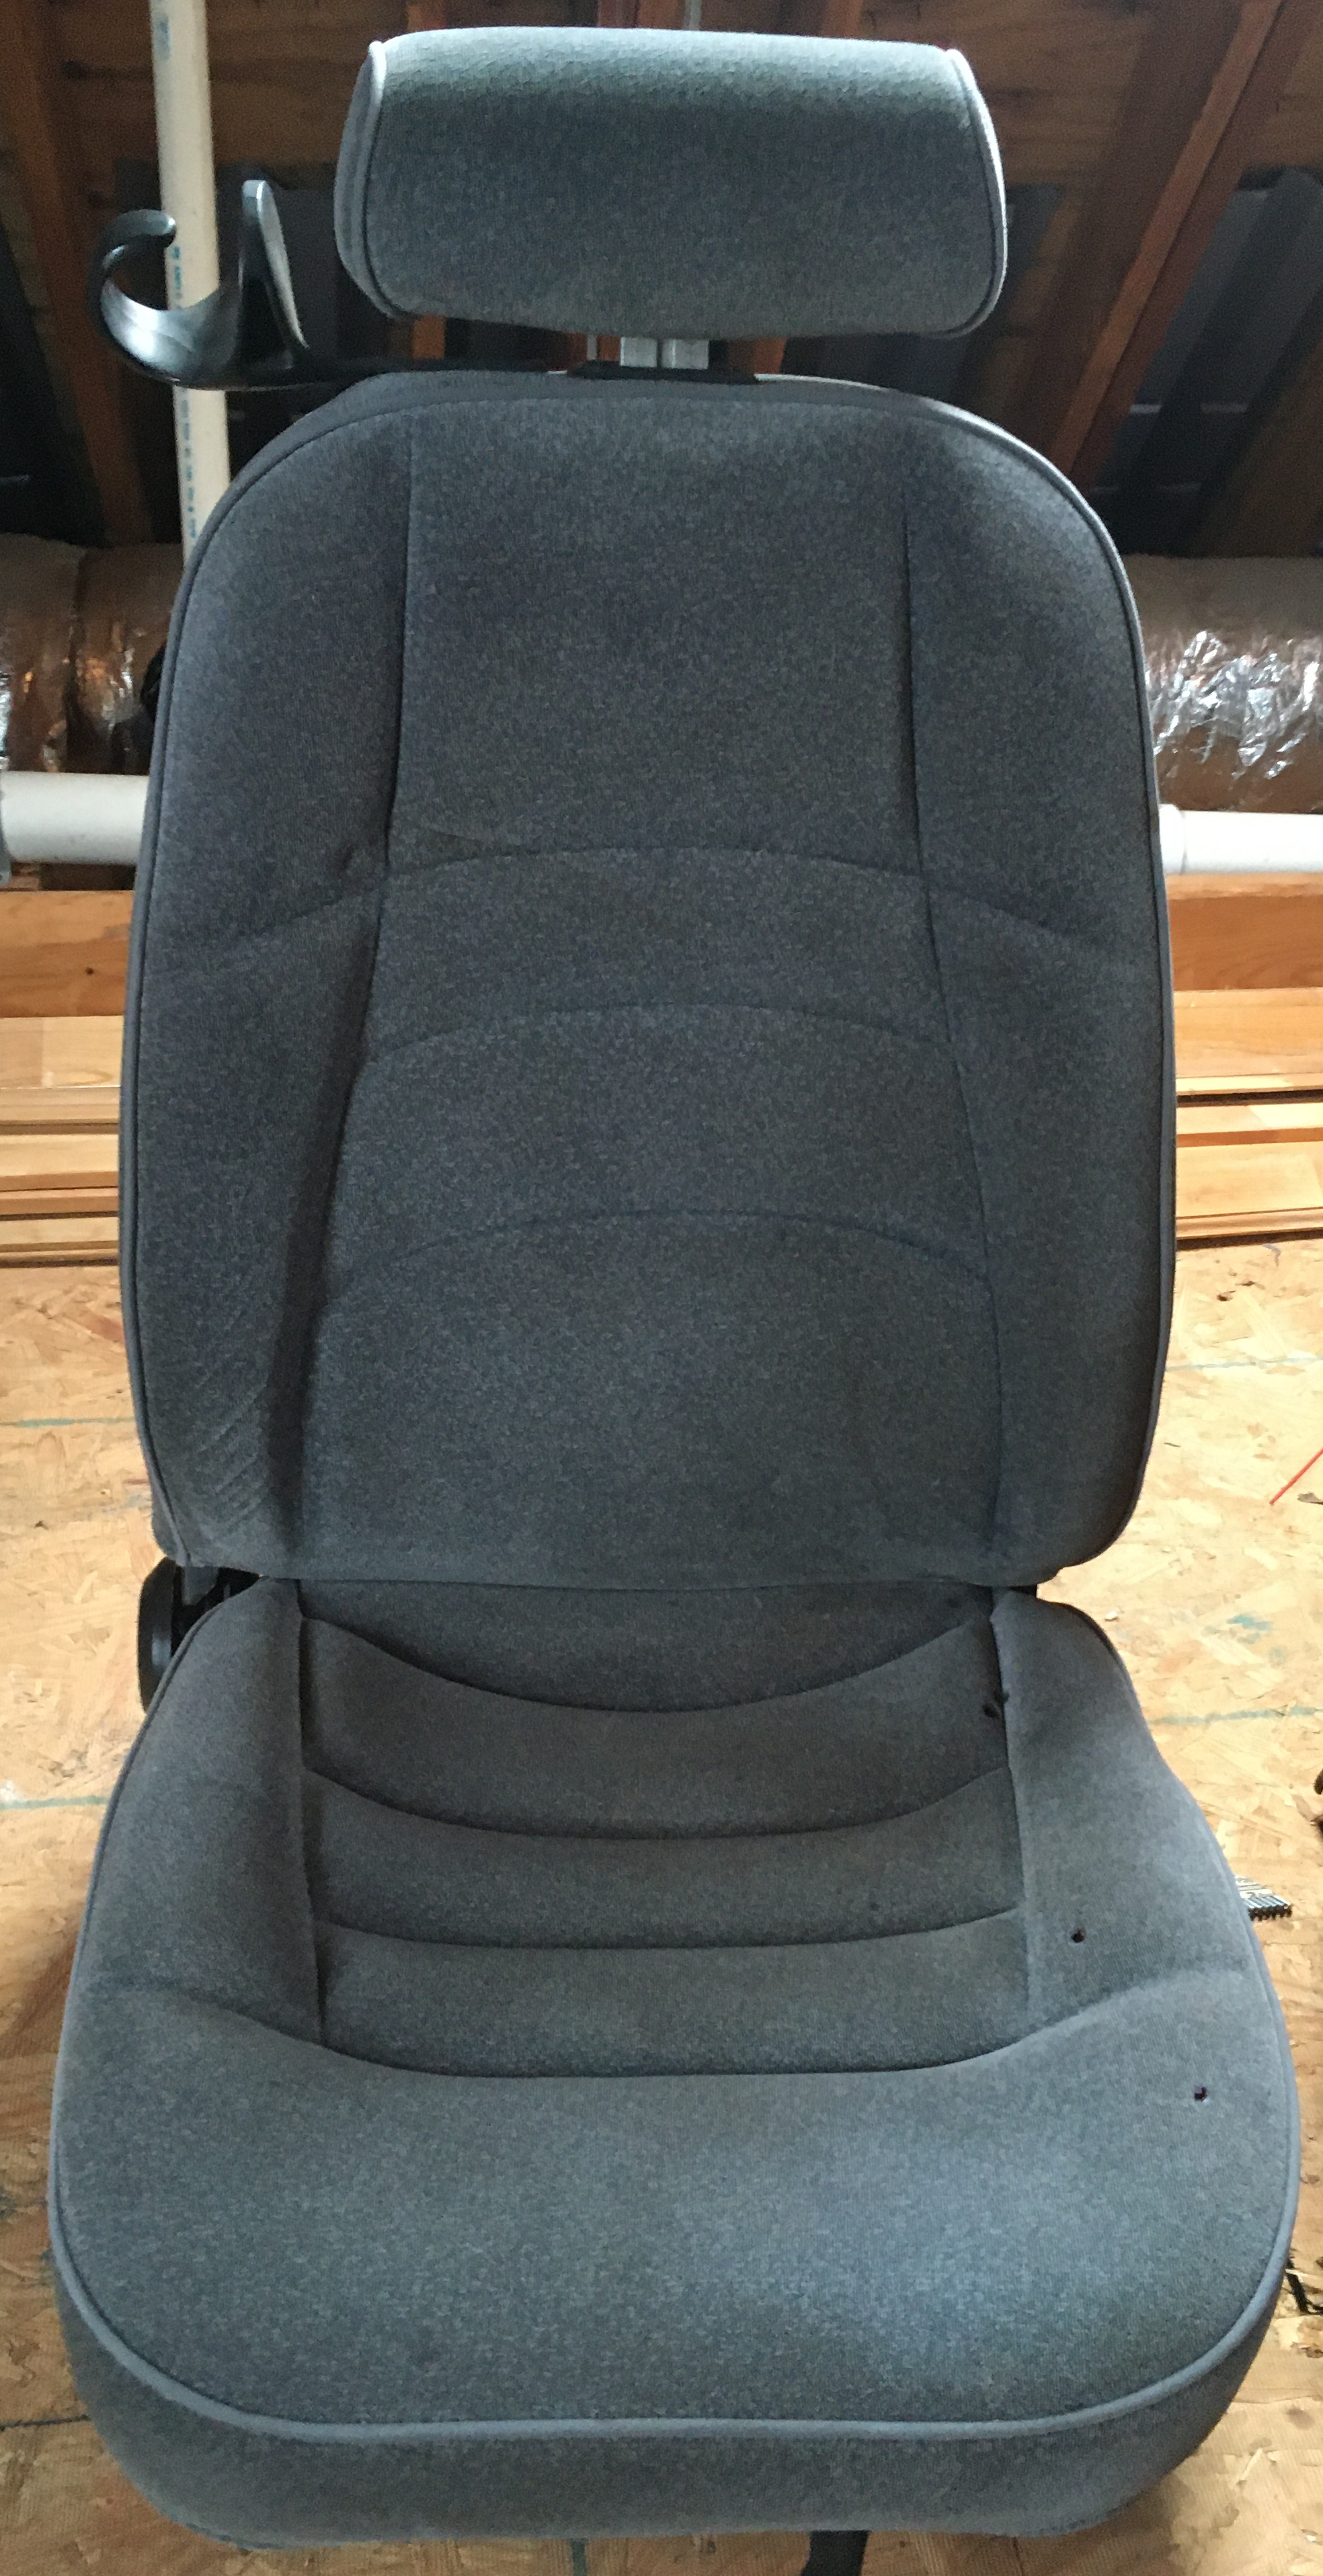
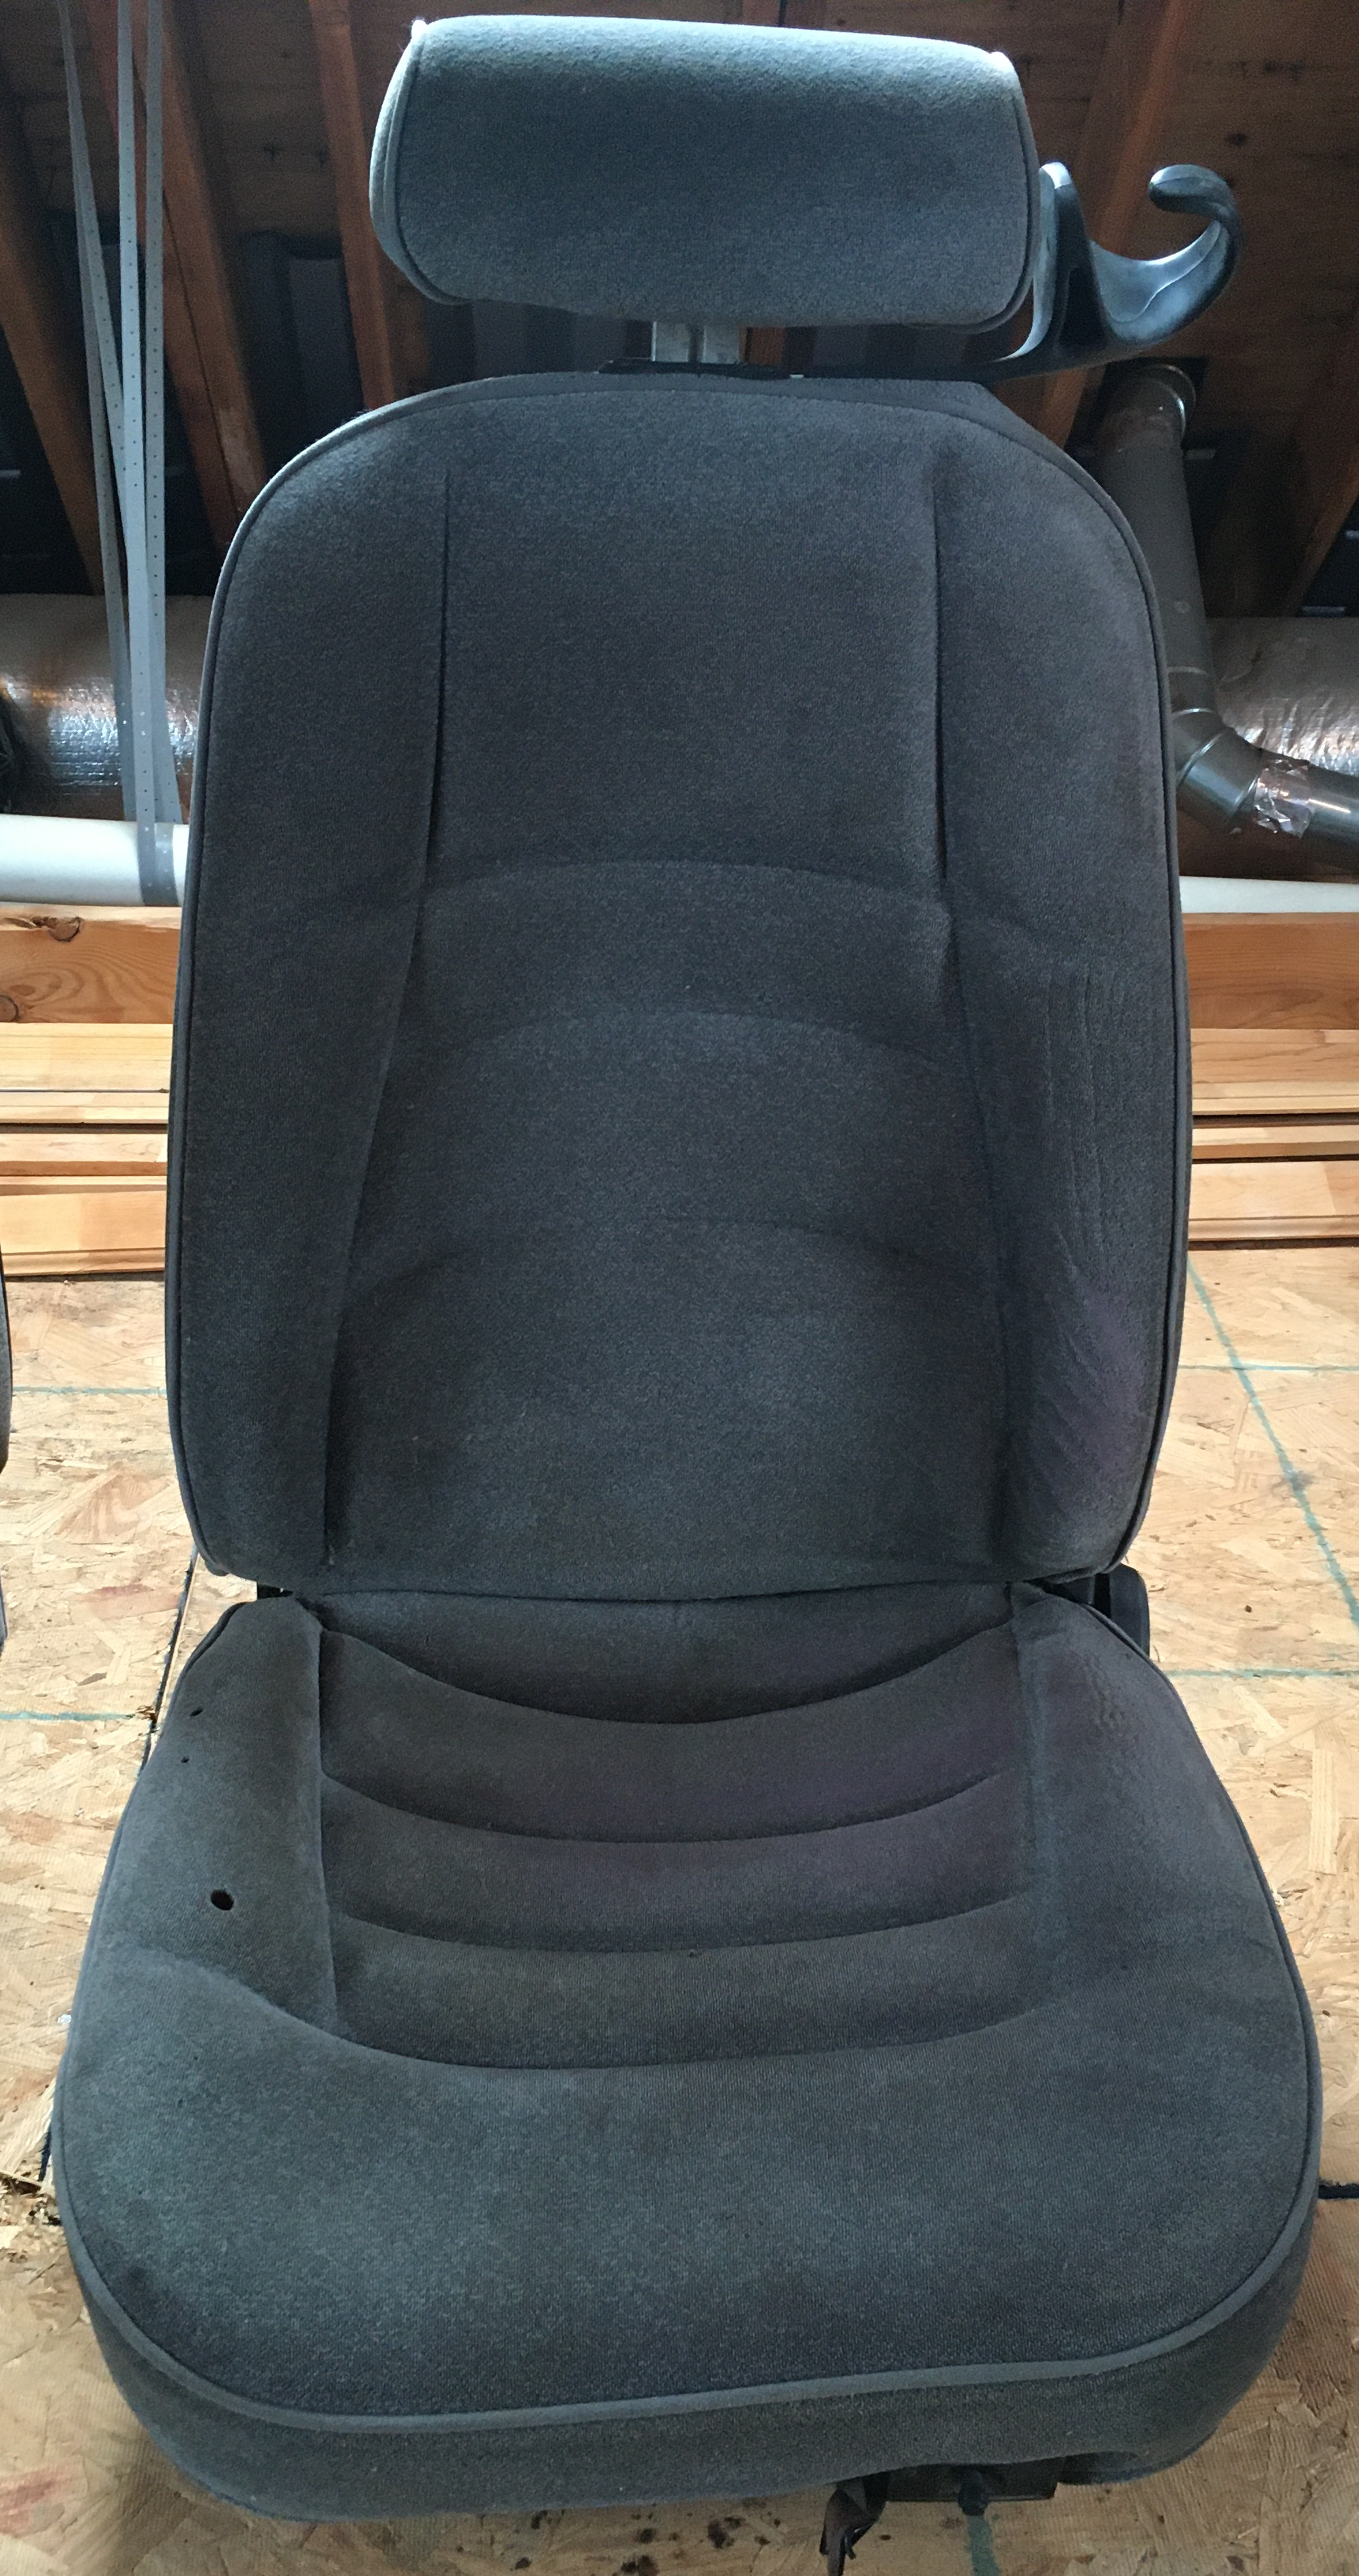
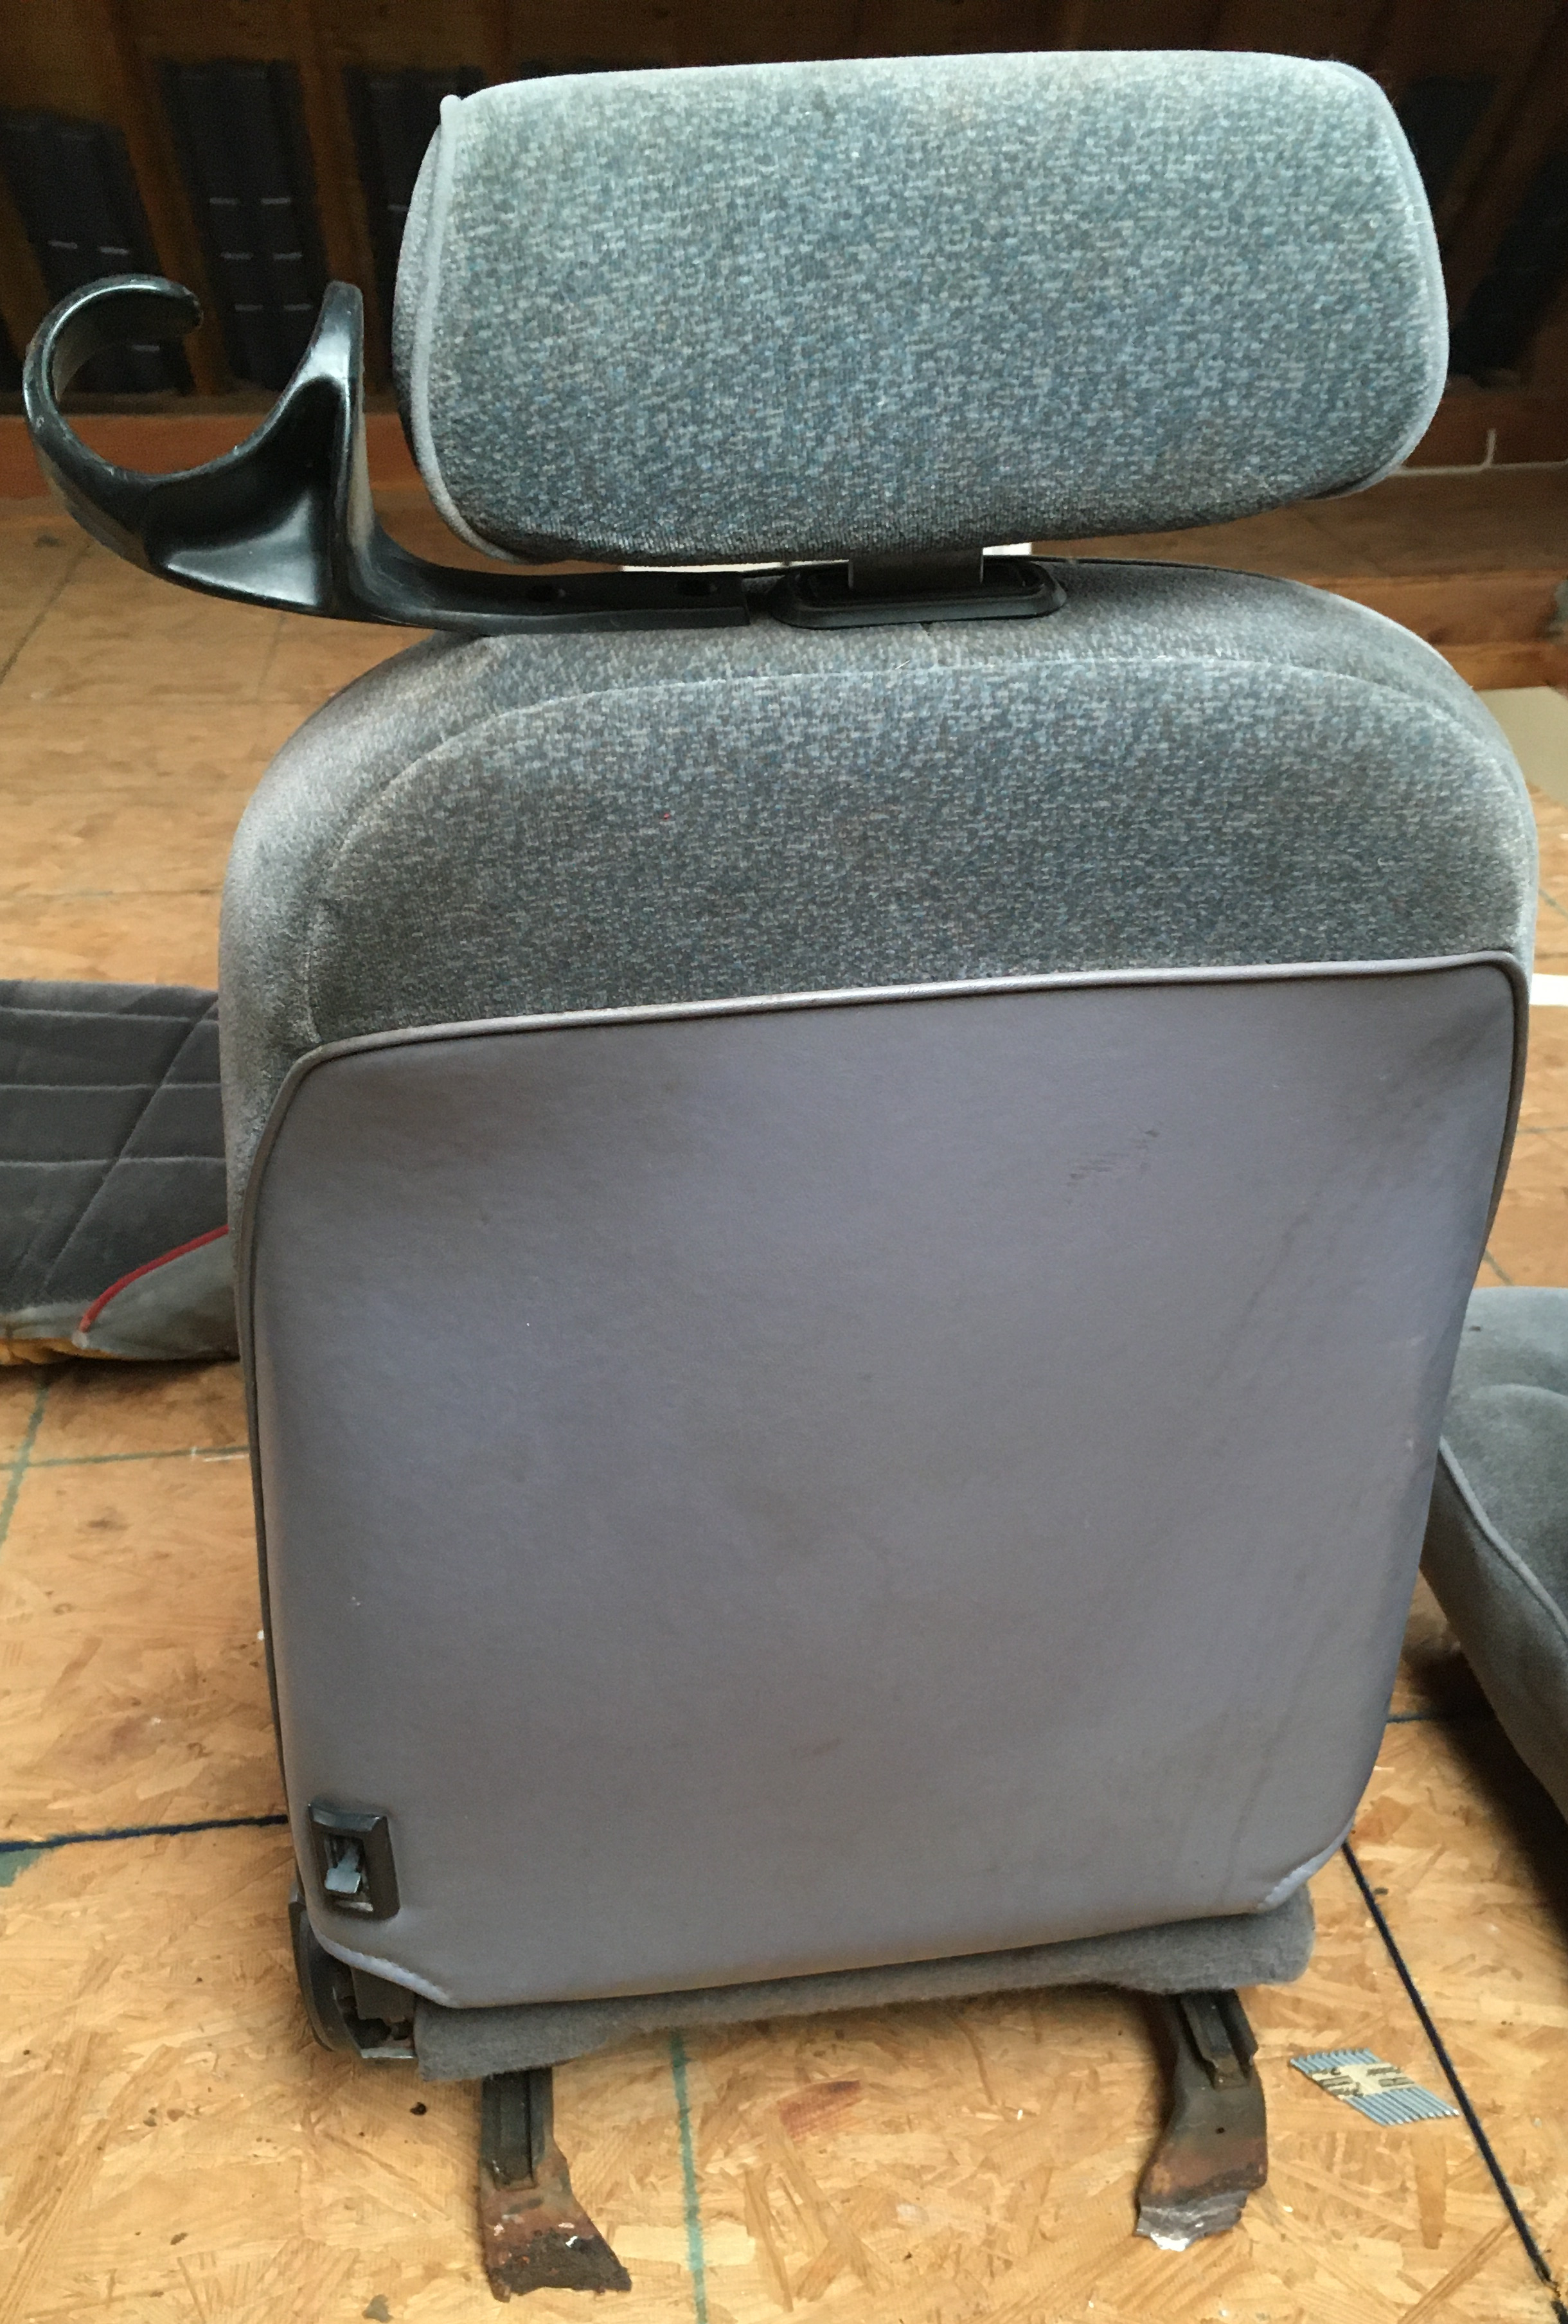
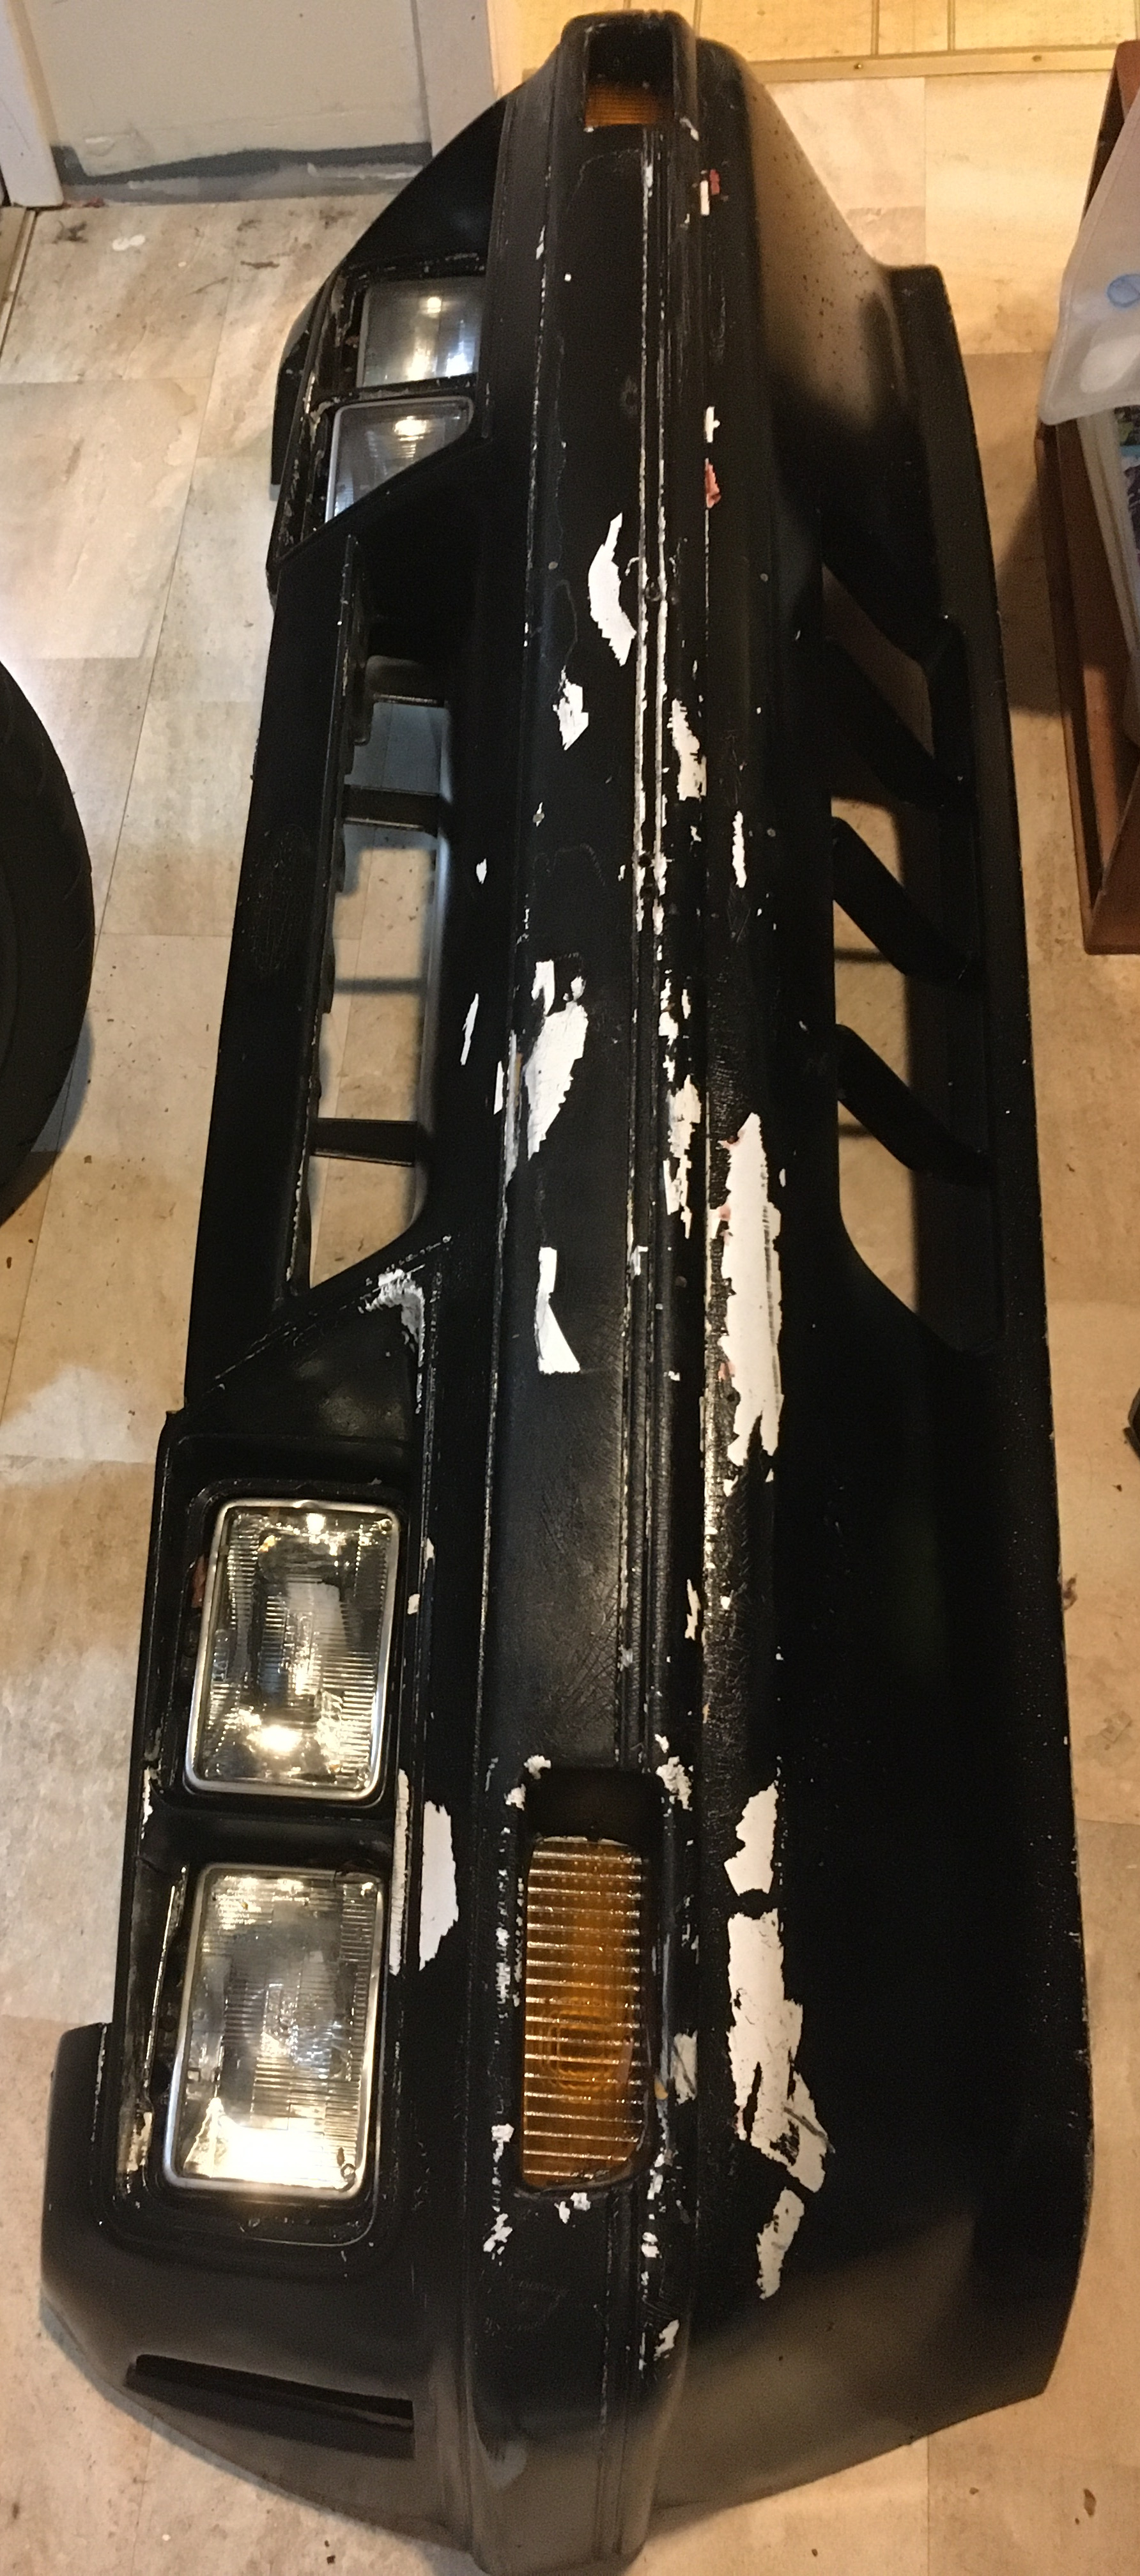
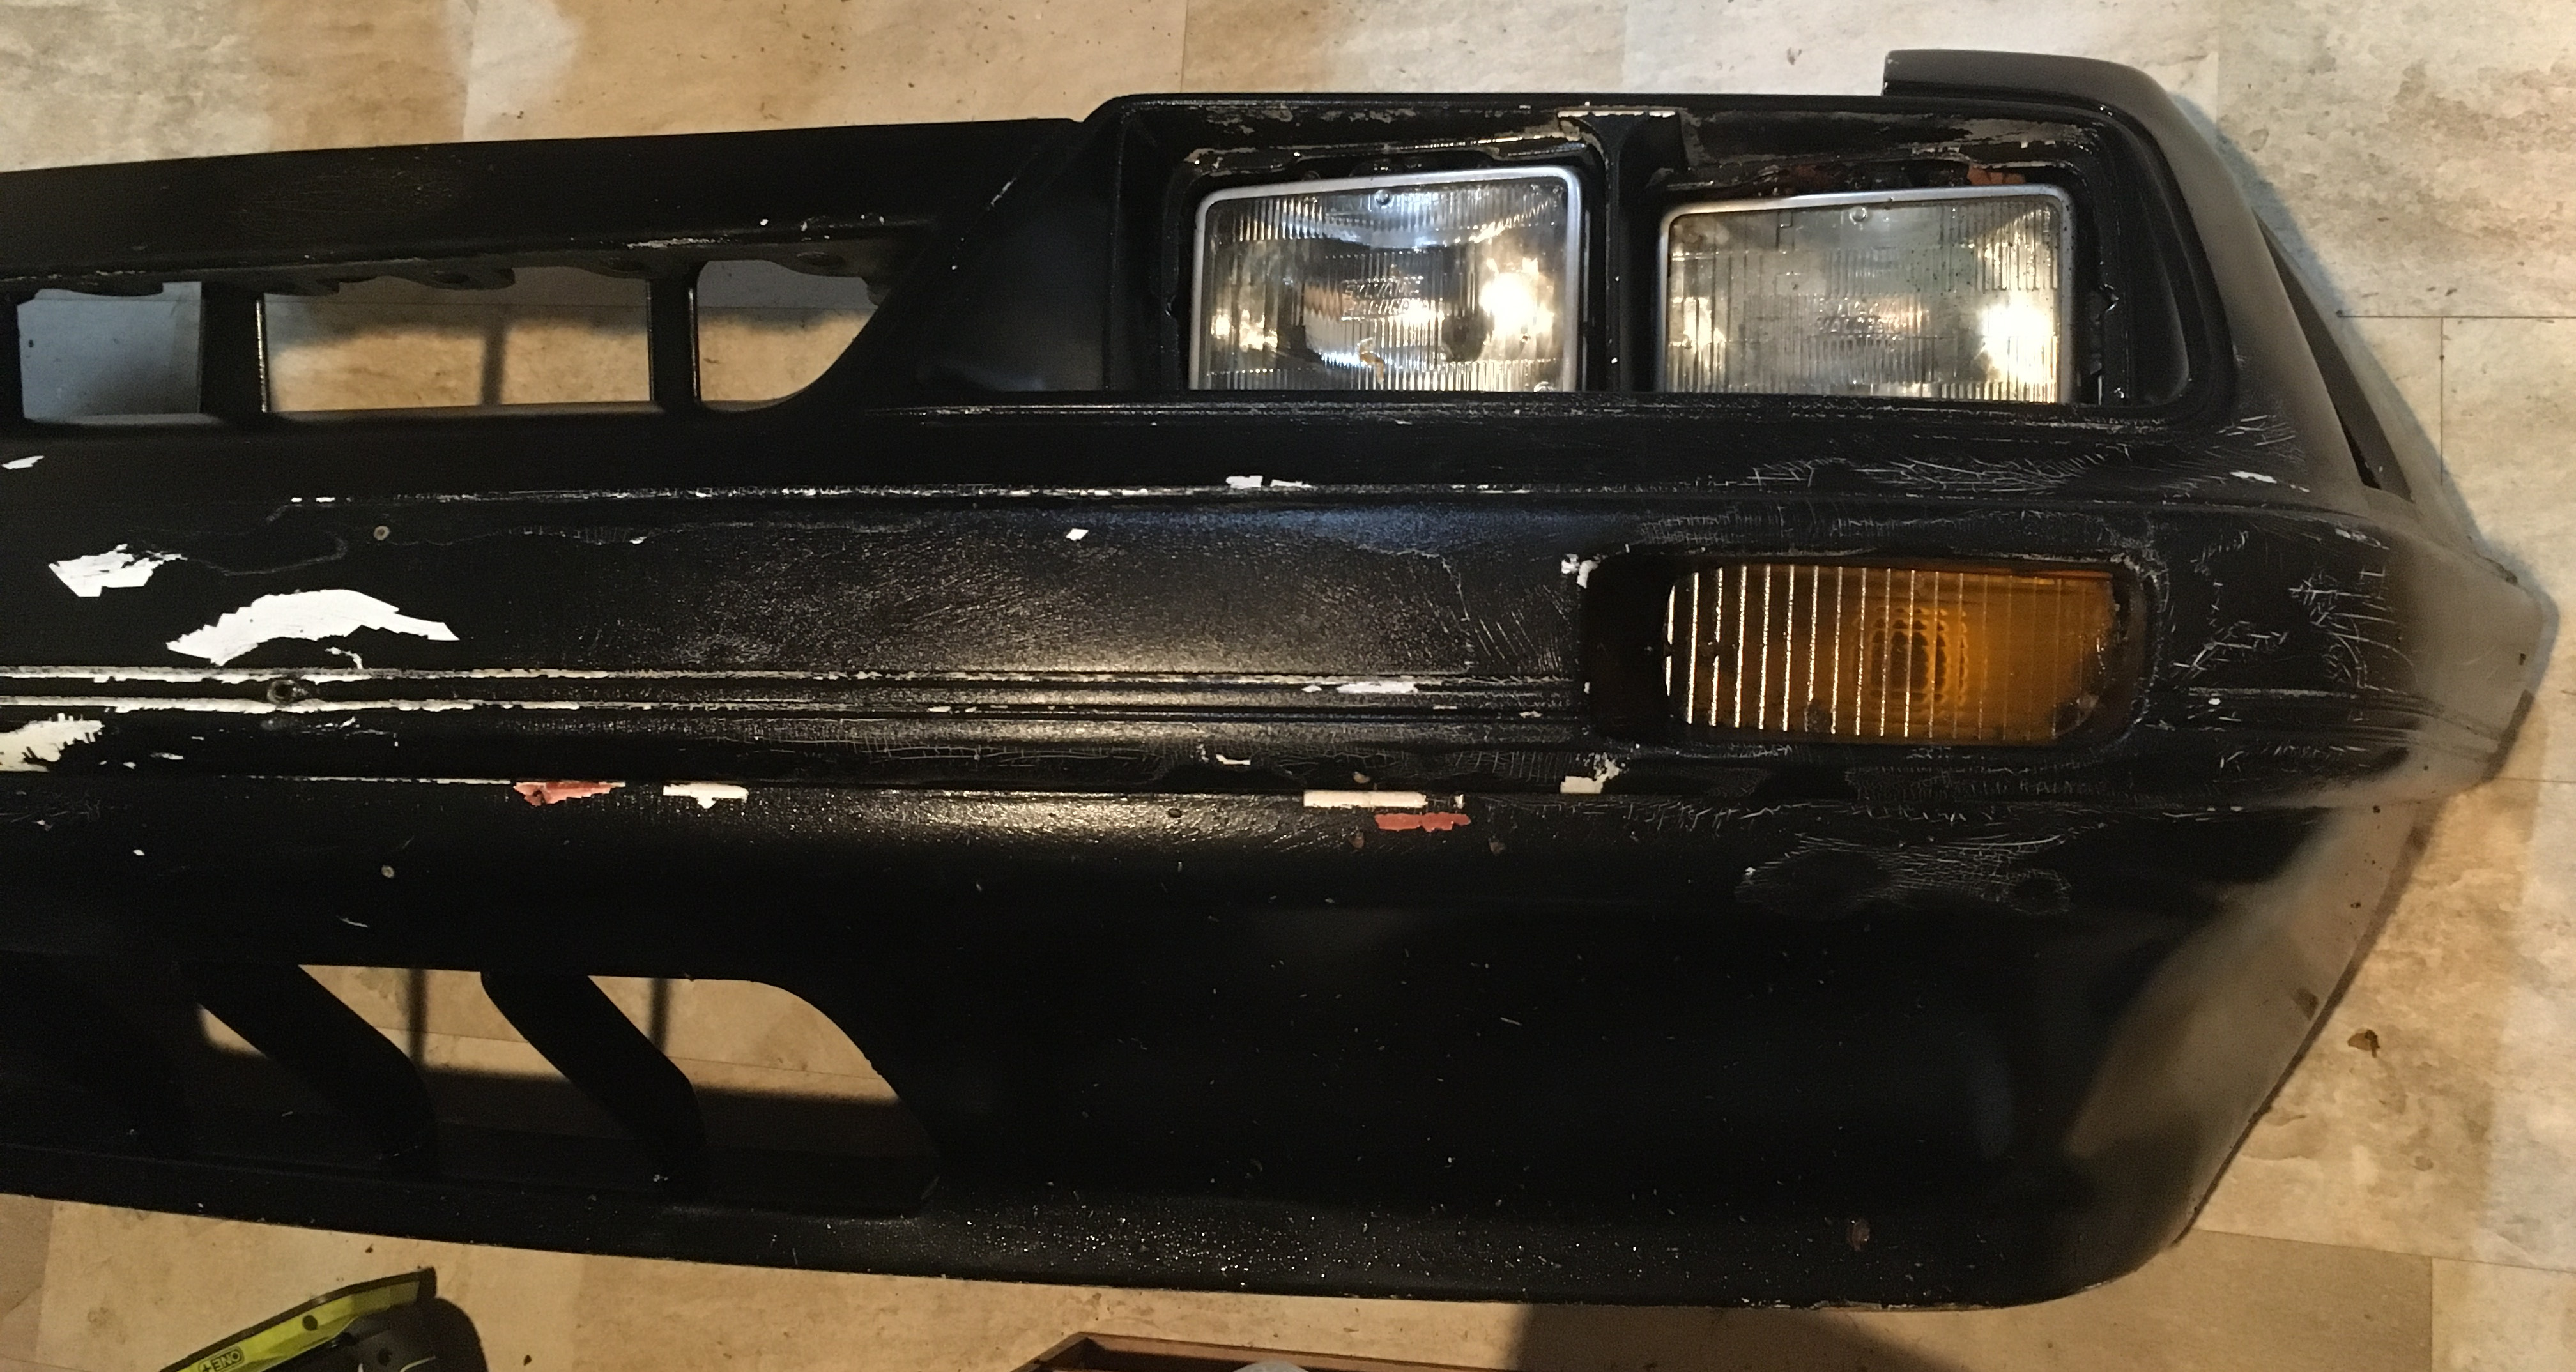
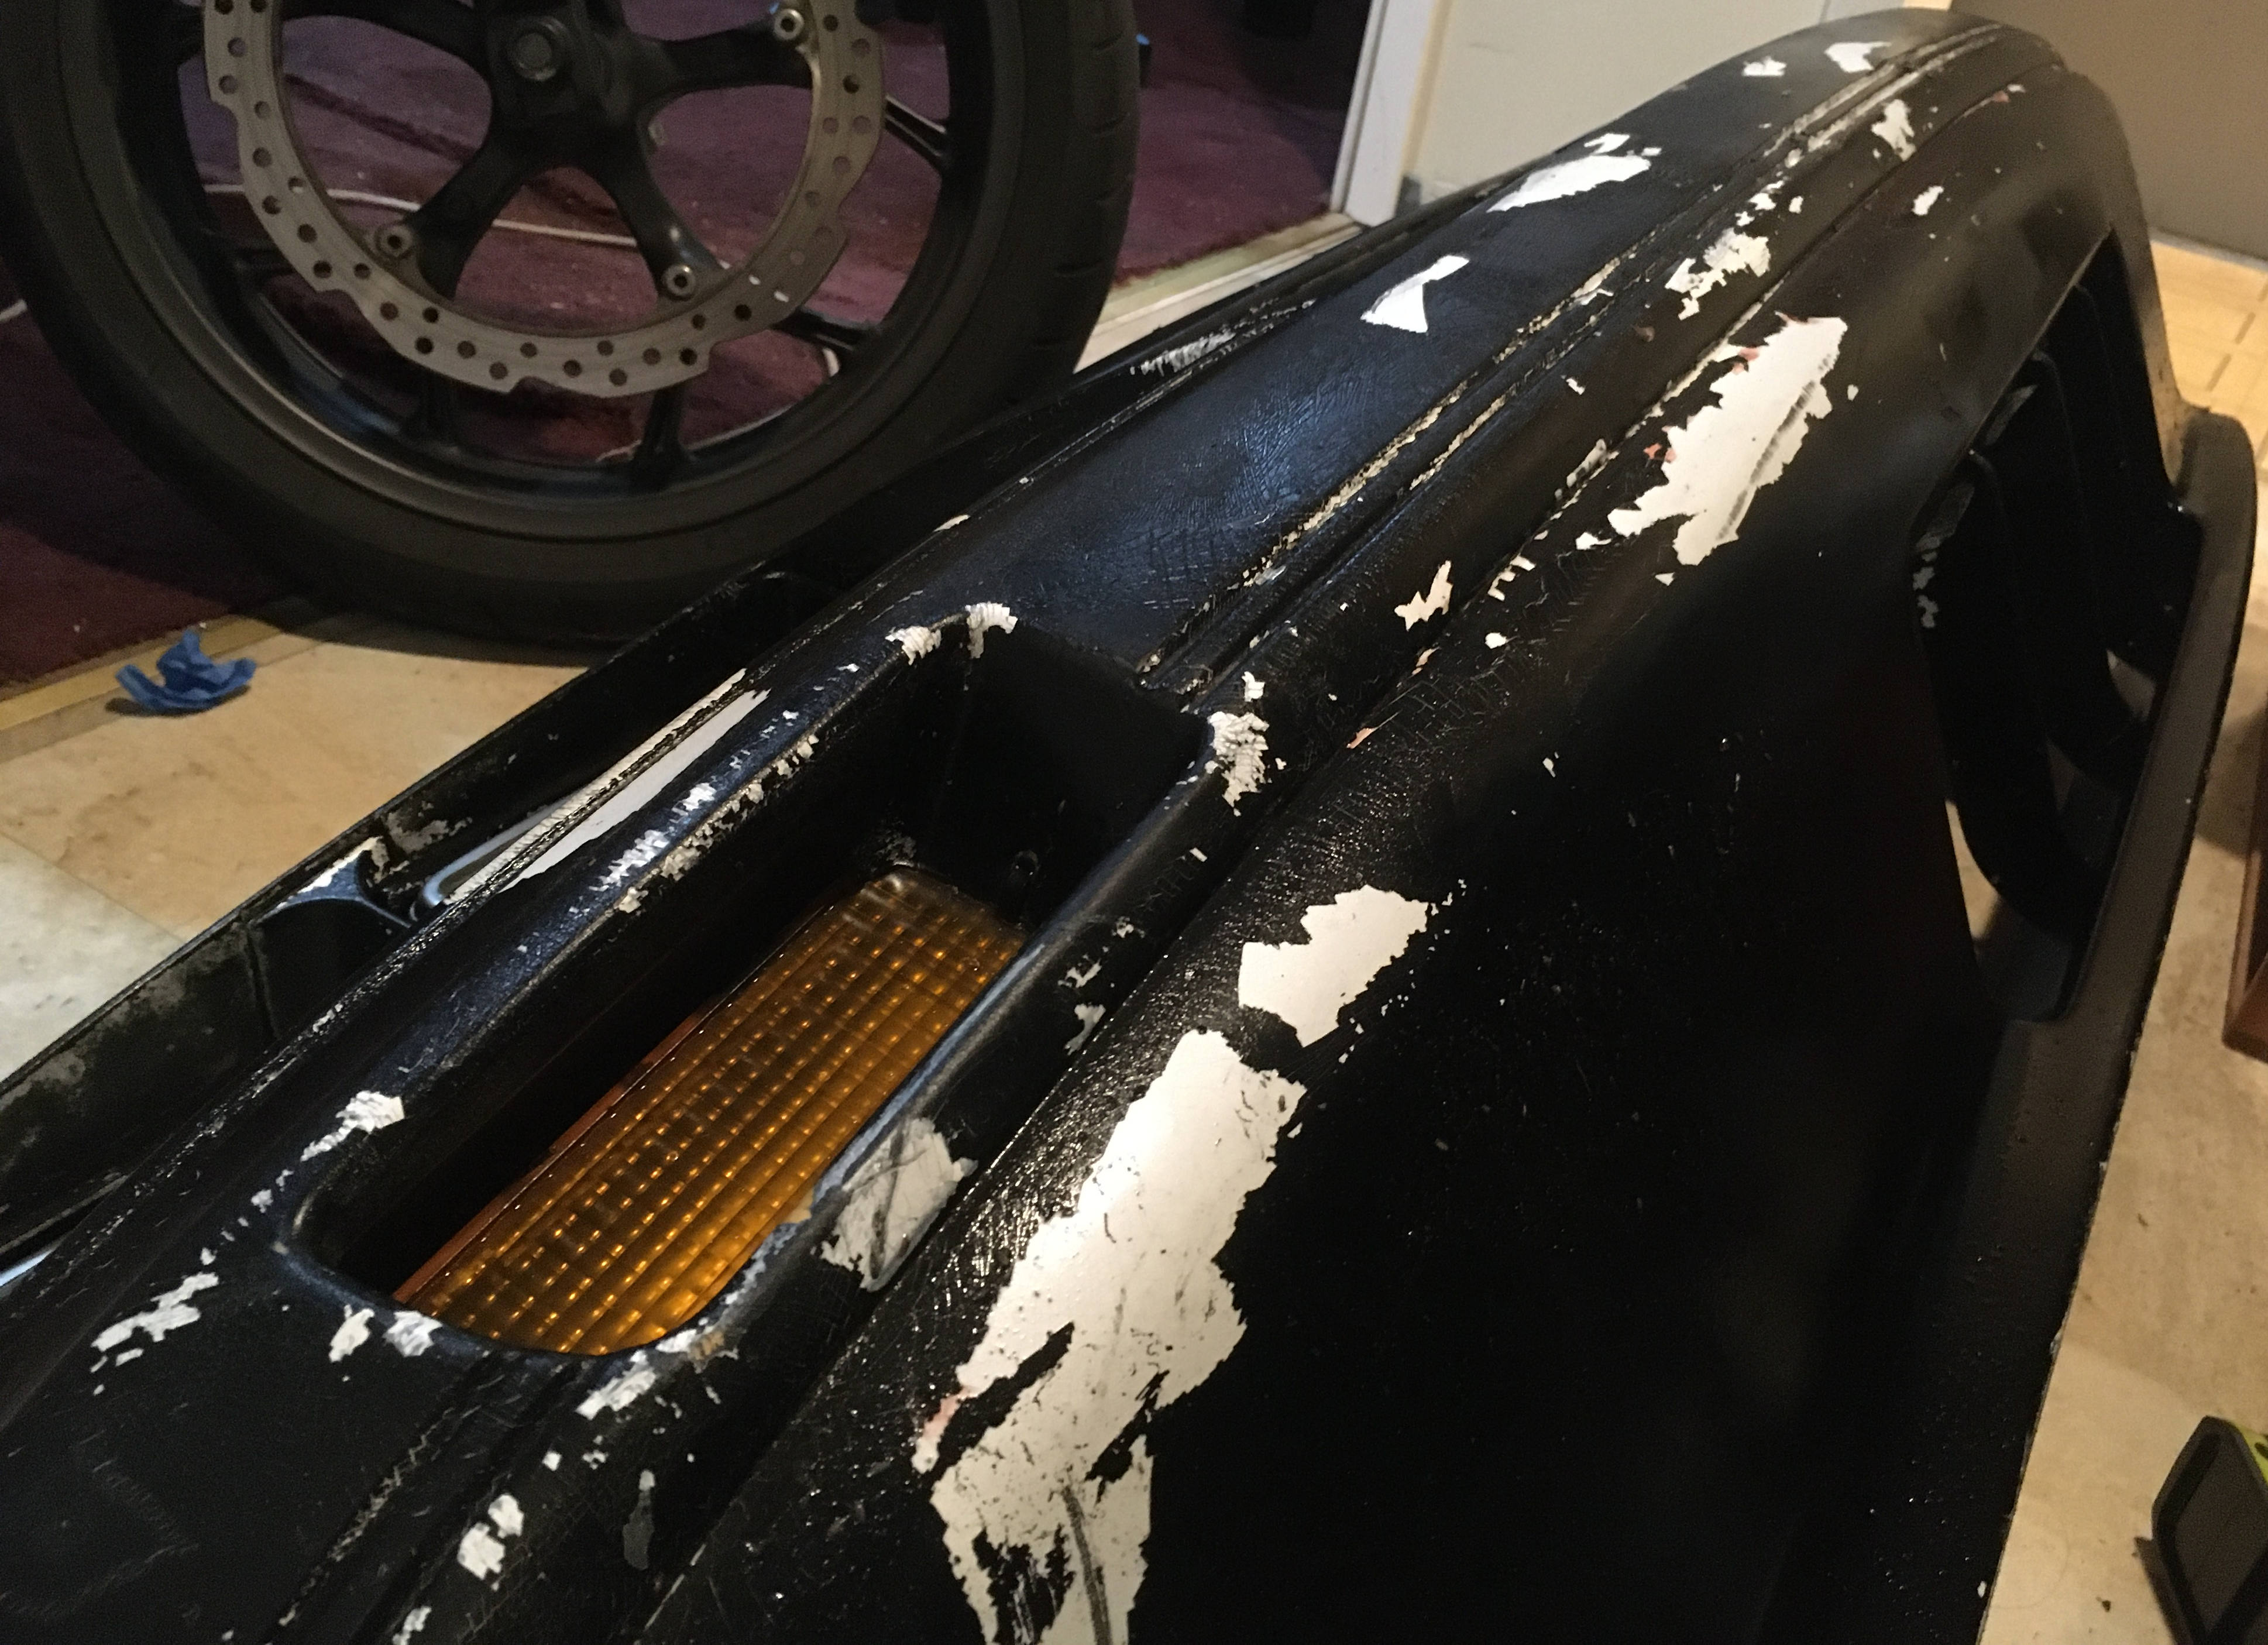
1986 Fox Mustang Partout

The shell itself suffers from rotted floors and suspension pickup points, hence the part out.

available parts:

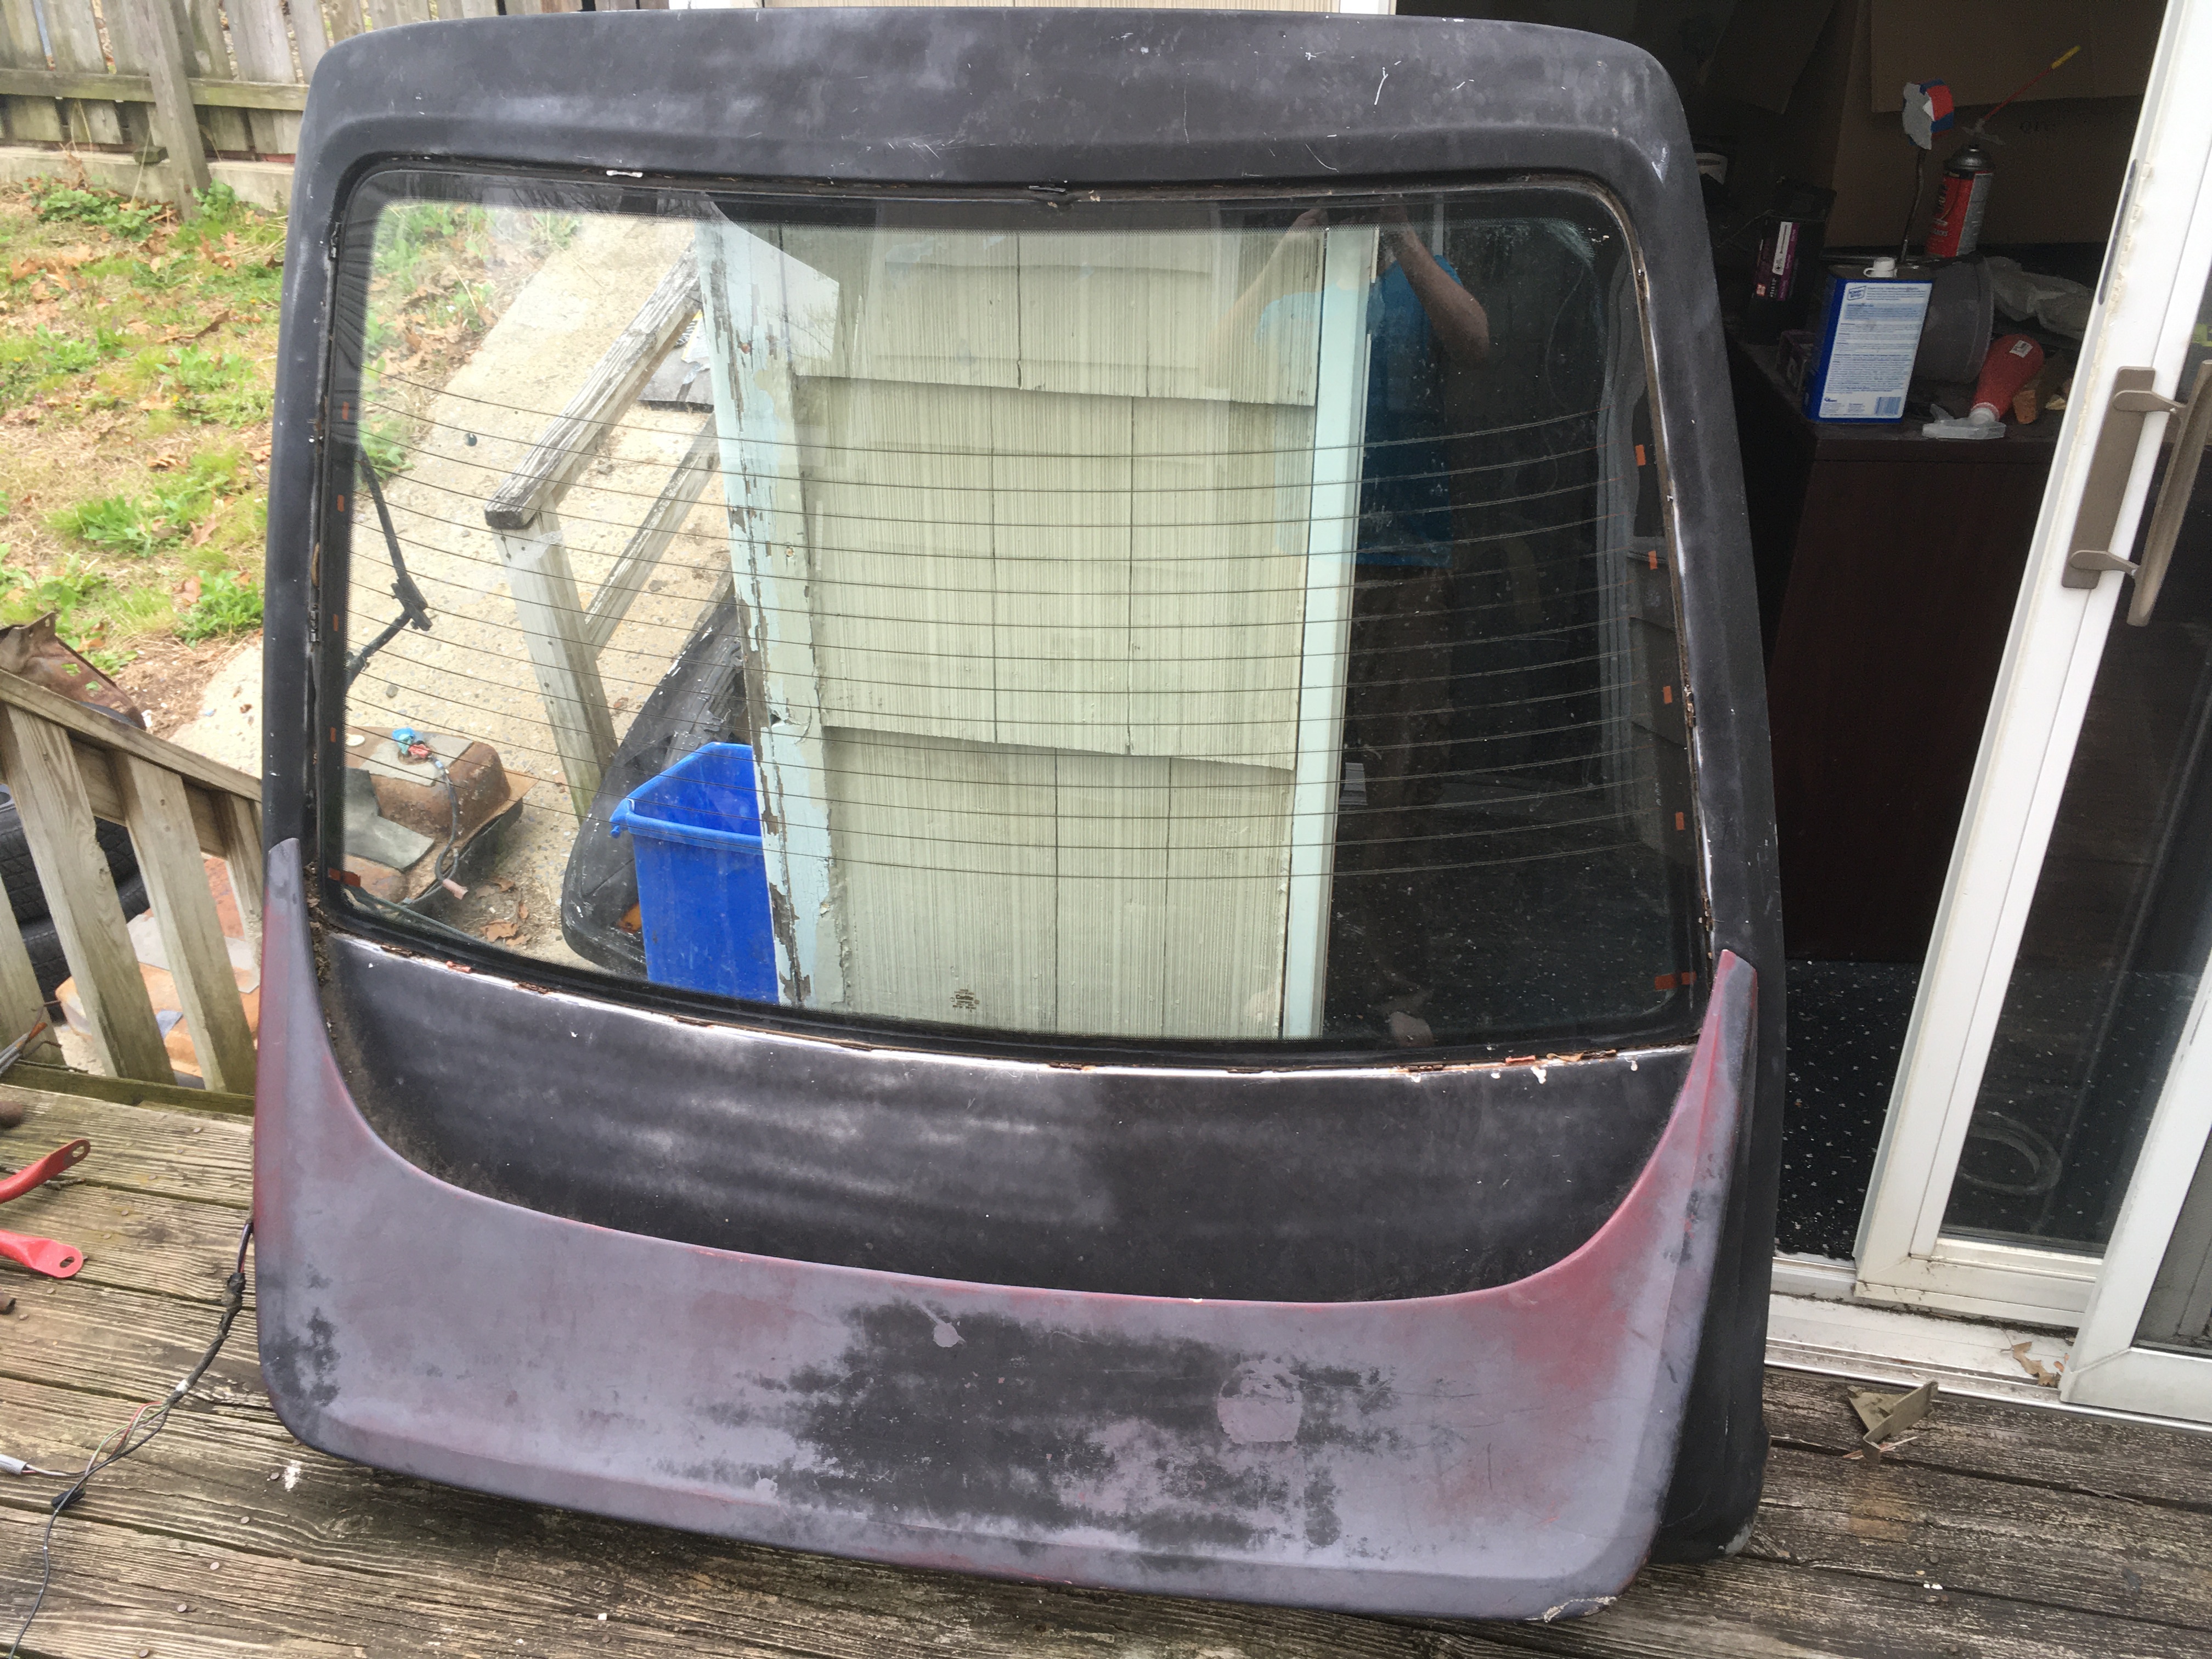
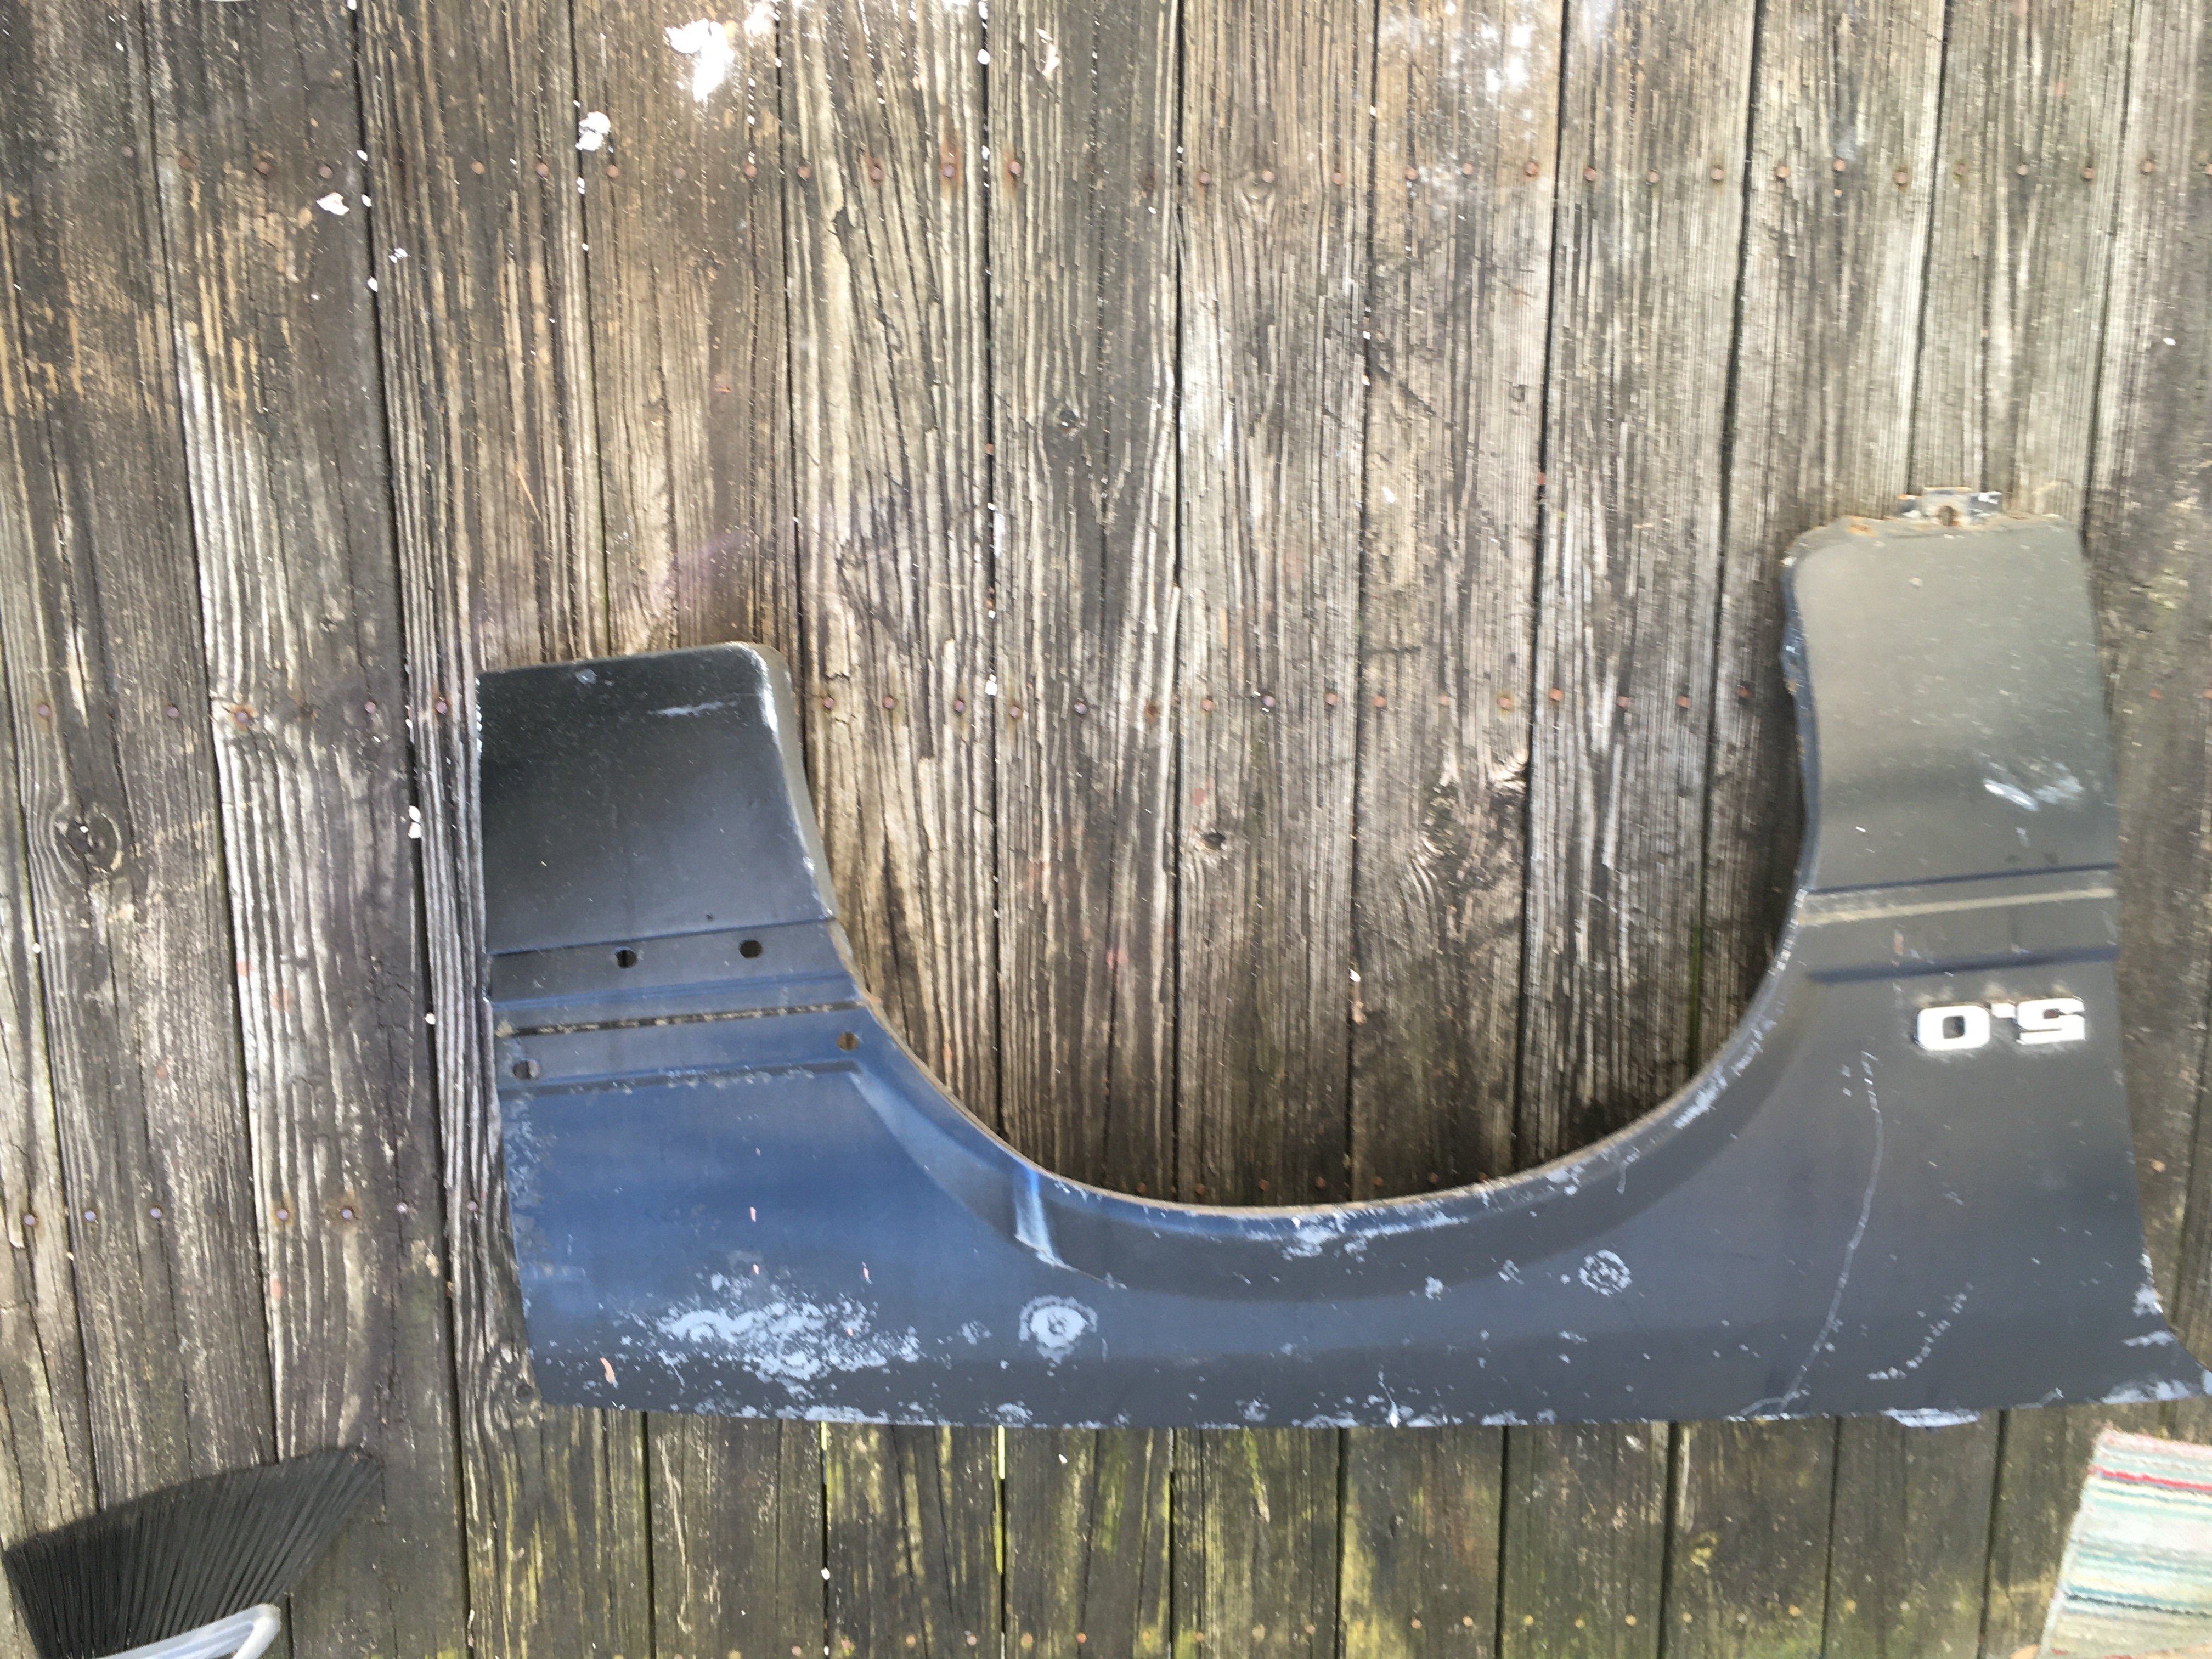
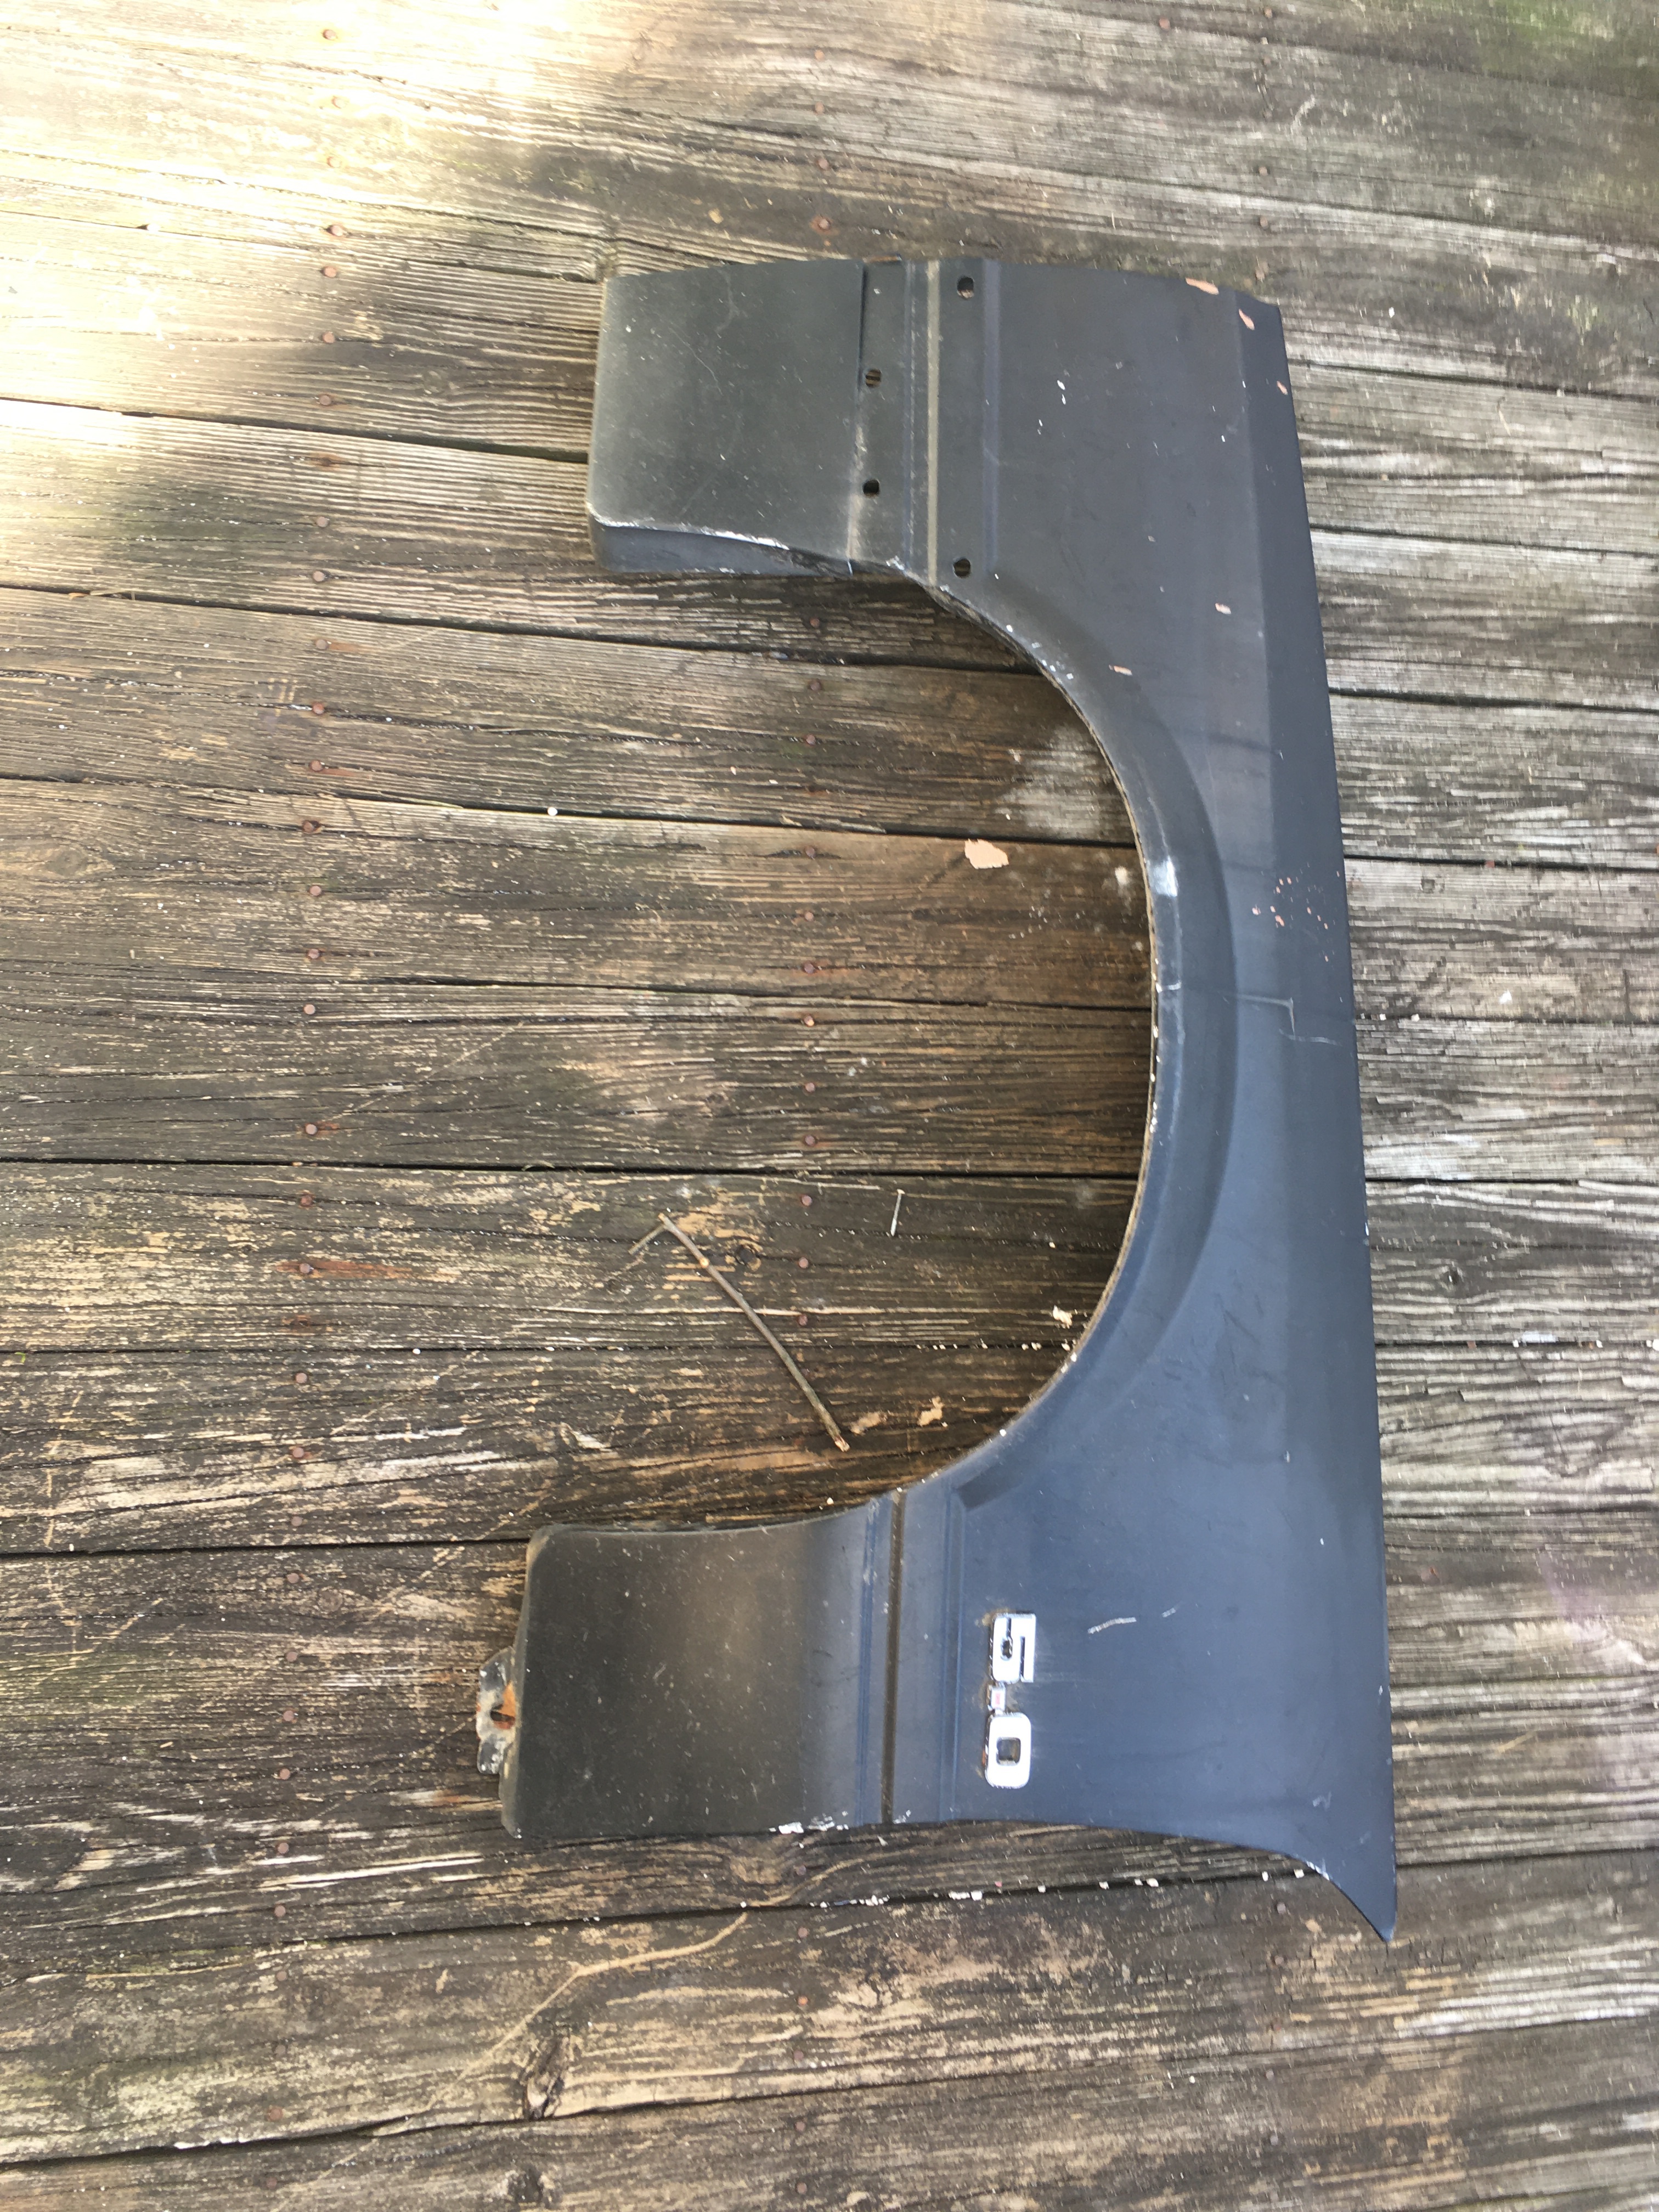
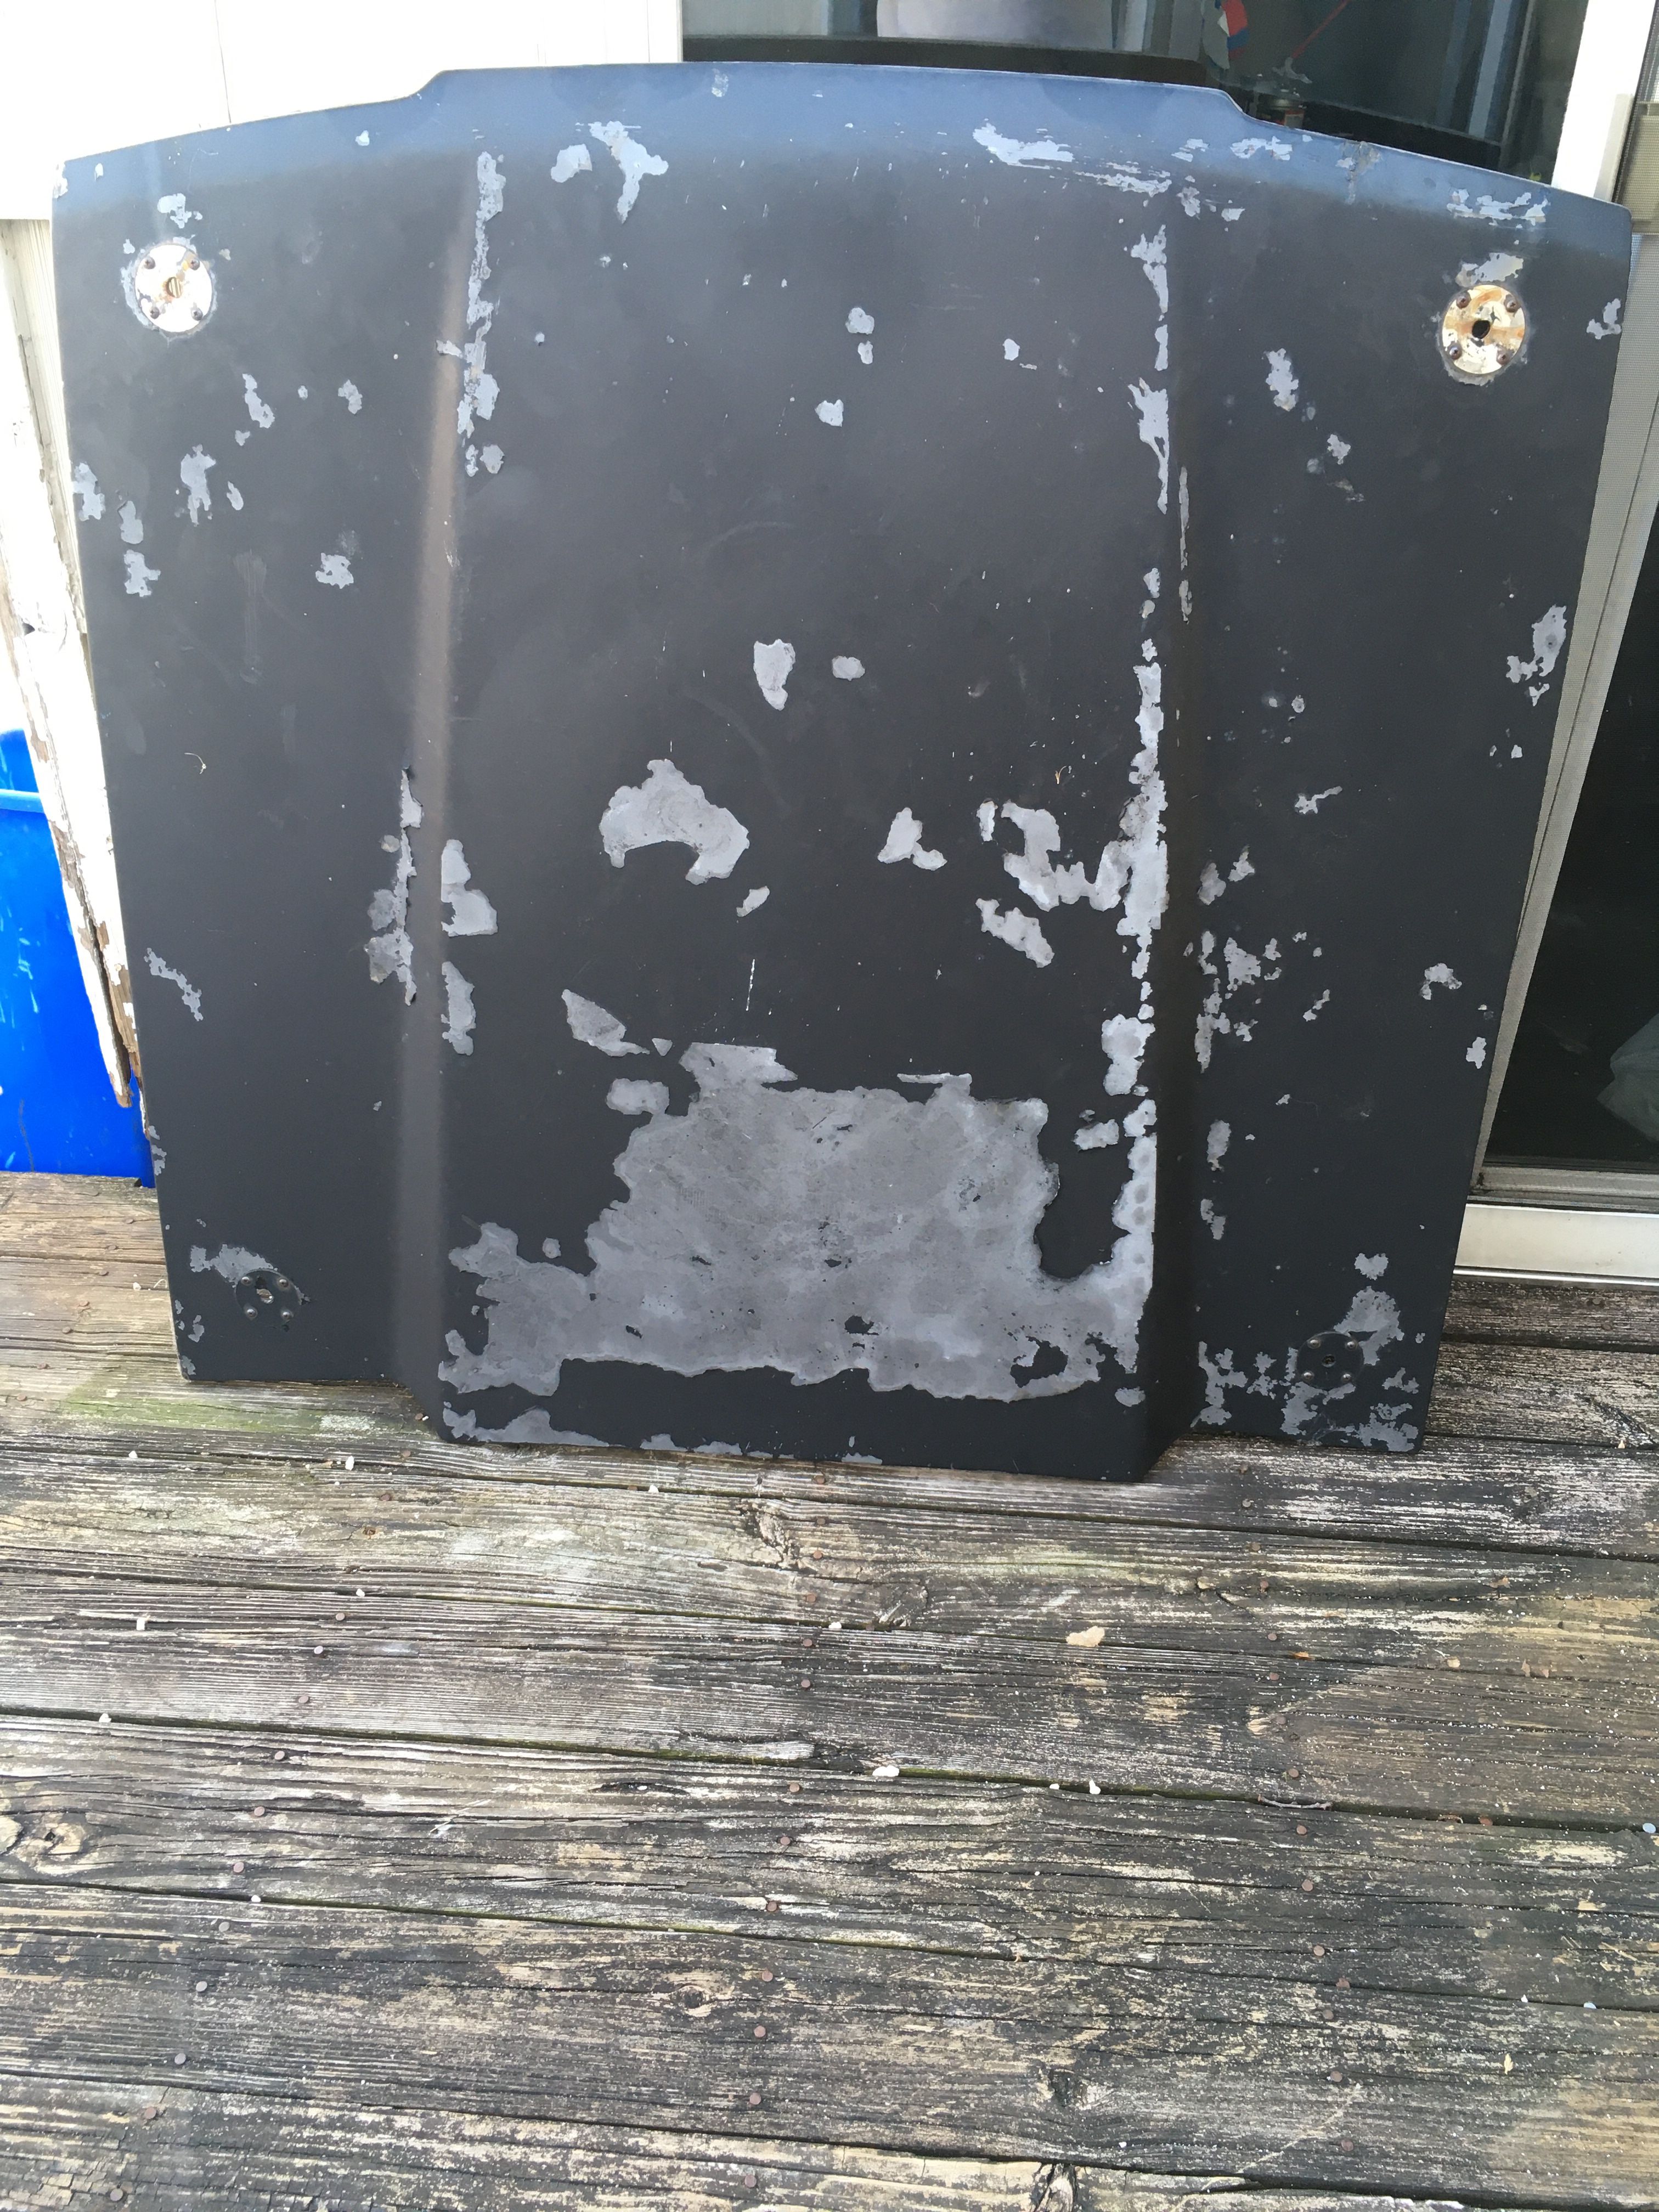
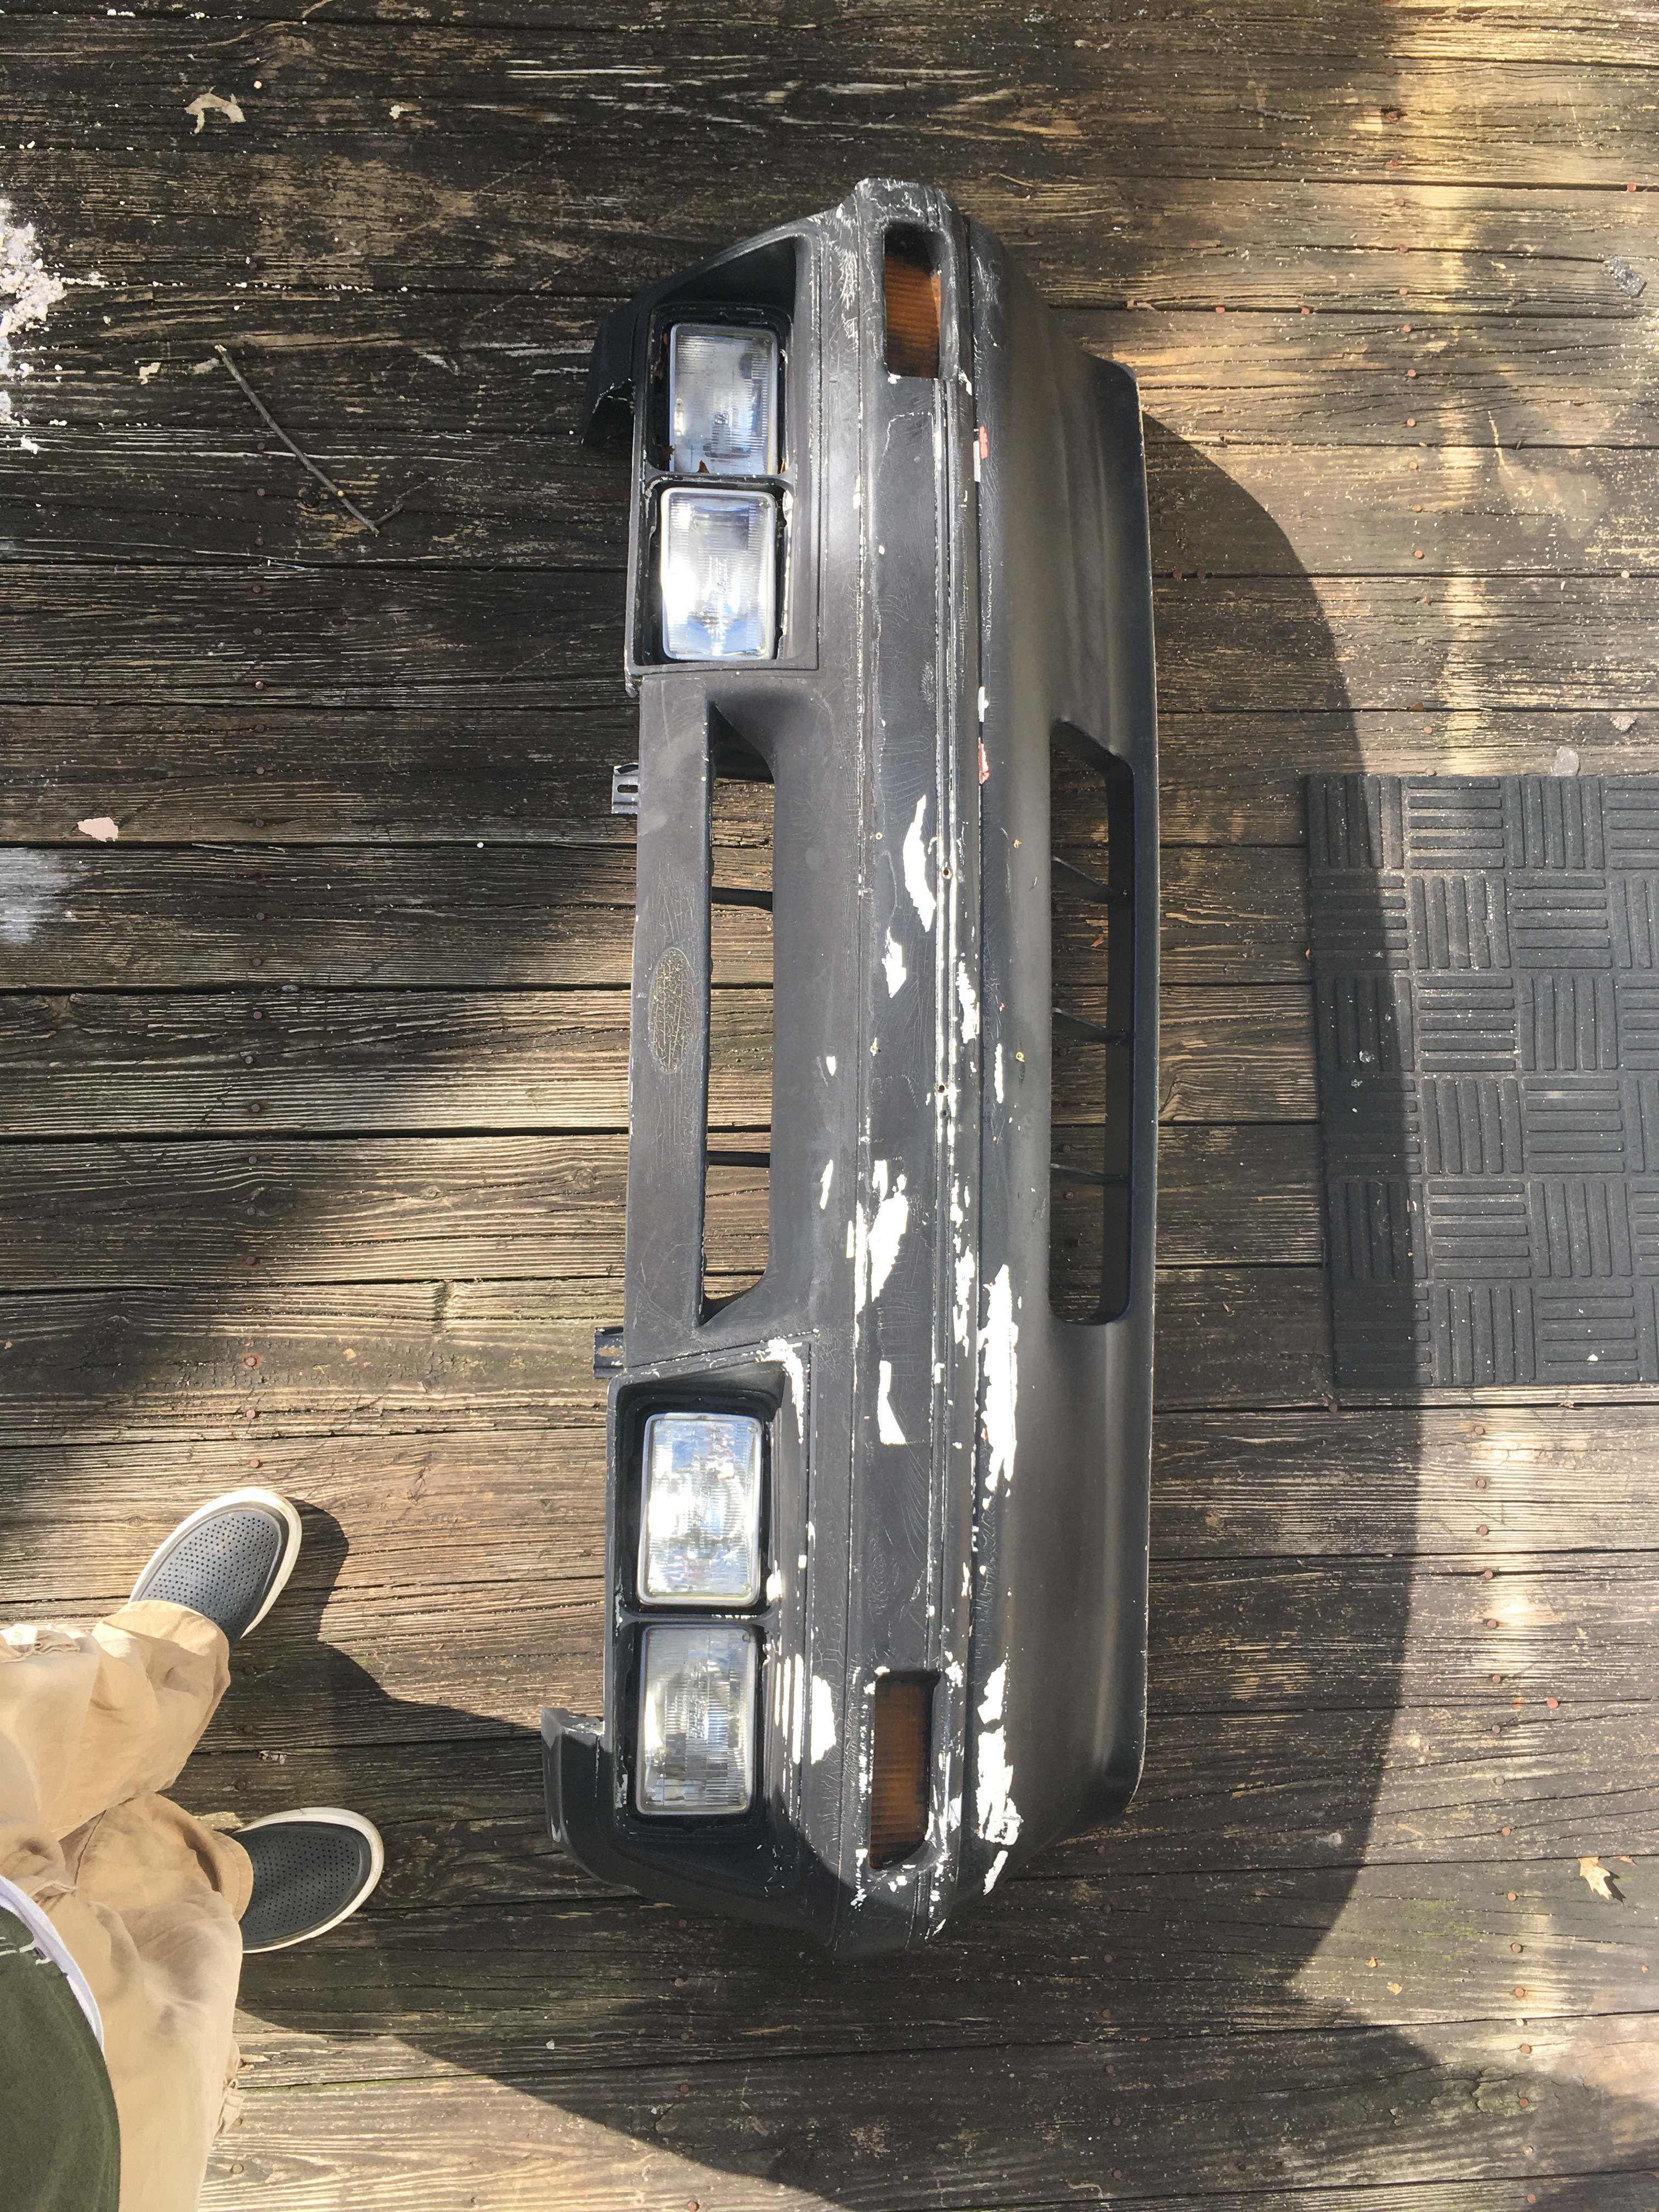
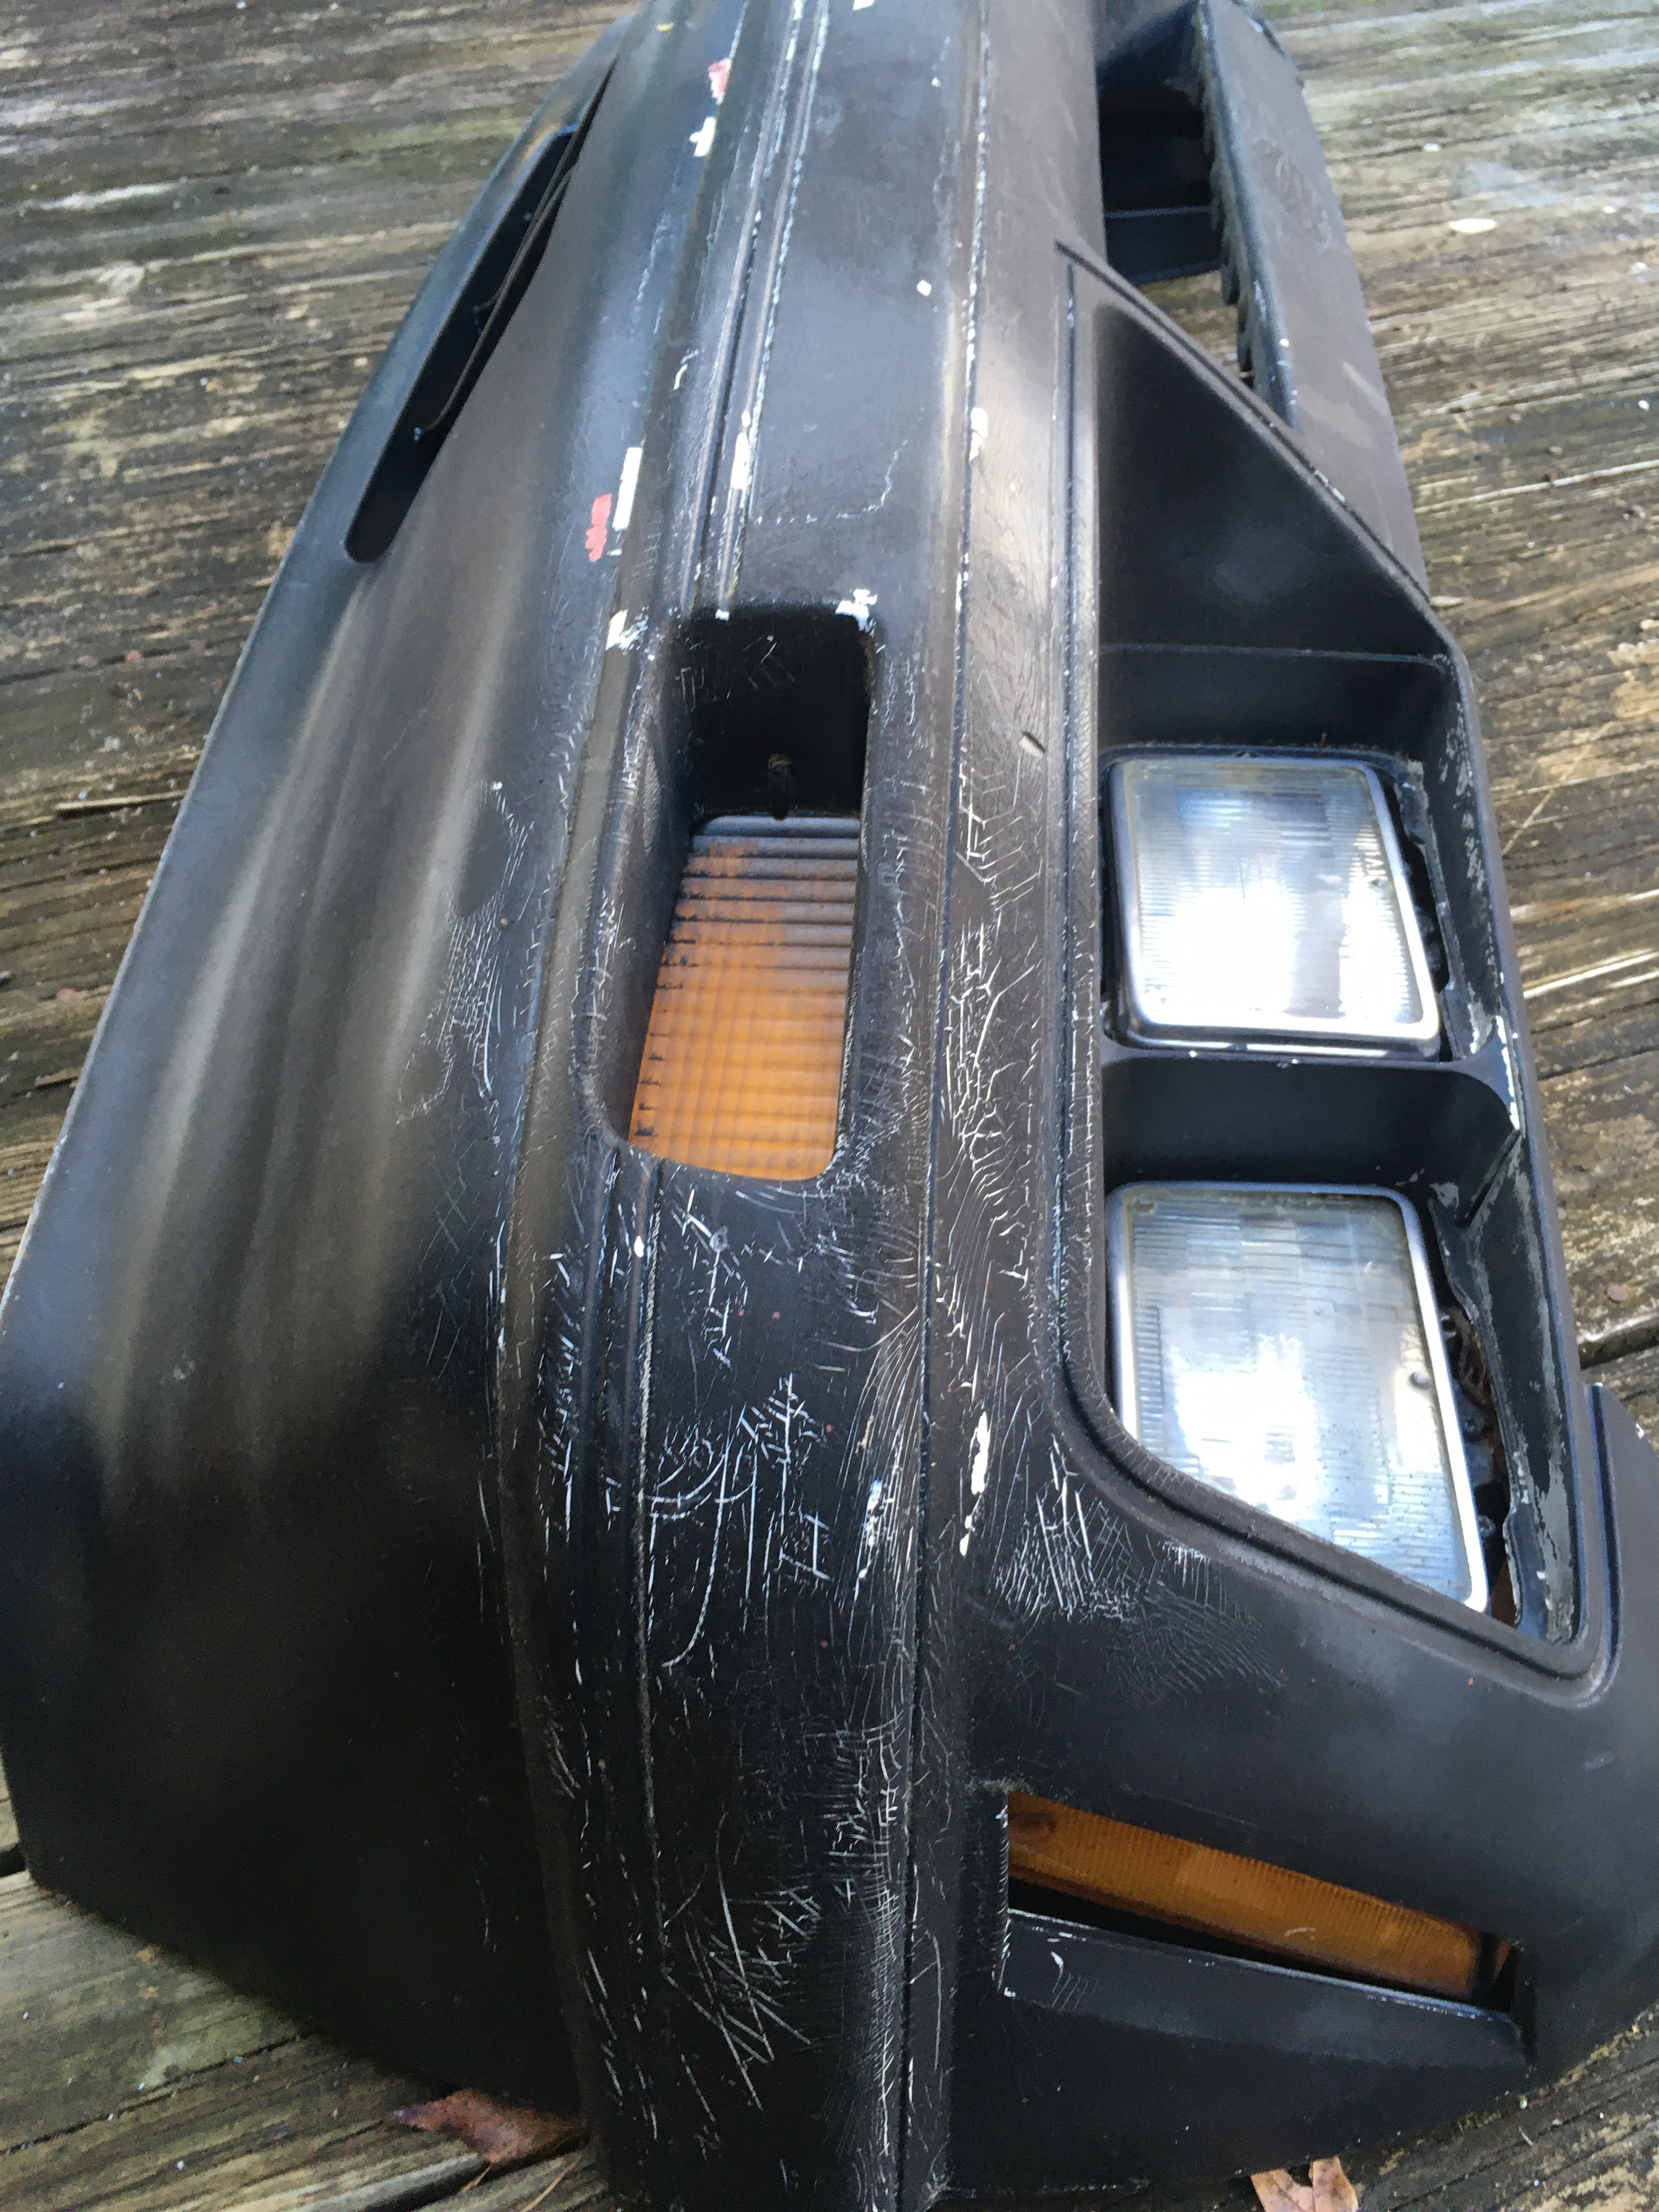
Body panels are straight, without rust aside from very light surface rust, and in various states of rattle can black. Would be great for a race car or budget build. Not recommended for anything fancy as they would require a fair amount of prep.

  • hatch with hinges and latch
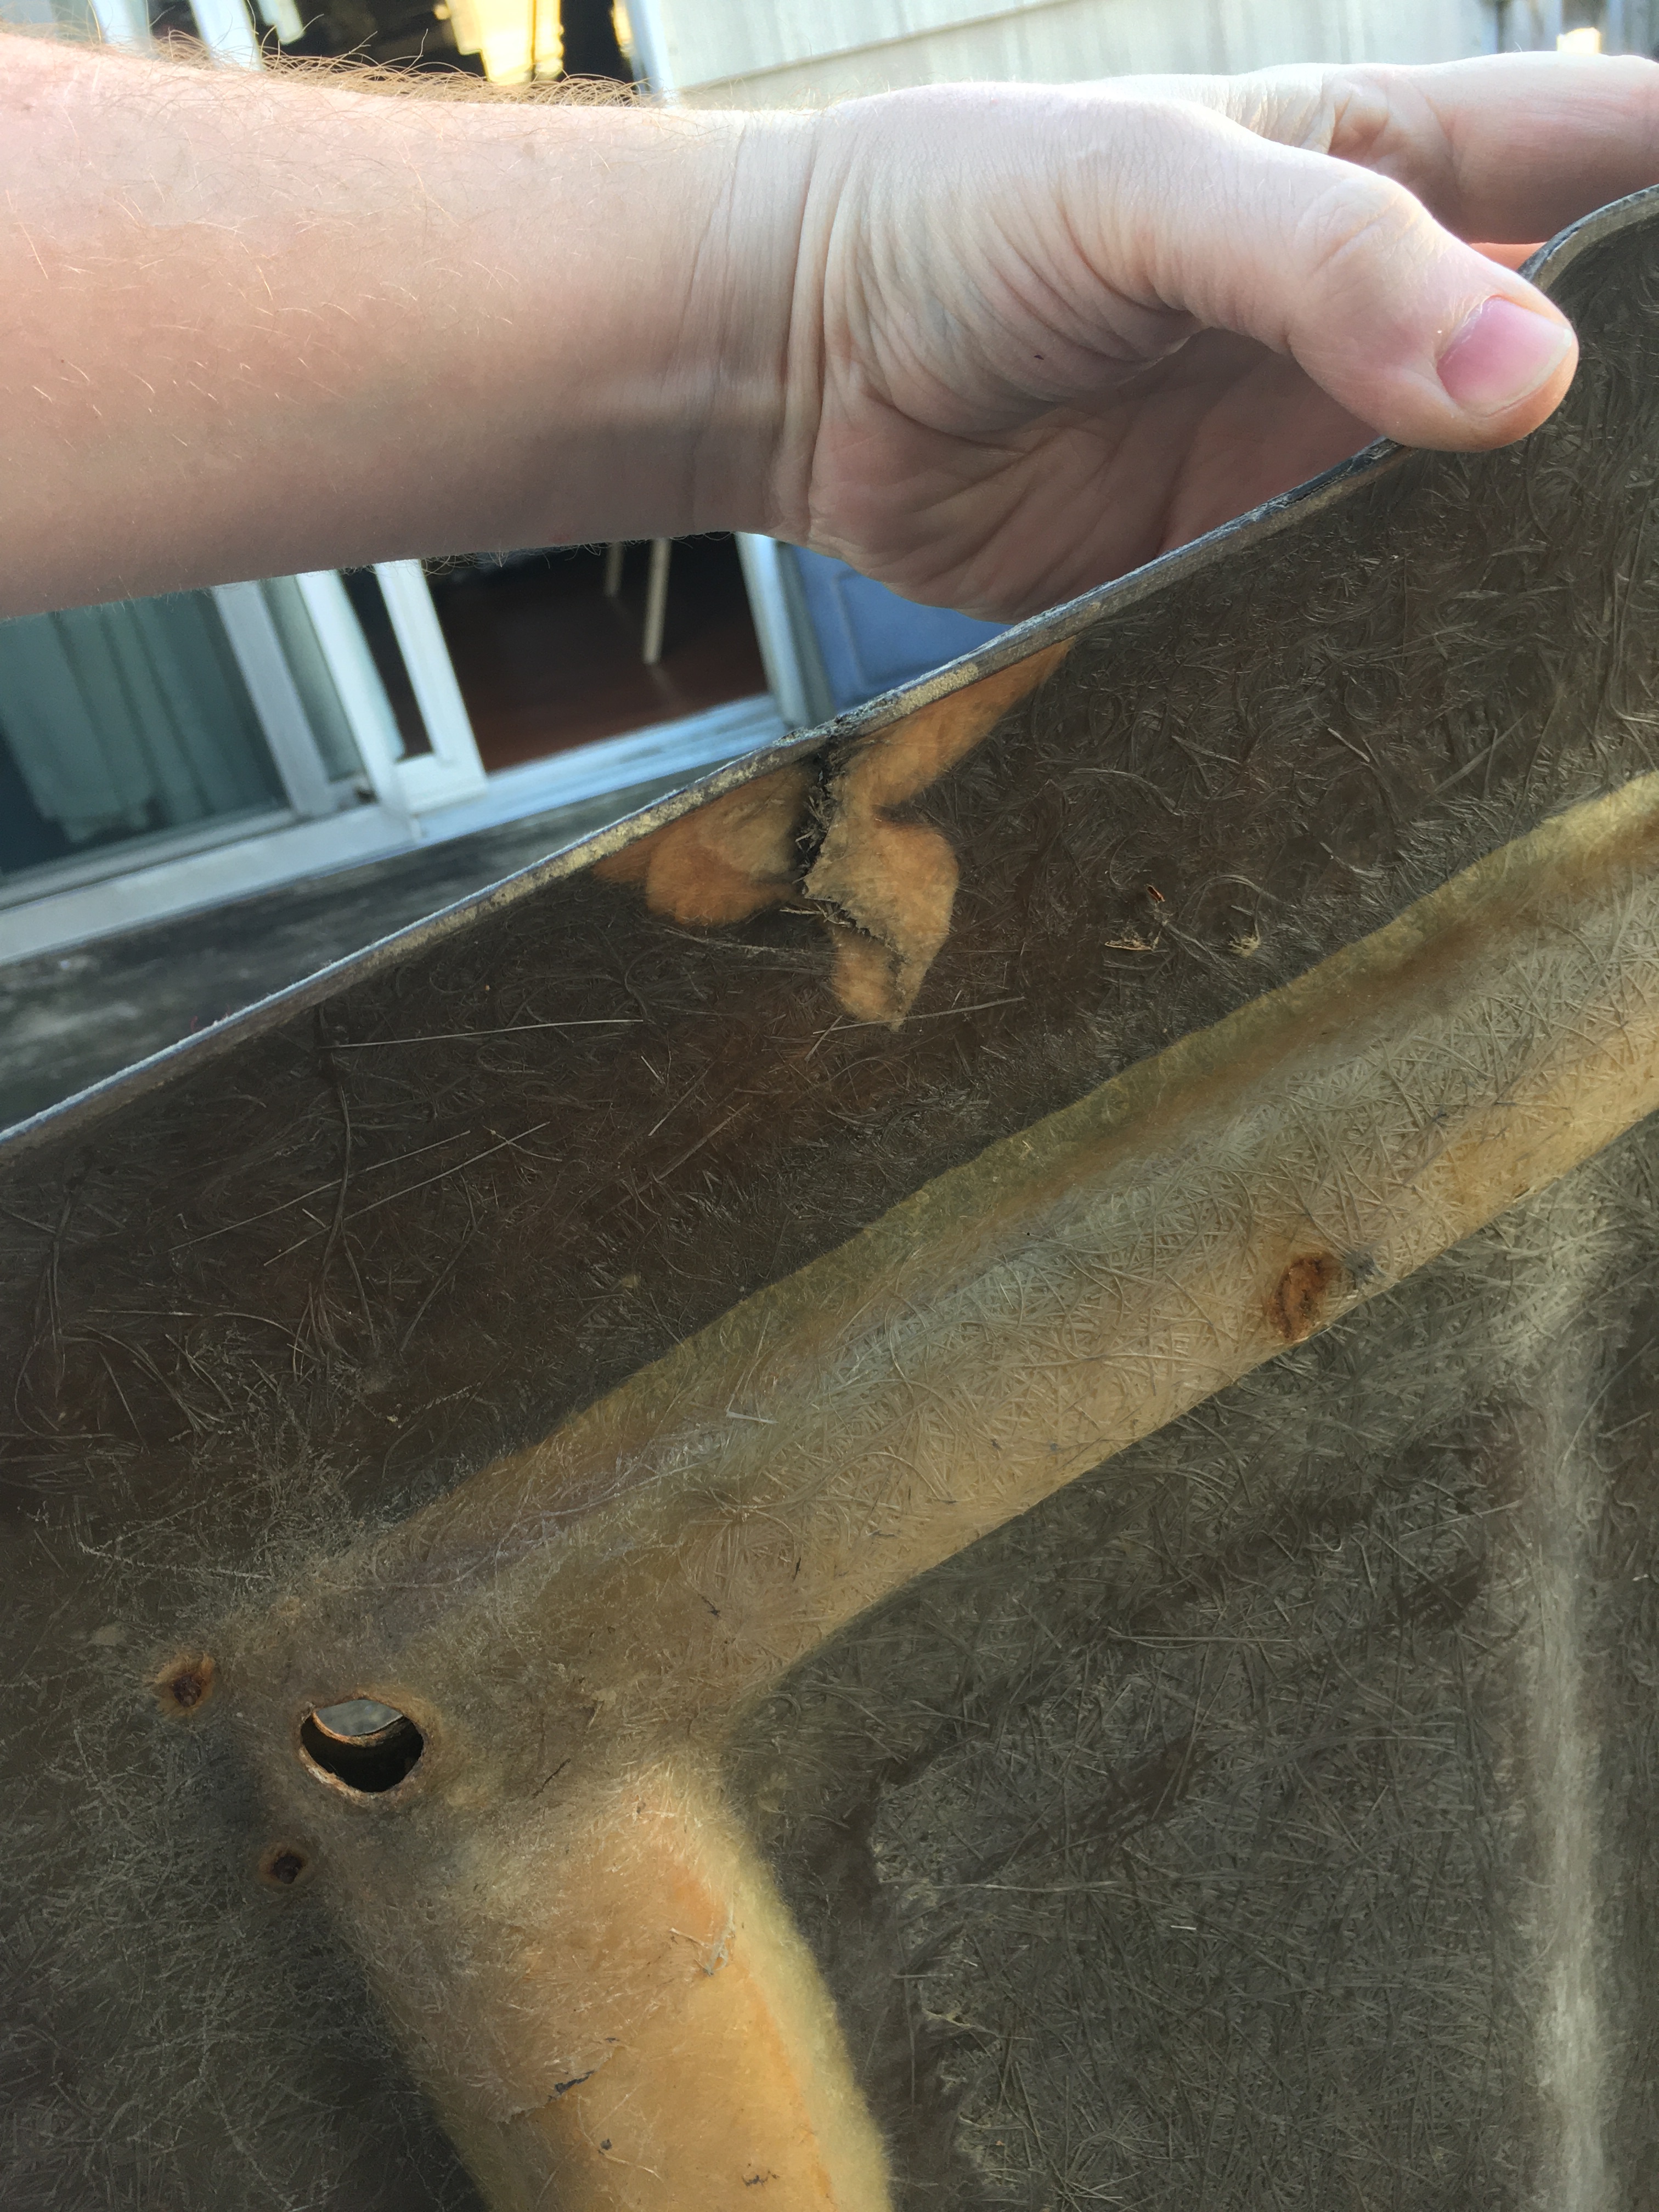
  • Fiberglass hood, has ~1” crack that needs to be patched.
  • both fenders
  • four-eye nose / bumper
  • rear bumper
  • rear quarter sections
  • front and rear seats

parts not available:

  • motor
  • trans
  • k frame
  • rear end
  • Doors
  • dash and fuse panel
  • anything attached to the above.
  • anything not specifically mentioned in list of available parts

Text me at: 908 four eight five 8304

[Top]

Disable PulseAudio and switch to ALSA

I have a computer in my living room PulseAudio. As is typical with Poettering software, PulseAudio is very unpredictable.

Within the Ubuntu settings editor, there is no way to permanently choose an audio device. Every time I reboot this computer, and sometimes when suspending, it reverts from HDMI to Analog. Within pavucontrol, you can set the default device but it doesn’t stick anyway. I suppose this has to do with the timing of HDMI audio device being detected as plugged in or some such malfunctioning automagic bullshit.

It’s highly annoying to change the audio device all the time, so here is how I got around this issue.

Disable PulseAudio

Strictly speaking, it is not disabled. Not in the sense of turning if off with systemctl, this just stops the binary from running, apparently:

[email protected]:~$ systemctl --user status pulseaudio
● pulseaudio.service - Sound Service
   Loaded: loaded (/usr/lib/systemd/user/pulseaudio.service; di
   Active: inactive (dead)
[email protected]:~$ systemctl --user status pulseaudio.socket
● pulseaudio.socket - Sound System
   Loaded: loaded (/usr/lib/systemd/user/pulseaudio.socket; dis
   Active: inactive (dead)
   Listen: /run/user/1000/pulse/native (Stream)

Like any software of this uh .. caliber, I have never found any official documentation particularly useful. However the Kodi documentation came in handy https://kodi.wiki/view/PulseAudio/HOW-TO:Disable_PulseAudio_and_use_ALSA(without_removing_PulseAudio)_for_Ubuntu

The relevant bit, in /etc/pulse/client.conf :

autospawn = no

ALSA Default Device

[email protected]:~$ aplay -l 
**** List of PLAYBACK Hardware Devices ****
card 0: PCH [HDA Intel PCH], device 0: ALC662 rev1 Analog [ALC662 rev1 Analog]
  Subdevices: 1/1
  Subdevice #0: subdevice #0
card 0: PCH [HDA Intel PCH], device 3: HDMI 0 [HDMI 0]
  Subdevices: 1/1
  Subdevice #0: subdevice #0
card 0: PCH [HDA Intel PCH], device 7: HDMI 1 [HDMI 1]
  Subdevices: 1/1
  Subdevice #0: subdevice #0

The device I’ll be using is Card 0, Device 3. So, in /etc/asound.conf:

pcm.!default {
        type hw
        card 0
        device 3
}

ctl.!default {
        type hw
        card 0
        device 3
}

After a reboot, no audio devices show up in the Ubuntu Settings app.

Firefox

I like Firefox. Sadly, guess what? Apparently the Linux version of Firefox requires PulseAudio and cannot use Alsa as of many versions ago. https://support.mozilla.org/en-US/questions/1199433

So, I guess it’s time to change browsers. Chromium seems to work fine with Alsa without any fuss, so there you go.

[Top]

Firewall script without service

Sometimes on Linux systems for one reason or another it is not practical to use the built-in iptables-services or iptables-persistent to handle your firewall rules. For example, cPanel/WHM manages its own firewall rule set and does not care what is in the normal iptables rules file.
A very straight forward solution to this is run a script in cron to check if your rules exist presently and if not, add them.

#!/bin/bash
# firewall.sh
# This script is run with cron to make sure iptables rules to block Portmap are present

function addrules {
  iptables -I INPUT -m tcp -p tcp --dport 111 -j DROP -m comment --comment "Portmapper Vulnerability"
  iptables -I INPUT -m udp -p udp --dport 111 -j DROP -m comment --comment "Portmapper Vulnerability"
}

numrulesfound=$(iptables -nL |grep -c "Portmapper Vulnerability")

if [ $numrulesfound -eq 0 ]; then
  echo "Portmapper iptables rules NOT found, adding"
  addrules
elif [ $numrulesfound -gt 0 ]; then
  echo "$numrulesfound Portmapper iptables rules found, exiting"
fi

And some kind of cron to run it periodically:

0 * * * * /root/firewall.sh > /dev/null 2>&1
, , , ,
[Top]

Change Gitlab URL

Because I am lazy I set up Gitlab by way of deploying a VM with a cloud hosting provider. By default it uses its public IP as the URL and that won’t do so here is how I changed it.

https://forum.gitlab.com/t/renaming-the-gitlab-host-url/685
Assuming you installed gitlab through your OS’ repository like I did,

change ‘external_url’ in /etc/gitlab/gitlab.rb
and issue a:
gitlab-ctl reconfigure

[Top]

Firefox Disable Ctrl+Q Accidental Quit

Are you tired of hitting Ctrl+Q and quitting your whole Firefox session when you just meant to hit Ctrl+W to close a single tab?

Unless I am mistaken the latest versions of Firefox have the “Are you sure?” dialog for Ctrl+Q disabled by default. This is a terrible idea. On Windows and Mac you can use this extension to completely disable the shortcut: https://addons.mozilla.org/en-US/firefox/addon/disable-ctrl-q-and-cmd-q/

Unfortunately because Mozilla sucks you can’t use that add-on on Linux. Instead fix it by going to about:config and changing browser.showQuitWarning to true. This will enable the “Are you sure?” dialog so at least you can cancel closing the window.

[Top]

Asus RT-AC52U Factory Reset

I’ve been working on my home grown wired and wireless network a bit this week and found myself needing to reset the Asus RT-AC52U I use as a WiFi access point. The USB WiFi adapter I have attached to my NAS/Router is pretty short ranged, so I ran a network cable across the house so this AP can cover the rest.

Anyway, as is often the case I forgot my credentials. This router actually lets you change the admin login and I am sure I did but have no idea to what.

So, to reset it, find the reset annoyingly located on the bottom of the device and press it with a paperclip until the LEDs start turning off.

Once it is reset, it has reverted to setup mode. In this state it runs an unencrypted WiFi network which you need to connect to and configure the router. It has also defaulted to 192.168.1.1. You will likely get alerted by your browser that you need to log in to a captive portal but the router does not actually prompt for credentials during setup.

[Top]

Windows 7 VM “Unsupported Hardware”

I recently resurrected an old Windows 7 VM to deal with some iCloud bullshit. Naturally, Microsoft has decided that “old Windows doesn’t work with new CPUs”.
I knew there was some way around this but I didnt see an option in the VirtualBox GUI to specify the CPU. This thread saved me from perusing the lengthy man page.

Unsupported Hardware

Unsupported Hardware

I turned off the VM, ran: VBoxManage modifyvm Win7 –cpu-profile “Intel Xeon X5482 3.20GHz” where Win7 is the name of my VM, and turned it back on again. Lo and behold:

Windows Update Successful

Windows Update Successful

A minor victory.

[Top]

WordPress – Missed Schedule 2

So, it didn’t work. Why? I think CloudFlare is caching the response. Let’s change that.

You could do this with ‘Page Rules’ but on the free tier of CloudFlare you only get three. I am going to skirt that by telling CloudFlare to not cache any url with a query string, and change my wp-cron.php request accordingly.

CloudFlare Query String

CloudFlare Query String

* * * * * wget http://rushworx.net/wp-cron.php?foo

Begrudgingly Increased the frequency from every three minutes to every minute. I tested it and it did not work.

What did work was instead of getting it, I executed it:

* * * * * php /var/www/rushworx.net/wp-cron.php
Actually it would show up as ‘Missed Schedule’ for a minute or so and then it would show published. Fixed.

[Top]

WordPress – Missed schedule

Plenty of folks want to write articles and schedule when they actually go live on their WordPress instance.  I’ve run into the ‘Missed Schedule’ issue with a customer before but recently ran into this on my own blog.

The post scheduler uses wp-cron. One critical thing about wp-cron is it requires visitors to actually visit your page!  That is probably why I have a problem with it, I have doubts anybody reads this shit and well hey here is the proof.

Per the wordpress docs found here, the easy solution, assuming you have access to your webserver and it is a linux box, is to automate some hits to your site side-stepping the problem that no one reads it.

[email protected]:~# crontab -e

*/3 * * * * wget http://rushworx.net/wp-cron.php

I will have to test this to make sure it actually solves the problem, but I suspect it will.

[Top]