I bought my first ErgoDox from a coworker. Bringing a keyboard back and forth to work is a pain in the ass, so I built another one.
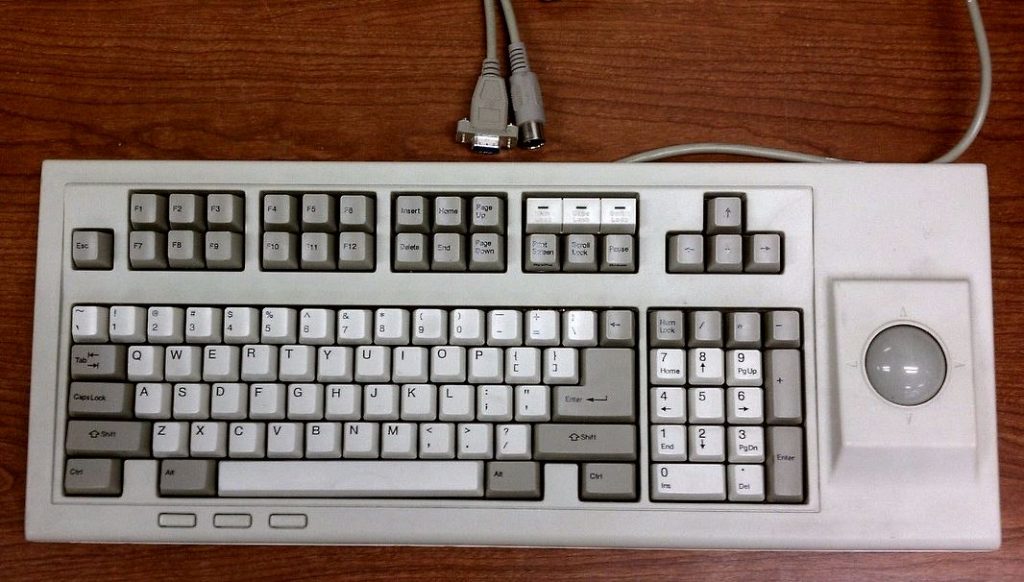
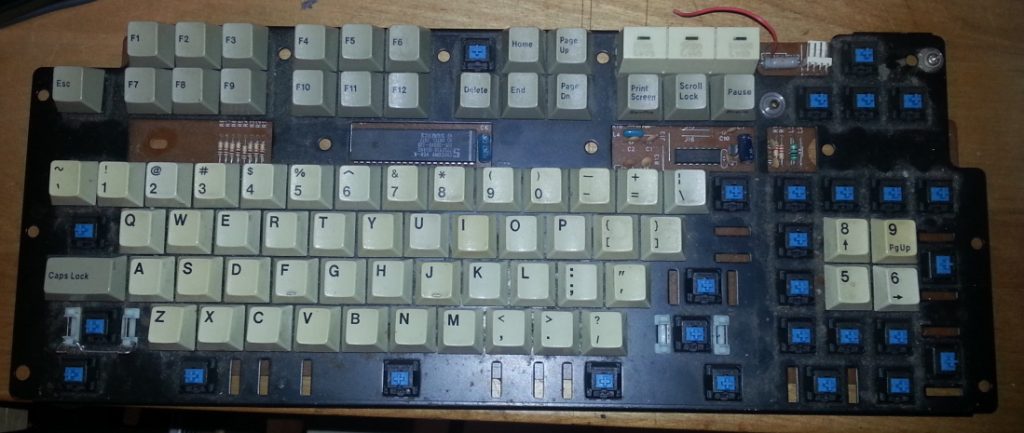
I used to have what I am pretty sure was a Chicony 5581.
For whatever reason some years back, during the height of my take-shit-apart-without-a-concrete-goal-in-mind phase, I lost the top half of the case, some components of the track ball, and some keycaps. Well, turns out this sucker used Cherry MX Blue switches. They feel quite a bit different from the low mile switches in my aluminum-acrylic-sandwich bodied ErgoDox I use at work. I’m not sure if the MX blues from ’88 are equivalent to modern days ones. Anyway I figured I would put those to use eventually.
Naked Chicony Keyboard

Chicony Controller

Chicony Close Up

Chicony Printed Circuit Board Back

Chicony Printed Circuit Board Back Detail

Weller Soldering Iron
There have been several ways to order ErgoDox keyboards either completely assembled or as a kit. Currently you can get an assembled ErgoDox from ergodox-ez.com but starting at $270 its awfully expensive. Well, I have these key switches just waiting for a purpose, and key switches make up a large amount of the price of any mechanical keyboard. Also, I already had a set of keycaps which aren’t included in kits anyway, so, instead of a kit I went ahead and ordered a pair of PCBs from mechanicalkeyboards.com, a teensy from PJRC and other miscellaneous bits from DigiKey.
It took a while and more than a little elbow grease to harvest the switches. If you have not done something like this it involves jamming a screw driver under the switch while alternating between which leads you hit with a soldering iron. The trusty ol’ Weller I inherited from my dad’s days of television repair got the job done, love that thing.
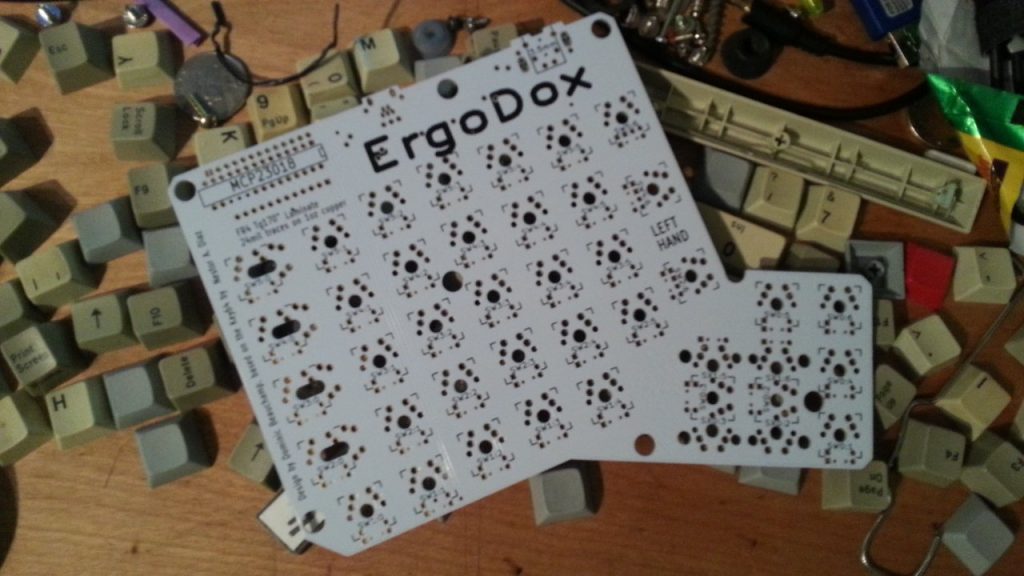
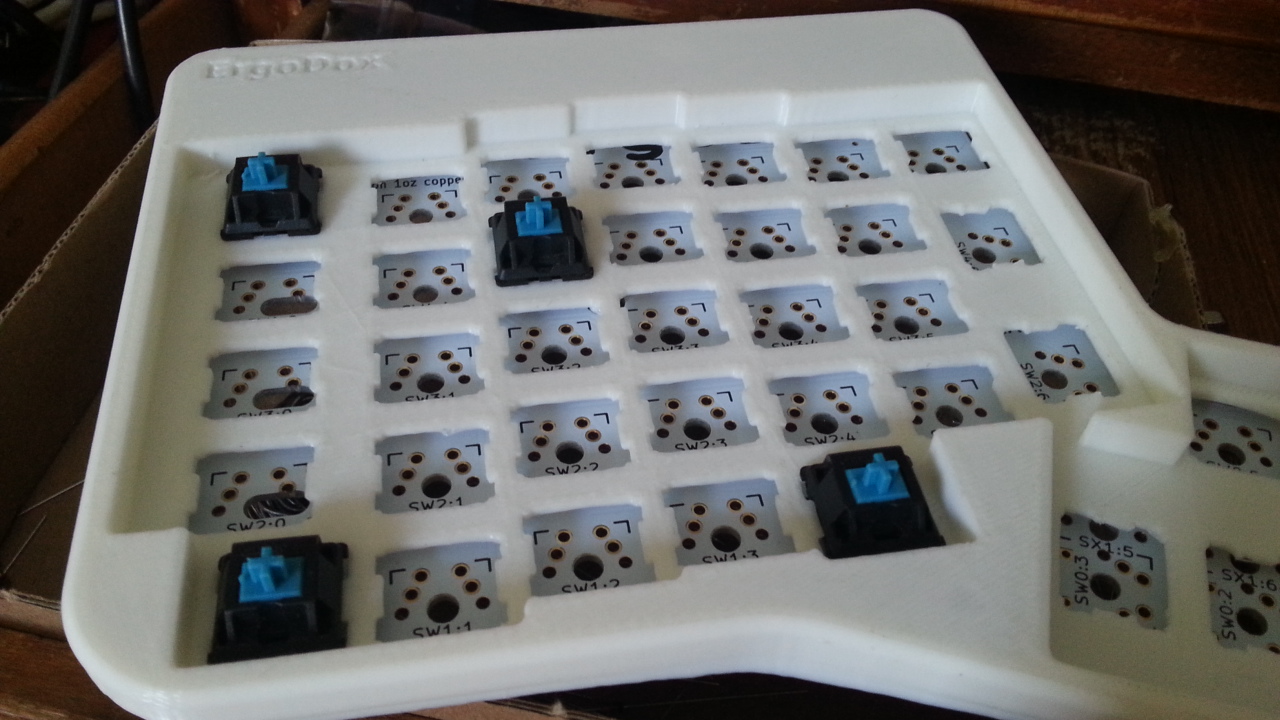
ErgoDox Printed Circuit Board
While the keycaps from the Chicony are doubleshot, they do not suit the ErgoDox well as they are sculpted, not flat DSA, which does not facilitate customizing your layout. I did end up using a different set of non-DSA keycaps for the alpha which looked better matched with blank DSA caps I had for the modifier keys.

ErgoDox Teensy Controller

ErgoDox 3D Printed Assembly in Progress 1

ErgoDox 3D Printed Assembly in Progress Close Up

ErgoDox 3D Printed Assembled 2

ErgoDox 3D Printed Assembled 4

ErgoDox 3D Printed Assembled 3

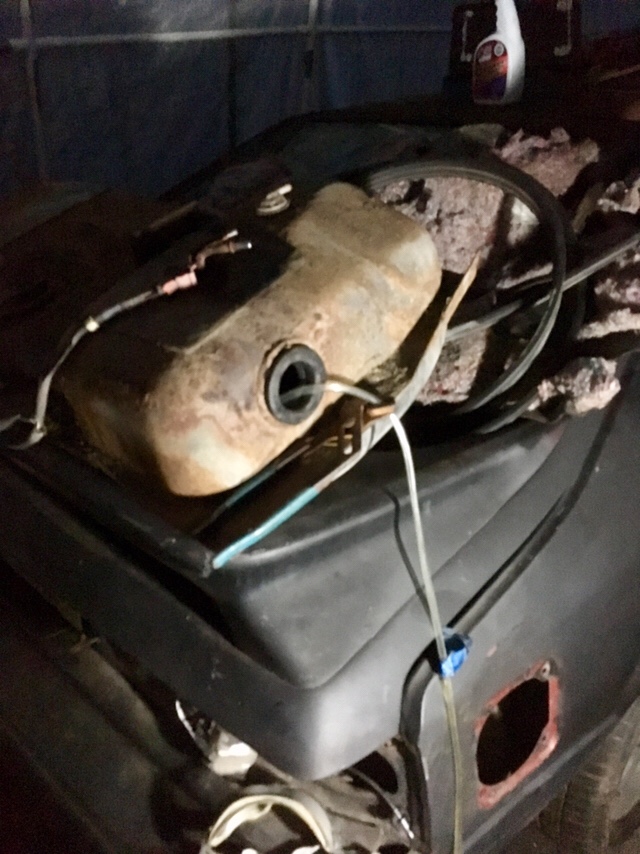
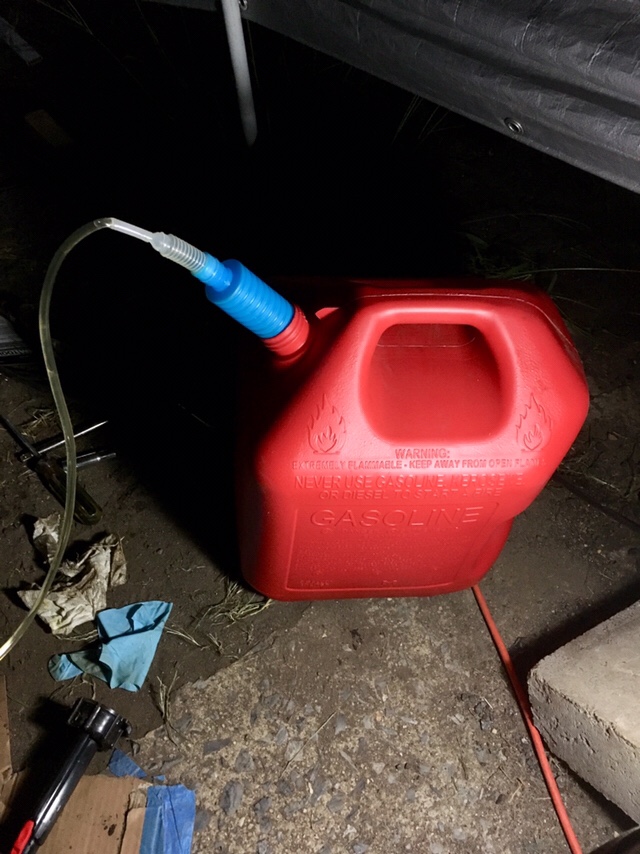 So I had to stop what I was doing and go fill up my Fairmont with this slightly yellow gas. It doesn’t seem to have bothered the carb yet, and the Crustang did run on it so I meh its okay.